Follow:
Browsing Tag:

Dotting

    Nail Art, Uncategorised

    And The Winner is…

    yoomoo #guiltfreeze Polka Dot Nail Art


    After a week of voting on yoomoo’s Facebook and Instagram pages, the winner of the #guiltfreeze competition has been announced! It was a really close competition right to the end. All the entries were truly amazing and it was so hard for me and the ladies at yoomoo to narrow it down to just five. Hey, it’s a tough job but someone’s got to do it!

    With the most votes, @thepolishlist is the winner of £1000 in Thomas Cook vouchers to plan her perfect Ibiza holiday. Coming in a very close second was @rosietabor and as a special treat, yoomoo will also be sending her £500 in vouchers for her own summer holiday. Congratulations ladies!


    Although the grand prize has already been awarded, there are still prizes to be won in the competition. Keep up with yoomoo’s tutorials on YouTube and posting your yoomoo nail art on Instagram with the hashtag #guiltfreeze to win nail polish and more. You can also still get a coupon for 50p off your pot of yoomoo – and let me tell you, with this insane heatwave, I will be eating ALL the fro-yo!

    The Winners

    Vicky from @thepolishlist created a perfectly freehanded Strawberry Swirl design.

    Rosie from @rosietabor was also inspired by Strawberry Swirl, creating a swirly design complete with 3D frozen treat!
    yoomoo #guiltfreeze Polka Dot Nail Art
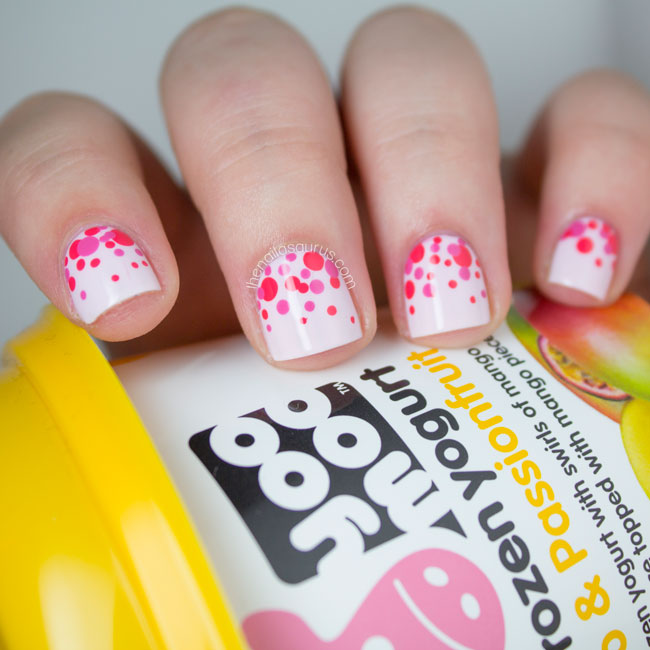
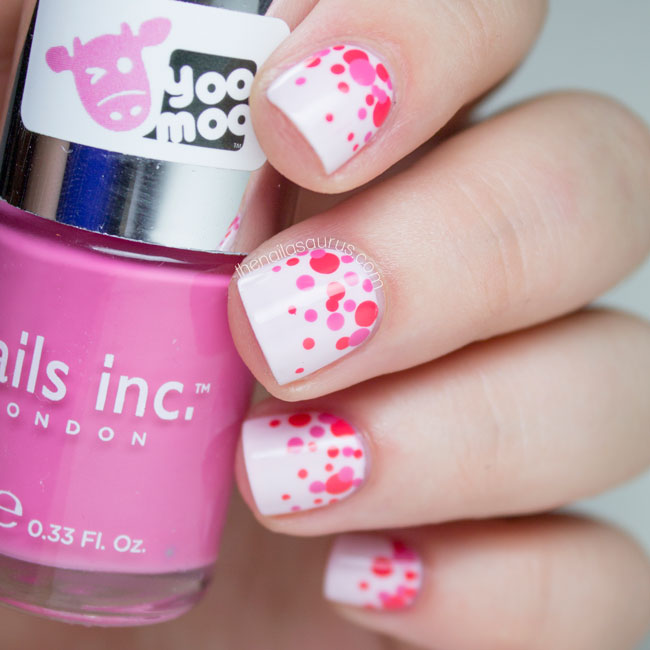
    For my own latest yoomoo inspired nail art, I followed their polka dot tutorial which you can watch below. I used Barry M Rose Hip as my base colour and then Nails Inc. Udderly Shocking Pink and Nicole by OPI The Coral of the Story with dotting tools to complete the look.
    yoomoo #guiltfreeze Polka Dot Nail Art

    Share:
    Uncategorised

    The Birds

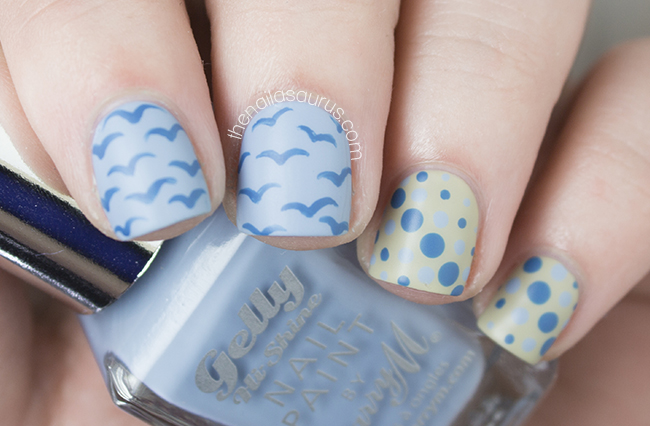
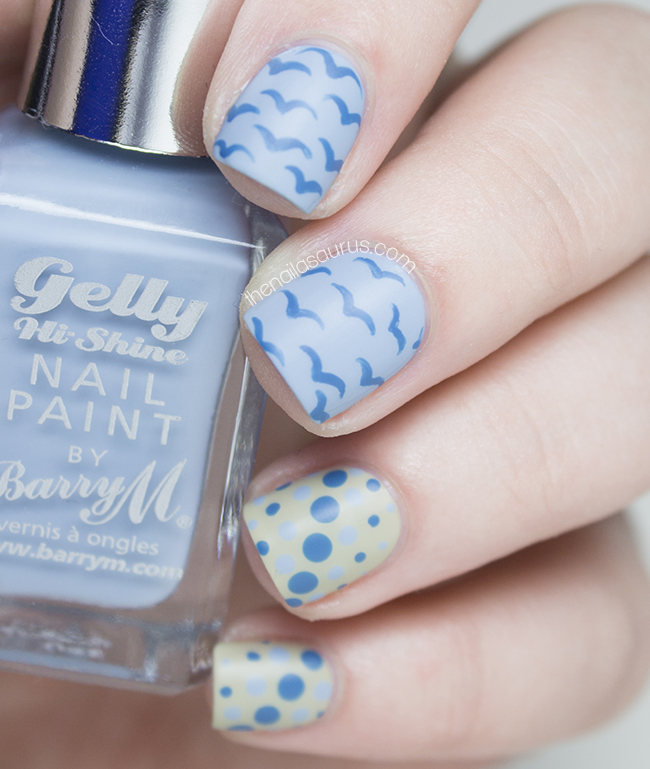
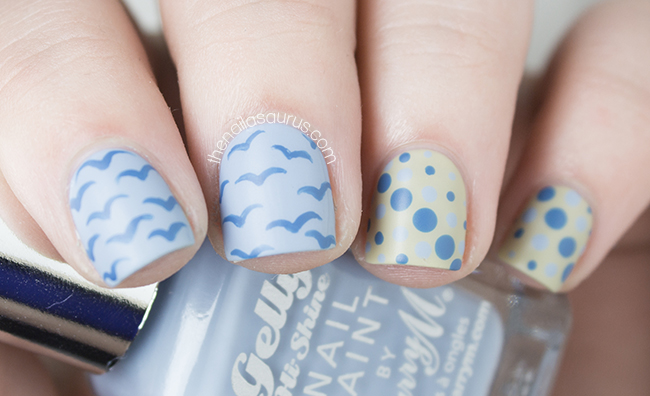
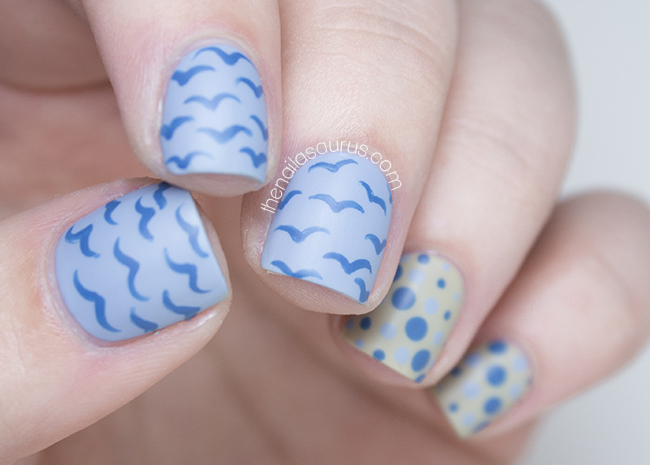
    Sometimes (okay most of the time), I paint on my base colours with no idea what nail art I’m going to put on top. When I put these down, I thought they looked like very ‘mod’ colours and for some reason I thought of an old beach towel! This naturally led me to the seagulls and moddy dots!

    The base colours here are Barry M Elderberry and Olive with OPI Suzi Says Feng Shui thrown in for the nail art too.

    I topped it with a coat of Glisten & Glow HK Girl then one coat of Rimmel Matte Top Coat.

    Share:
    Freehand, Glitter, Uncategorised

    Tooty Fruity

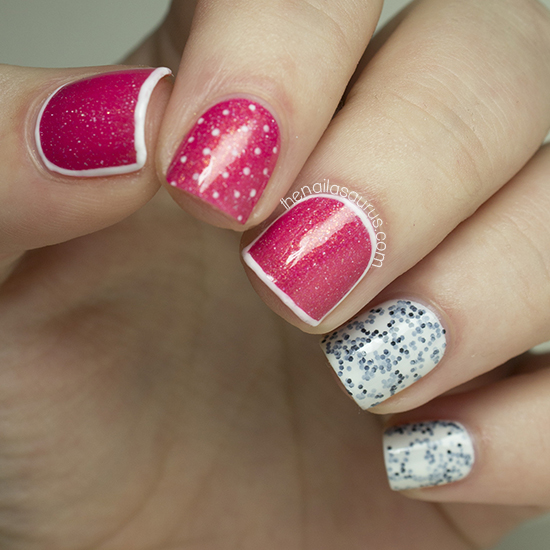
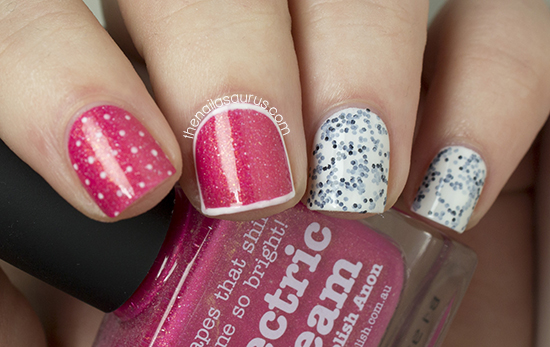
    Today’s nail art features an amazing fruity coral shade from piCture pOlish called Electric Dream. In the bottle, the colour looks like a shimmery coral but on the nails it really pops a lot more pink with loooads of shimmer!

    piCture pOlish Electric Dream

    The main colour here is piCture pOlish Electric Dream and I added some simple nail art using a Pink Tease White Nail Art Striper.

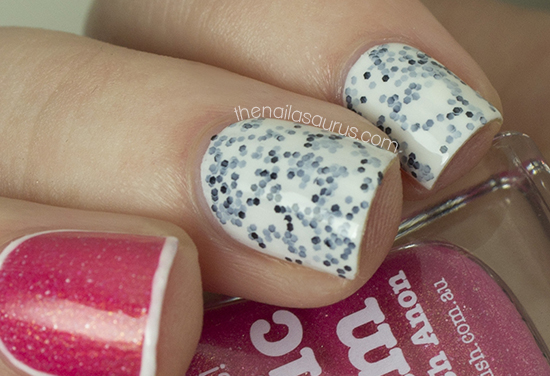
    For the accent nails, I started with one coat of Barry M White then added two coats of W7 Salt n Pepper.

    It’s all topped off with two coats of Glisten and Glow HK Girl.

    W7 Salt n Pepper

    piCture pOlish Electric Dream

    piCture pOlish Electric Dream

    piCture pOlish Electric Dream
    Share:
    Christmas, Freehand, Glitter, Uncategorised

    Festive Floral Nail Art

    Does anyone else feel like December has completely flown by?! For once, I’ve actually been fairly organised and I finished up my Christmas shopping yesterday. Gotta love online shopping at times like these, it’s almost unbearable to be real-world shopping on a weekend in the run up to Christmas. Sit me at my desk with a hot chocolate and a mince pie and I’m happy!

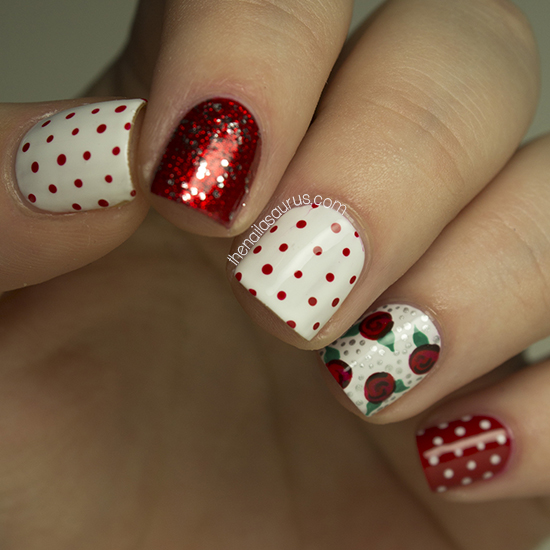
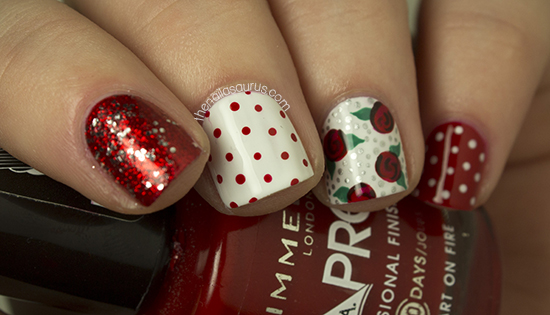
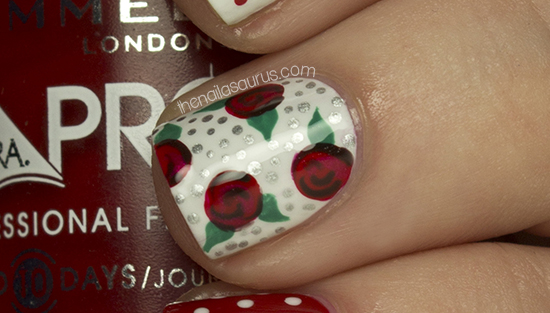
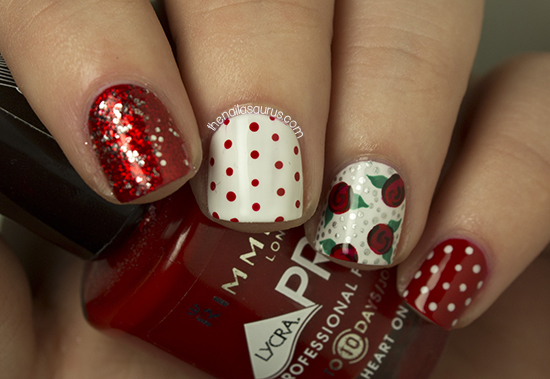
    I had the strongest urge to paint some roses on my nails this week so I picked a festive colour scheme to go with it! The main colours here are Barry M White and Rimmel Heart on Fire.
    The red glitter is two coats of Sally Hansen Cha-Ching over one coat of Heart on Fire.
    I’ve written a tutorial for the freehanded roses so click here for that! I then dotted around them using Barry M Silver Foil and a dotting tool.
    It’s all topped off with a coat of Glisten and Glow HK Girl.

    iVillage invited me to write a tutorial for their 30 Days of Christmas DIY series and I chose to do Christmas Puddings! Click here to see the full tutorial!
    Share:
    31 Day Challenge, Freehand, Uncategorised

    31DC2013 Day 14: Flowers

    Today is the first time all week that I’ve had time to really sit down and dedicate a lot of time to a manicure and it felt goooood! I miss having the time to focus on these more detailed, fun manicures and I know you guys like to see them just as much as I like doing them.
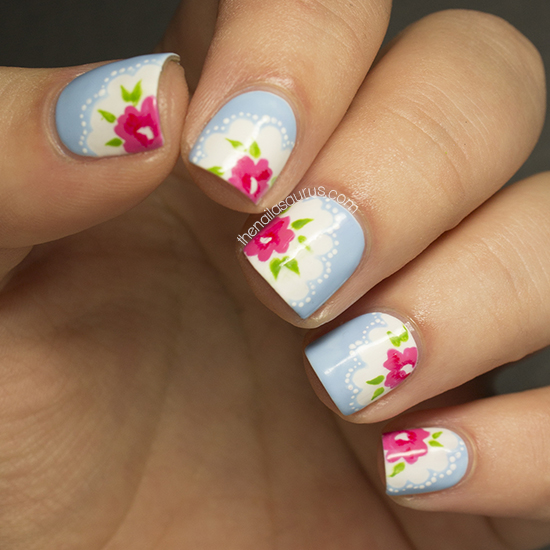
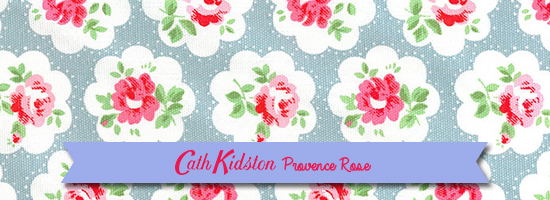
    A little while back I found myself in a Cath Kidston store and I just wanted everything on my nails so when I sat down to paint my nails today, that experience came back to me and I went straight to the Cath Kidston website. I spent a bit of time browsing the website for a pattern that was clean, simple and eye catching and decided on Provence Rose.
    Cath Kidston Provence Rose Nail Art

    Cath Kidston Provence Rose Nail Art
    I started with a base coat of Barry M White and let that dry before moving on to the art.
    I started by painting on the shapes of the flowers using a nail art brush and Collection Think Pink. I added a bit of detail to the flowers using Rimmel Heart on Fire and painted on some leaves with NYC High Line Green.
    Next I took NYC Raindrop and freehanded the scalloped line around the flowers then filled in the blue sections by whatever means necessary! I used a combination of the brush straight from the bottle and a few different nail art brushes in order to get it smooth.
    I added on the little spots using a dotting tool.
    I finished it off with two coats of No 7 Stay Perfect Top Coat.
    Photo credit: cathkidston.com
    Cath Kidston Provence Rose Nail Art

    Cath Kidston Provence Rose Nail Art
    Day 14: Flowers 2012
    Day 14: Flowers 2011
    See what’s coming next in the 31 Day Challenge 2013!

    TwitterBloglovin’Tumblr

    Share:
    Freehand, Glitter, Uncategorised

    Spots and Stripes

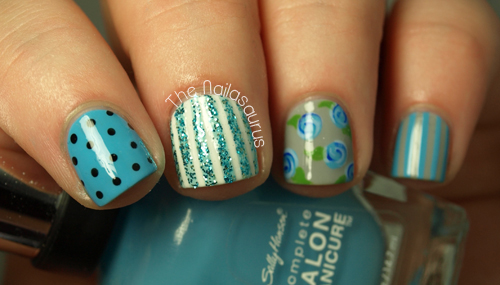
    I’m back on the Blues this week and it feels gooood! Polka dots are a rarity on my nails and since I do so many stripes I thought I’d give spots a go too.

     
    The main colours here are Sally Hansen Himalayan BlueBarry M WhiteSally Hansen Dorian Grey and W7 Black.
    I created the roses following this tutorial with SH Himalayan Blue, Essie Mezmerised and NYC Raindrop. The stripes on my middle finger are in W7 Cosmic Blue and there’s a tutorial for striping here!
    I topped it all off with two coats of No7 Stay Perfect Top Coat.

    TwitterBloglovin’Tumblr

    Share: