Follow:
Browsing Tag:

Blue

    31 Day Challenge, Freehand, Nail Art, Uncategorised

    31 Day Challenge: Metallic

    31 Day Challenge Metallic Nails // The Nailasaurus


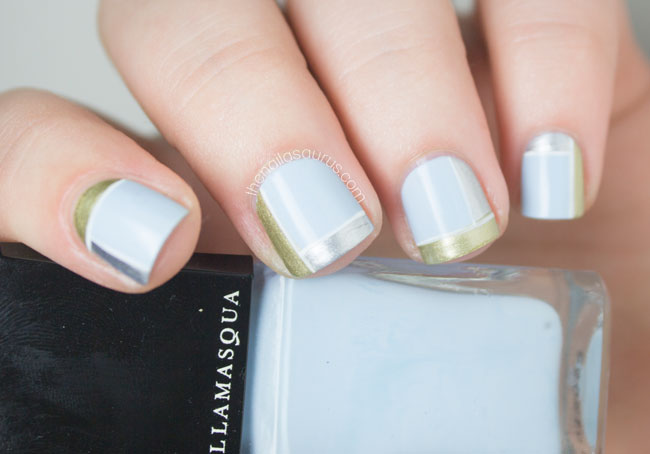
    I’m really pleased with the way my metallic nails turned out today. I wasn’t sure if the silver and blue would contrast enough to even show up but the addition of gold just pulls everything together and the outlines are the perfect accent.

    1. For this nail art, I used a base of Illamasqua Caress
    2. I painted on a silver strip on each nail using A-England Excalibur Renaissance with the brush straight from the bottle. 

    3. Once that was dry, did the same with Barry M Gold Foil.
    4. When everything was dry, I used Sweet Color White Liner to outline the details.
    5. It’s all topped off with a coat of Glisten & Glow HK Girl.
    Illamasqua Caress with Metallic Nail Art // The Nailasaurus
    Illamasqua Caress Swatch
    #31DC2014 Metallic Nails // The Nailasaurus
    31 Day Challenge Metallic Nails // The Nailasaurus
    Share:
    31 Day Challenge, Nail Art, Uncategorised

    31 Day Challenge: Blue

    Turquoise Nail Art with piCture pOlish Fool's Gold

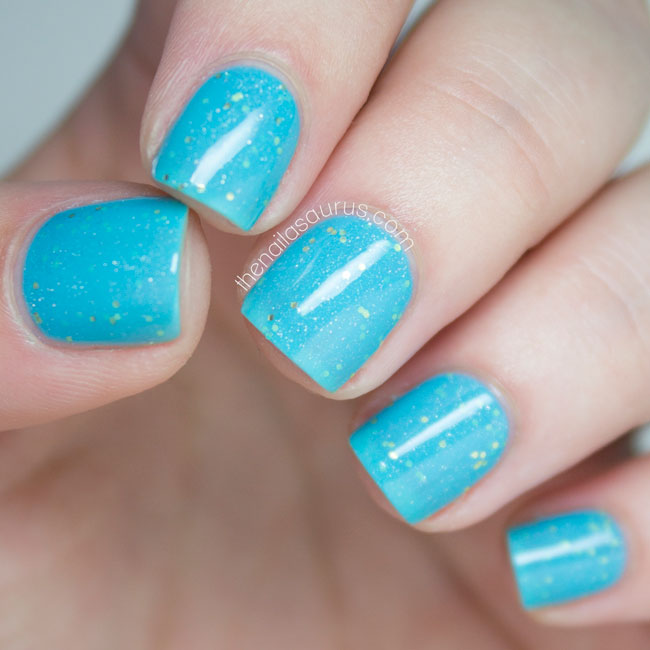
    I had a total fangirl freak out when Oh My Gosh, Polish! posted a beautiful turquoise mani with my piCture pOlish shade, Fool’s Gold, a few days ago. You can see that masterpiece right here. She mentioned that it was the perfect shade for a turquoise mani as there’s already gold in the polish, so you can skip a step when doing the nail art. 
    With today’s Blue prompt coming up, I thought I’d do my best to recreate the turquoise manicure. I have tried before and always failed miserably but this time went a little better. I had to do a bit of trial and error to find a nail polish and spray combination that worked but then I was away. It’s a little heavier on the black than I would have liked but I’ll keep trying with different combinations until I get it just right!
    You can watch Oh My Gosh, Polish!’s tutorial for this nail art on her YouTube channel. I just love the way ‘Nailasaurus’ sounds in the Australian accent. It’s quite a novelty to hear it spoken by anyone as whenever I talk about it with people IRL, they normally refer to it as ‘your blog’ and I always say ‘my blog’. I know it’s a bit of a mouthful so maybe people avoid saying it in front of me in case they mess it up. I pronounce it nail-uh-sore-us but there’s really no wrong way to say it!

    Polishes Used

    piCture pOlish Fool’s Gold
    Cirque Memento Mori
    Glisten & Glow HK Girl Top Coat

    Turquoise Nail Art // The Nailasaurus
    piCture pOlish Fool's Gold Nail Art // The Nailasaurus
    31 Day Challenge Day 5: Blue
    Turquoise Nail Art inspired by @ohmygoshpolish // The Nailasaurus
    Share:
    Nail Art, Uncategorised

    Fashion Inspired: Collaboration with Nail That Accent

    Nonoo SS15 Nail Art // The Nailasaurus x Nail That Accent

    Today I’m joining forces with Lindsay of Nail That Accent to bring you a blog collaboration post. You might even say, a coBLOGoration! That works right?!
    When we started chatting, we knew we wanted to work on something together that included nail art and that would work well on our blogs. After running through a few possibilities, we decided it would be fun to take one source of inspiration, each work on it independently and then come together to see our different interpretations of the same idea.
    Fashion is always a good starting point for nail art and it gave us each a chance to find something suited to our own style. Lindsay chose a piece from Alberta Ferretti and mine came from Nonoo – both SS15. Make sure you jump over to Nail That Accent to see the freehand nail art we created inspired by the Alberta Ferretti dress.
    It’s really fascinating to see our creations side-by-side. They’re the same but different! It just goes to show that there are so many possibilities when it comes to nail art and in any form of art, it’s very unlikely that any two interpretations of the same source material are going to be the same! Isn’t it funny that both of us have taken notice of the shoes on the other’s choice of outfit and chosen to include that in our design?
    Nonoo SS15 Nail Art by Nail That Accent
    Lindsay started by polishing her pinky with OPI Push and Shove to replicate the silver shoes (push and shove comes with a special base coat). She then polished all her nails with Motives Daydream
    Next, she freehanded a thick white stripe with Essie Blanc (using the regular nail polish brush). 
    When that was dry, she used used Essie Midnight Cami to create the abstract blue effect. She dipped a nail art brush in acetone, wiped the majority off her brush and then dipped the brush into midnight cami to create the splattered effect.

    She topped her nail art with Glisten & Glow HK Girl.

    Where to find Lindsay

    Lindsay blogs at Nail That Accent and you’ll also find her on Facebook, Twitter and Instagram.
    To see Lindsay’s collaboration post featuring a different SS15 piece from Alberta Ferretti, click here!
    Nail Art Inspired by Nonoo SS15 // Nail That Accent
    Nonoo SS15 Nail Art by Nail That Accent
    Nonoo SS15 Nail Art by The Nailasaurus
    I started with a base of Barry M White and a thin coat of Glisten & Glow HK Girl.
    At this point, it gets messy. I applied tape to the skin around my nail and taped off the bottom half of my nail diagonally. Next I used a straw to splatter Sally Hansen Thinking of Blue on the section of nail that was showing through and then immediately removed the tape.
    I used another coat of HK Girl and put tape over the part of my nail with the splatter section, then painted on NYC Raindrop and removed the tape.
    I finished it off with one final coat of HK Girl!
    Nail Art Inspired by Nonoo SS15 // The Nailasaurus
    Nail Art Inspired by Nonoo SS15 // Nail That Accent

    To see the next collaboration post, visit Nail That Accent

    Share:
    Glitter, Swatch, Uncategorised

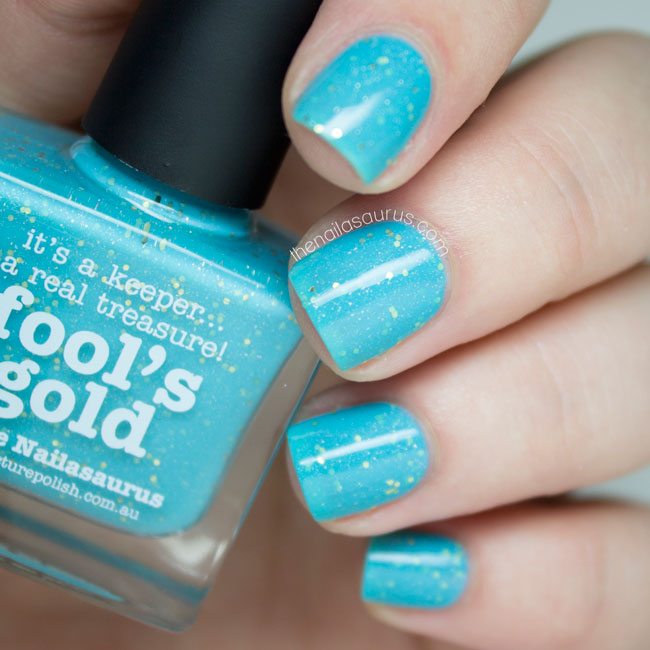
    Introducing my piCture pOlish shade… Fool’s Gold

    piCture pOlish Fool's Gold by The Nailasaurus Swatch

    piCture pOlish Fool's Gold Swatch
    I first knew about this project a little over a year ago but I had to keep it hush! The shade itself has been in the works for almost 9 months so after all that time holding the secret in, I’m so thrilled to be announcing my collaboration shade with piCture pOlish… Fool’s Gold.

    My Inspiration

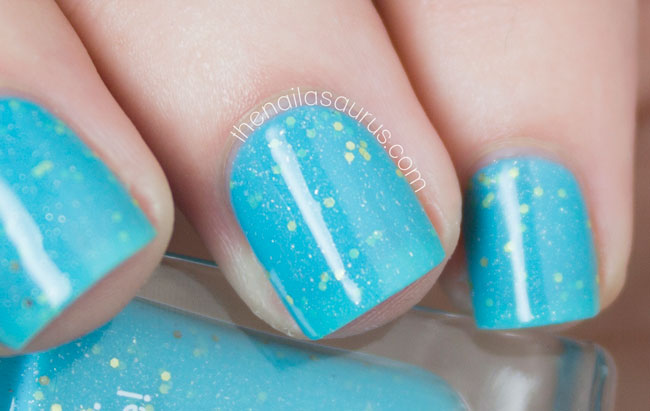
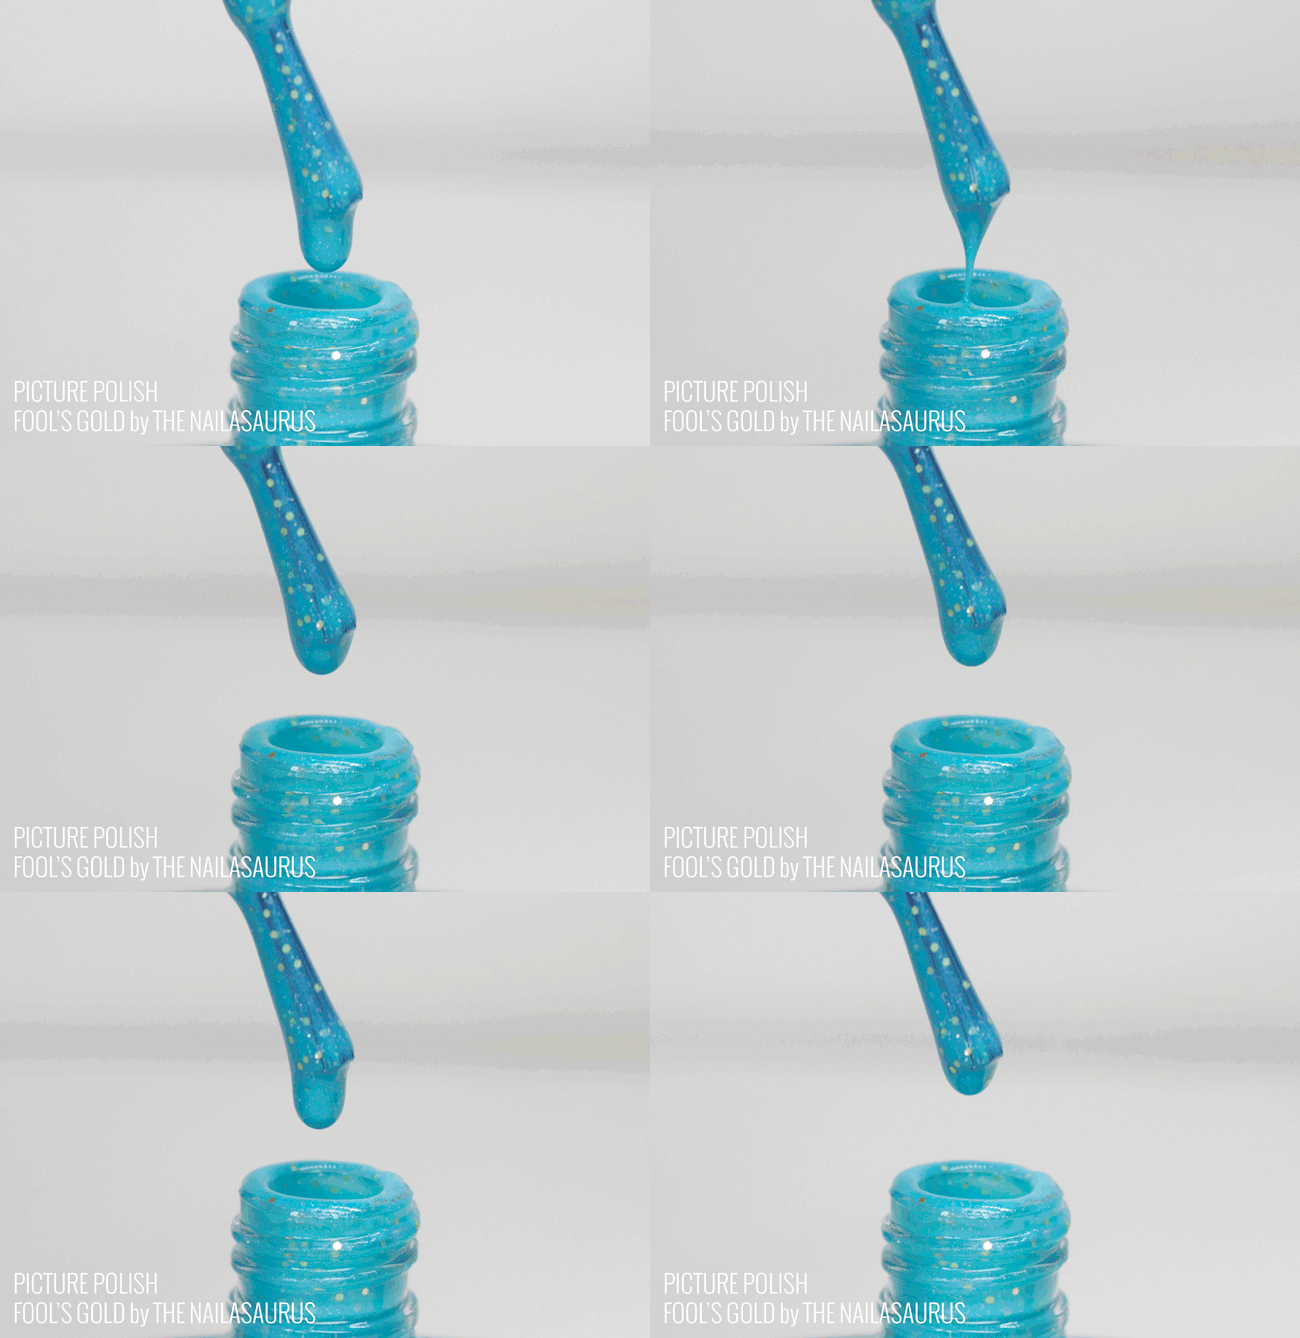
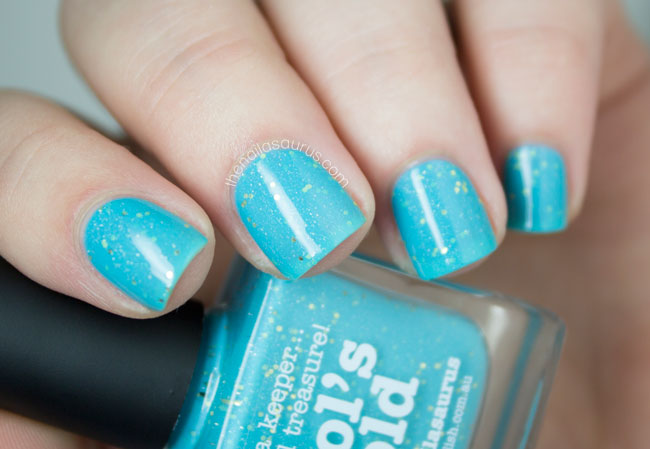
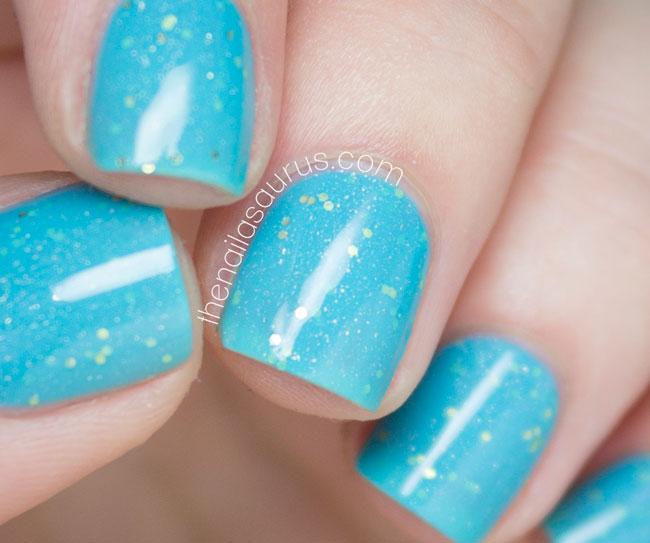
    When piCture pOlish asked if I’d like to work on a collaboration shade (like that’s even a question?!?!) I had a few ideas in mind that I’d been storing away in case I ever got the chance to create my own nail polish. In the end I settled on a turquoise with gold glitter. I wanted it to look like flecks of gold as seen through deep, tropical waters and the result is absolutely on point! The blue base is very pigmented but still has a smooth, jelly-like consistency that allows for the gold glitter and shimmer to peek through.

    I came up with the name but the ladies at piCture pOlish helped me out with the tagline as my solo efforts were somewhat less than inspired. I think the one we decided on – it’s a keeper… a real treasure –  is really fitting for this polish. I sure think it’s a keeper at least!

    Wearing the Polish

    As for the polish itself, it has piCture pOlish’s standard 5-free formula and the base leans towards a jelly but is more pigmented than a true jelly. You can quite easily get it opaque with two thick coats or three thin ones – I used three thin coats for this swatch with a top coat. Thanks to the insanely smooth formula, you can even use it as a topper over another polish. So far I’ve discovered it looks great over white and blue. And finally – it’s not gonna stain your nails! I know staining can be an issue with many turquoise and other blue shades so I’m very happy that noone will be suffering because of me.

    Fool’s Gold is everything I hoped for and more. It’s a shade that has spent years living in my head so it’s surreal and incredible to see it so perfectly crafted in real life. The team at piCture pOlish got it right on the very first try – they’re truly masters of colour to have created this beauty from nothing but a few pictures and a brief description of the way I envisioned the polish. I think it’s a fresh and unique glitter polish and I really hope that you guys are as blown away as I was when I first laid eyes on it!

    Where to Buy piCture pOlish Fool’s Gold

    Fool’s Gold is available from picturepolish.com.au and more stockists worldwide.
    For my UK girls, you can get it from Sally Magpies and Rainbow Connection.
    In the US, your stockists are Llarowe and Color4Nails.
    piCture pOlish x The Nailasaurus Fool's Gold Swatch
    piCture pOlish // Fool's Gold by The Nailasaurus
    Fool's Gold // Blue Glittery Nail Polish
    Gold Glitter in Blue Nail Polish // The Nailasaurus
    Share:
    Glitter, Nail Art, Uncategorised

    Rainbow Fish Glitter Placement Nail Art

    Rainbow Fish Nail Art // The Nailasaurus


    You may remember a mani from last month that contained a few acccent nails with glitter placement resembling the Rainbow Fish. Well, I loved the accent so much that the next day I went to town on the rest and did a full hand of rainbow fish nails! I took some pictures I never posted on the blog which I came across as I was deleting some old files and thought you might like to see. I think all together, this mani probably took close to 2 hours but SO worth it.
    Polishes Used

    piCture pOlish Swagger
    Nicole by OPI Be Awesome
    Glisten & Glow HK Girl Top Coat
    Rainbow Fish Glitter Placement Nail Art // The Nailasaurus
    Rainbow Fish Glitter Placement Nail Art // The Nailasaurus
    Share:
    Nail Art, Uncategorised

    Geometric Nail Art with Barry M Malibu

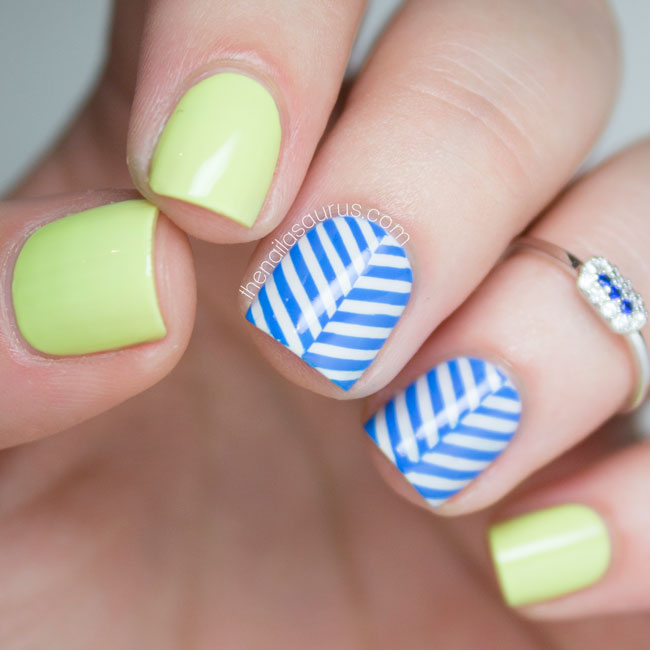
    Nicole by OPI Lay it on the Lime Nail Art // The Nailasaurus

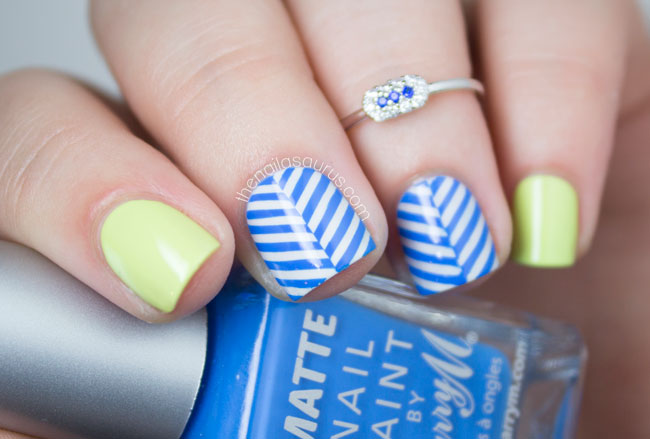
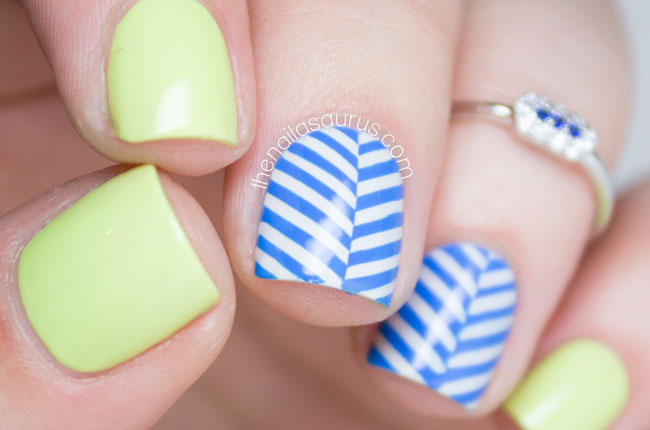
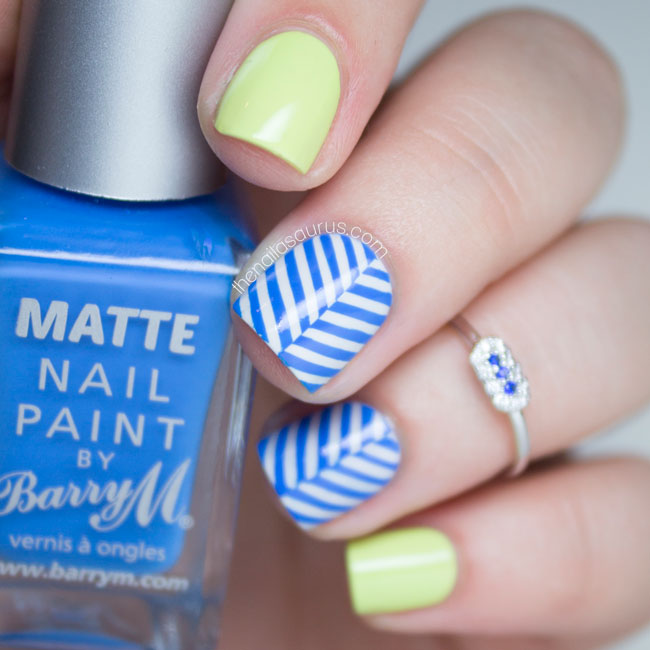
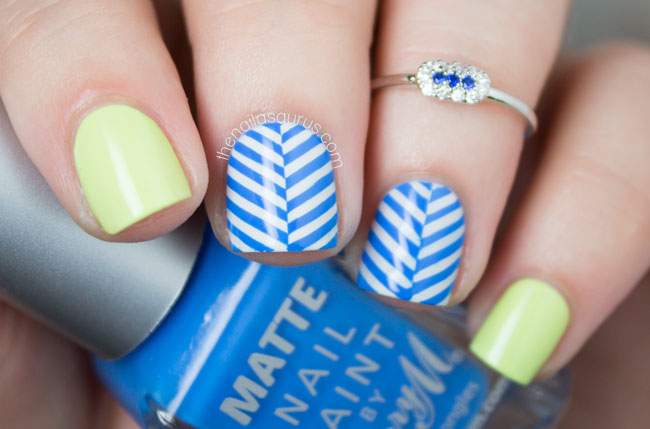
    What would you call a design like this? Where the lines meet up at the corners, but continue on in a different direction? I just feel like there must be a name for it! I’ve been through a few possibilities like ‘Alternate Chevrons’, ‘Crosshatch’ and ‘Weird Zig Zag Things’ but I just don’t think any of them are right. It’s been distracting me for a while now – a real mind bender!
    To achieve the disconnected look, I used scotch tape to tape off half of my nail and applied rows of striping tape at an upward slant. Next, I painted over the tape with Barry M Malibu then removed all the tape as quickly as possible. I added one thin coat of HK Girl to dry the polish and then repeated on the other half of my nail.

    What I Used

    Barry M Coconut
    Barry M Malibu
    Nicole by OPI Lay it on the Lime
    Glisten & Glow HK Girl
    ‘Lost in Space’ Midi Ring from Astrid & Miyu
    Nicole by OPI Lay it on the Lime Nail Art // The Nailasaurus
    Nicole by OPI Lay it on the Lime Nail Art // The Nailasaurus
    Nicole by OPI Lay it on the Lime Nail Art // The Nailasaurus
    Nicole by OPI Lay it on the Lime Nail Art // The Nailasaurus
    Share: