Follow:
Browsing Tag:

Black

    Glitter, Swatch, Uncategorised

    Polish Alcoholic Autumn 2013 Collection Swatches

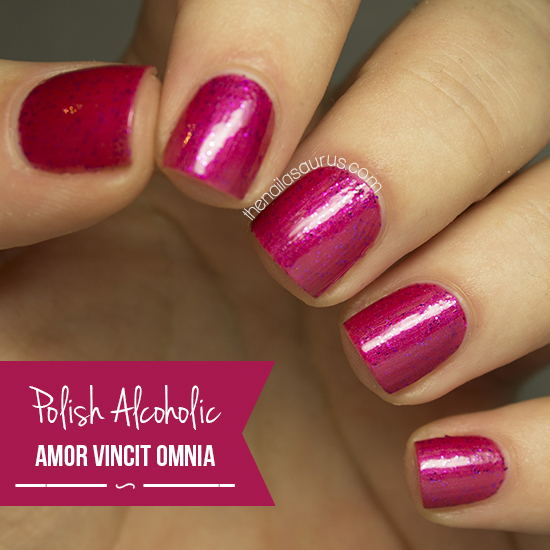
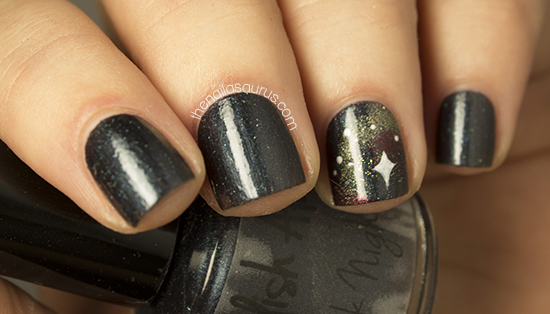
    It’s been an age since I swatched any nail polish so today I’m going to show off two polishes from Polish Alcoholic‘s Autumn 2013 Collection which is available to purchase on Etsy now. Both of these polishes are nicely pigmented, slightly shimmery shades with a some subtle glitter in the mix too.
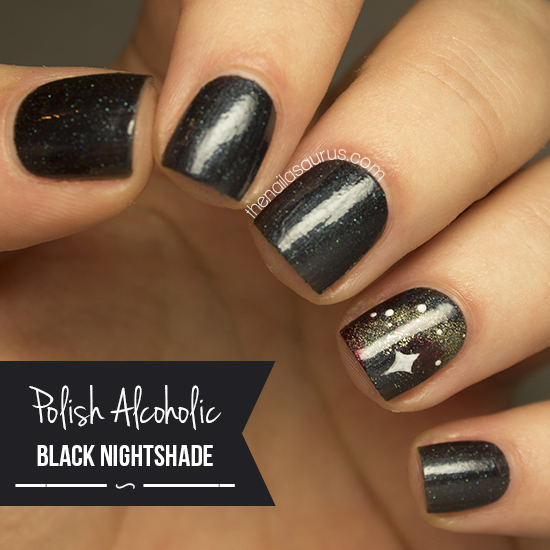

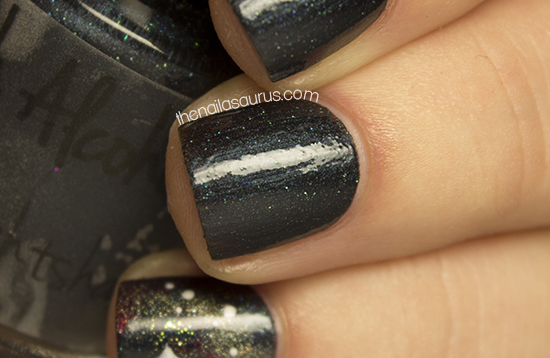
    Black Nightshade is a black polish tinted silvery blue with a subtle shimmer finish. As the name suggests, this polish does a great job of imitating the night sky. There’s some very fine glitter particles in here which sparkle holographic if you catch the light just right and it really looks like distant stars!

    I used 3 coats for this swatch but for a less intense black, you could use two. It’s topped with one coat of Revlon Quick Dry Top Coat.

    Where to buy: Polish Alcoholic on Etsy – $10.49/10ml
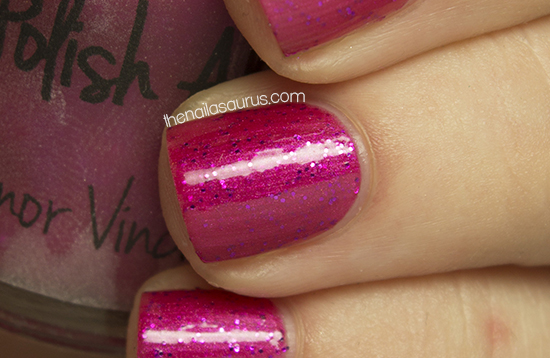
    Amor Vincit Omnia is a bright fuschia polish, sprinkled with magenta glitter. The glitter in this one isn’t as fine as in Black Nightshade but I was really impressed with how evenly it came out of the bottle and distributed across my nails. As you can see in the pictures, there’s no sign of the glitter accumulating closer to the the tips as you often get with glittery cremes. Again, there’s a very subtle shimmer in here which works well with the glitter.
    This swatch s 3 coats with a coat of Revlon Quick Dry Top Coat.
    Where to buy: Polish Alcoholic on Etsy – $10.49/10ml
    TwitterBloglovin’Tumblr

    Share:
    31 Day Challenge, Uncategorised

    31DC2013 Day 31: Honour Nails You Love

    So here we are! The 31st and final day of the challenge. I definitely enjoyed it more this time around than I did in previous years. I know that because not once did I consider giving up part way through! It’s always so satisfying when you get to the end of a big task like this that you commit yourself to and see through to the very end. I’m not ashamed to say that I’m very proud of myself right now!

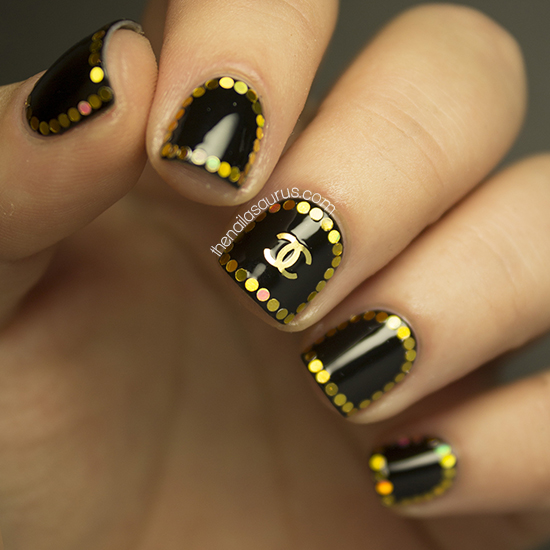
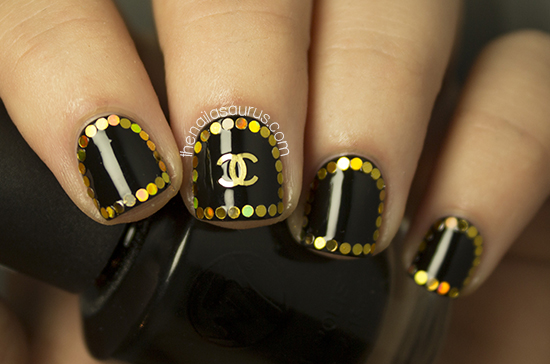
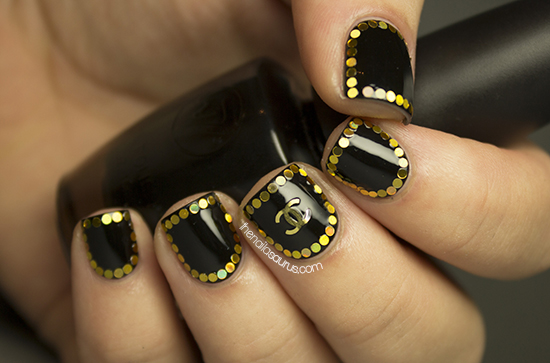
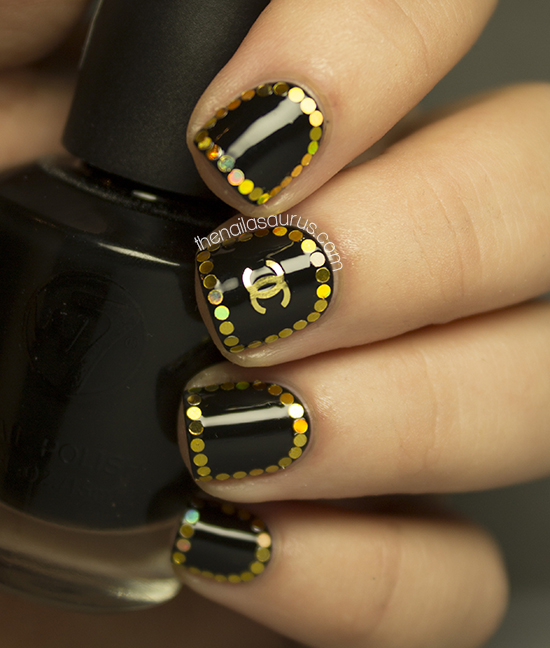
    For the last prompt of the challenge, we have to honour nails we love. There’s one manicure that I’ve loved since the moment I saw it and it’s by Deniz, a now-retired nail blogger, at Emerald Sparkled. This particular manicure is titled Look Rich, Be Cheap and since I first saw it back on that day in February 2012, it’s been burned in to my memory. I have a long standing love of glequins and I think I can pinpoint Deniz’s mani as the one that sparked it! Black and gold is a favourite of mine and I think Deniz’s design is so timeless. It’s jazzy but very elegant at the same time.

    I used W7 Black as my base colour and used round glequins from Born Pretty Store to frame my nails. (Video tutorial here)
    The Chanel decal is also from Born Pretty but they don’t seem to be selling them any more.
    I topped it all off with two coats of No7 Stay Perfect Top Coat.

    In other news, I’m headed to London tomorrow for the Cosmopolitan Blog Awards where I’m nominated in the Best Established Beauty Blog category. I’ll be teaming up with AllieLucie and Alice; all my fellow nail blogger nominees and I’m so excited to get there and meet everyone but very nervous at the same time. I’m still at a loss for something to wear on my nails and I only have the rest of the evening to decide! Can you say #nailbloggerproblems?
    Day 31: 2012 (Part 1) (Part 2
    Day 31: 2011
    Catch up with the 31 Day Challenge on Pinterest!

    TwitterBloglovin’Tumblr

    Share:
    31 Day Challenge, Uncategorised

    31DC2013 Day 18: Half Moons

    For my half moon nails I’ve gone back to that old favourite, black and gold! I was trying to figure out ways to spice it up – maybe adding a gradient, a waterfall, some glitter – but then I thought why mess with the proven formula? I do love half moons. I think they’re very, um… sexy, especially in any combination that includes red, black or nude. I mean there’s a reason it’s Dita Von Teese’s nail art of choice!

    I used NYC Full Metal Jacket as my base colour followed by a coat of No7 Stay Perfect Top Coat to dry it quickly. Next I used hole reinforcers to mark off the half moon and painted over the rest of the nail in W7 Black. Then I topped it all off with another two coats of Stay Perfect Top Coat.
    I wrote a full tutorial for half moon nails here.

    See what’s coming next in the 31 Day Challenge 2013!

    TwitterBloglovin’Tumblr

    Share:
    31 Day Challenge, Freehand, Uncategorised

    31DC2013 Day 8: Metallic Nails

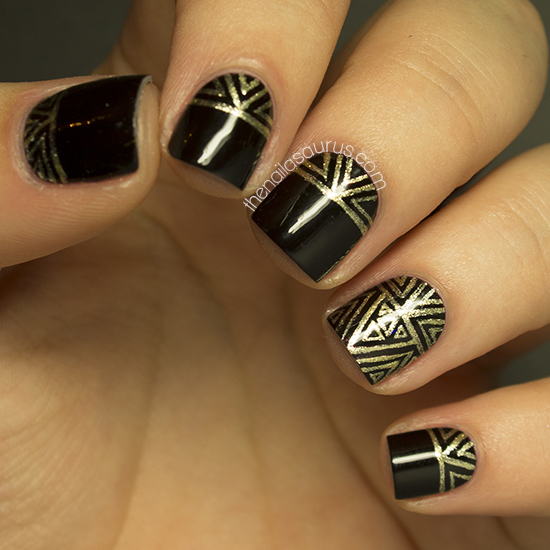
    I was really struggling with ideas for today’s Metallic Nails prompt but when I came across NYC Full Metal Jacket I knew it was the one! And of course, what else would I pair it with other than black?!
    Since my Great Gatsby inspired manicure I’ve been itching to try something similar and I’m so pleased with the result. I’ve been on such a freehand kick this weekend – trying lots of new things and pushing my own boundaries when it comes to freehand nail art. I’ve really surprised myself with what I can actually do! 

    I used A-England Lancelot as my base colour then freehanded the details in NYC Full Metal Jacket with a nail art brush. It’s all topped off with two coats of Sally Hansen Dries Instantly.

    TwitterBloglovin’Tumblr

    Share:
    31 Day Challenge, Glitter, Gradient, Uncategorised

    31DC2013 Day 7: Black and White Nails

    There’s no doubt that I really packed as much black and white in to this nail art as I possibly could! The plan was just to create a gradient in grayscale but it didn’t look as smooth as I’d hoped – it was kind of speckly – so I added the black and white glitter to try and disguise the fail! I think this teeters just on the edge of ‘over the top’. It’s a nice effect but there is a lot going on!

    I started with a base coat of Barry M White and created the gradient by painting W7 Black, Rimmel Grey Matter, Sally Hansen Dorian Grey and Barry M White on to a sponge and dabbing it on a few times over.
    The black and white glitter is Seventeen’s Off The Wall Graffiti which I picked up in Boots recently for a bargain price of £2.99.
    Finally, I topped it all off with two coats of Sally Hansen Dries Instantly.

    TwitterBloglovin’Tumblr

    Share:
    Freehand, Uncategorised

    inFamous Inspired Nail Art

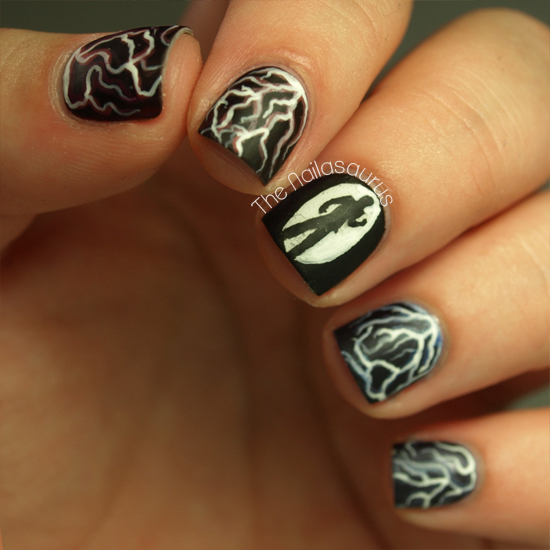
    Today’s nail art is inspired by the inFamous game series. I’ve been playing them a lot recently so I really wanted to dedicate some nail art to Cole Macgrath. If you’re not familiar with the series, it follows Cole who has the power to manipulate and control electricity. Throughout the games, you have to decide doing the good thing or the evil thing. If you follow the righteous path you remain a handsome hero whose electric is blue but if you’re naughty, your electric goes red and you start to look kinda nasty too!

    It took me a few tries to figure out a method to make the lightning look realistic but I think it turned out quite well in the end! I started by painting on the darkest reds and blues that were in my collection as my base colours.
    Next I mixed up red with Rimmel Daisy Chain to create a semi opaque, shimmery version of 
    red and used a nail art brush to paint on a lightning strike pattern. 
    When that was dry, I used white acrylic paint to paint on thinner lines and create the final effect. I repeated that with blue in the place of red for the other two fingers.
    My middle finger is freehanded (rather badly!) over a base of Barry M White using Black acrylic paint.
    I finished it all off with a coat of  No7 Stay Perfect Top Coat to smooth it over and then a coat of NYC Matte Me Crazy for the matte look.

    TwitterBloglovin’Tumblr

    Share:
    Uncategorised

    Geometric

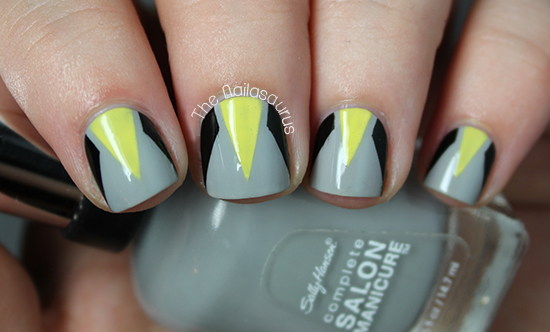
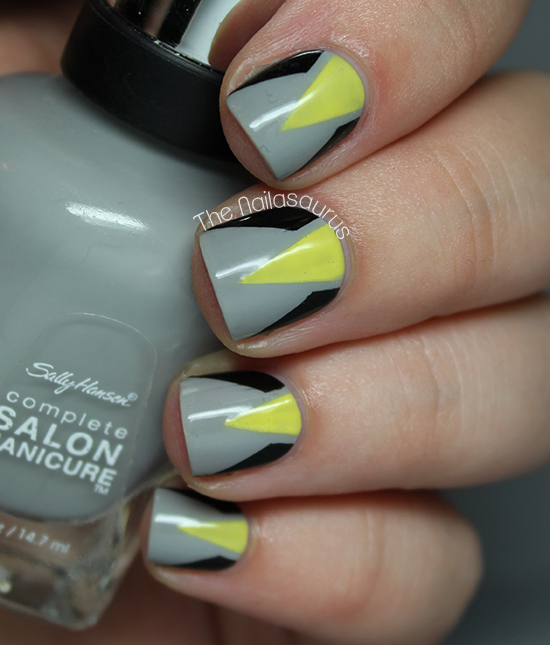
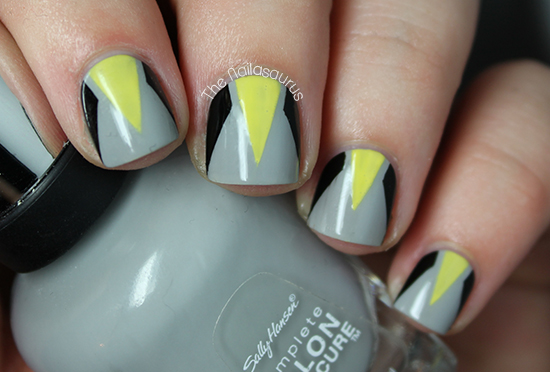
    Geometric nail art has never really been my thing but I still persevere and try to make it work. This time around my nails just remind me of Wolverine! I think I’ll stick to the gradients and waterfalls for now and leave the edgy stuff to the professionals!
    I’m still trying to get the hang of this new camera which is why my pictures are kind of all over the place at the moment. I’ve been tempted to go back to my old one while I figure things out in the name of consistency and decent pictures but I refuse to let this beat me!

    1. I used Sally Hansen Dorian Grey as my base colour and topped it with a coat of Sally Hansen Dries Instantly.
    2. Once that was all dry, I marked off 3 triangles at the base of my nail with striping tape and filled them in with a nail art brush one nail at a time.
    3. I quickly removed the tape while the polish was still wet and when everything was dry, applied a few more coats of Dries Instantly.

    Share: