Follow:
Browsing Tag:

Black

    Tutorial, Uncategorised

    Laser (Disco, Moonbeam?) Nail Art Tutorial

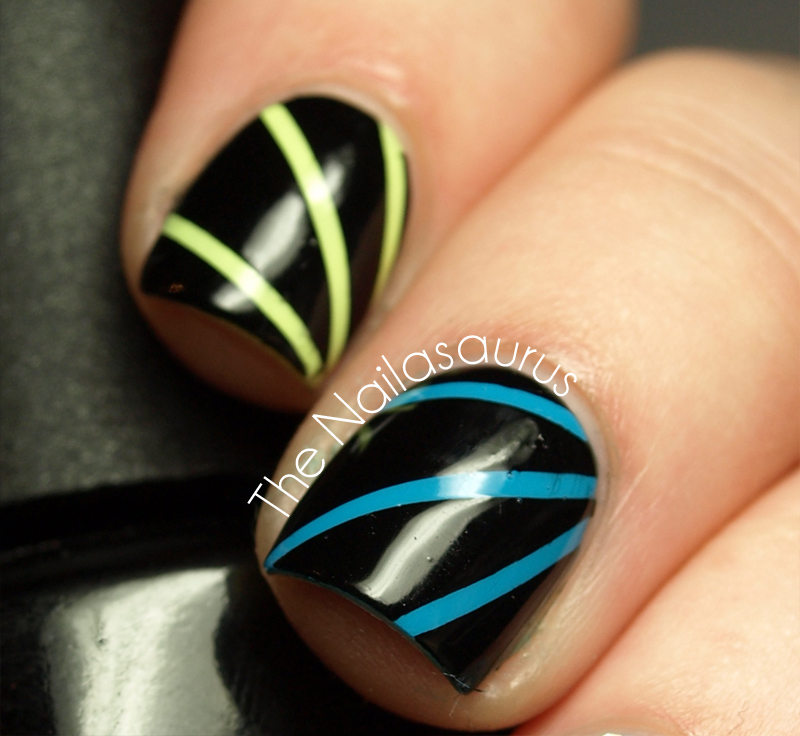
    Today I have a tutorial for the ‘Strobe Lights’ part of my Disco Mani from earlier in the week. I suppose you could also call them Lasers or Moonbeams. Ooh, I like Moonbeams – the Moonbeam Mani has kind of a ring to it, don’t you think? Although I don’t think Moonbeams come with a neon option! Can you tell I’m just typing as I think tonight?!
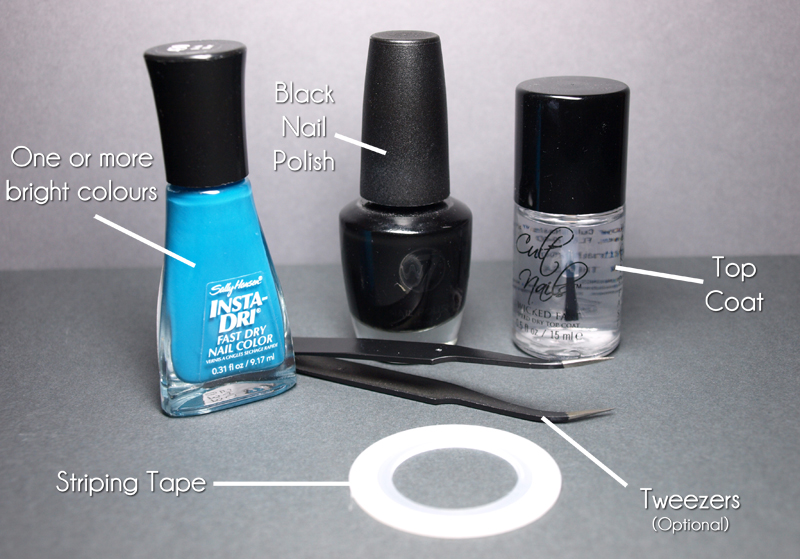
    You Will Need
    Laser Nail Art Tutorial from The Nailasaurus
    Bright colours for the ‘lasers’. I’m using Sally Hansen Insta-Dri in Brisk Blue.
    Black nail polish. I use W7 Black.
    Clear top coat that’s fast drying. This one is Cult Nails Wicked Fast.
    Striping tape which you can get on eBay or from online nail art supply stores.
    Tweezers. These are optional but I find they come in handy at a few points in this technique.
    The Fun Part!

    Step 1
    Paint on your bright base colour and make sure it is completely dry before moving on to the next step. I normally use a thin coat of quick drying top coat at this point to speed up the process. If your base coat isn’t dry, it will peel off with striping tape later on.
    You can stick with one colour for every nail or be a bit adventurous by mixing and matching!
    Laser Nail Art Tutorial from The Nailasaurus

    Step 2
    Cut a few lengths of striping tape about twice the length of your nail and place them where you want your lasers to be. You can use tweezers for extra precision. Make sure the strips are stuck down right up to the edges of your nails so you get a crisp line. 
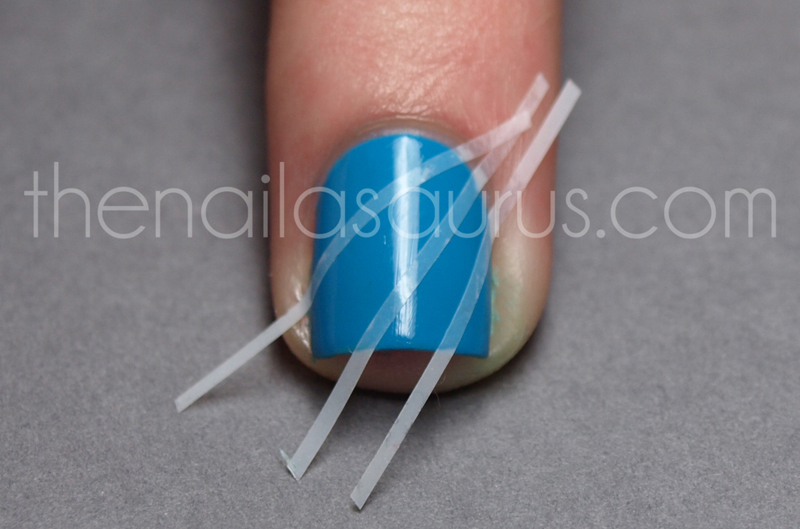
    Laser Nail Art Tutorial from The Nailasaurus
    Step 3
    One nail at a time, paint your black polish all over your nail and move straight on to step 4.

    Laser Nail Art Tutorial from The Nailasaurus
    Step 4
    While your black polish is still wet, carefully remove the striping tape one strip at a time. Use an up and backward motion – I hope I’m explaining this clearly enough but I’d describe it as pulling the tape back on itself. Basically, just pull it off in a straight line and you should be safe. This is a step where tweezers might come in handy for a bit of extra grip on the fiddly tape. We’re nearly done!
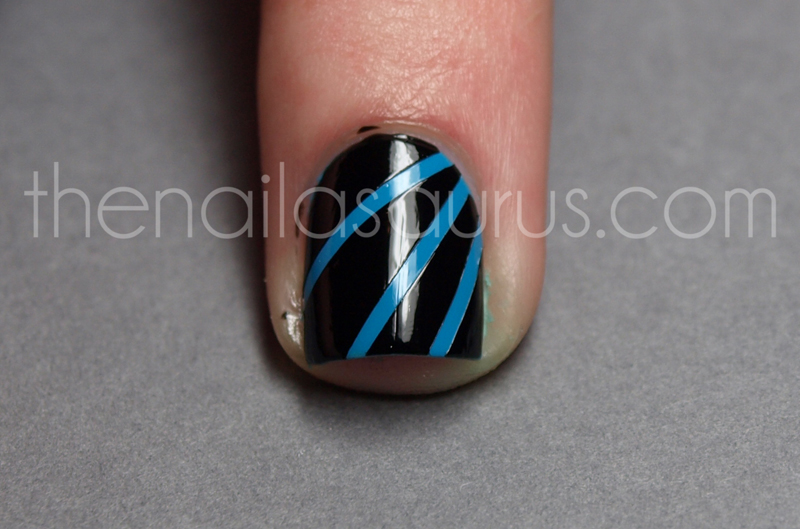
    Laser Nail Art Tutorial from The Nailasaurus
    Finishing Up
    Wait for your black polish to dry and add a top coat to smooth out any bumps and make your mani last longer. Don’t be impatient like I was and apply your top coat too soon else you’ll end up with smears.
    To clean up around your cuticles, take a small paint brush and dip it in to acetone or nail polish remover before running it around your cuticles to remove any unwanted bits of polish and leave you with a crisp edge.
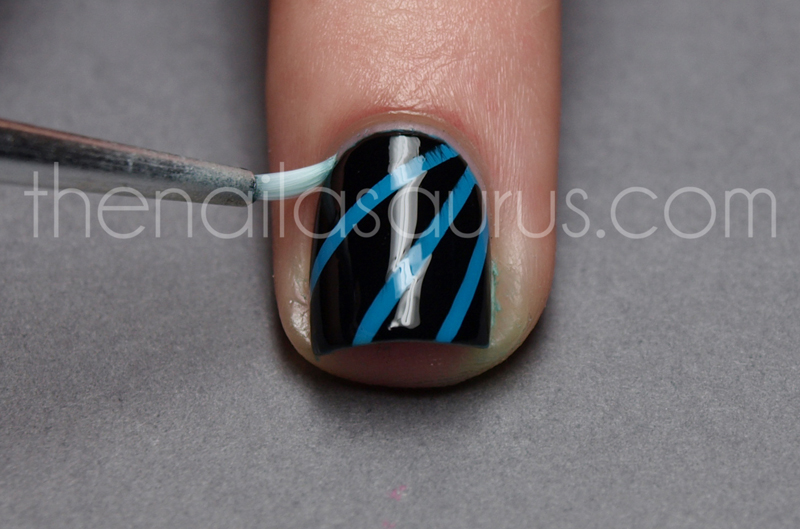
    Laser Nail Art Tutorial from The Nailasaurus
    Ta-Dah!
    All finished! I want to see you all rocking this mani at every disco you attend henceforth!
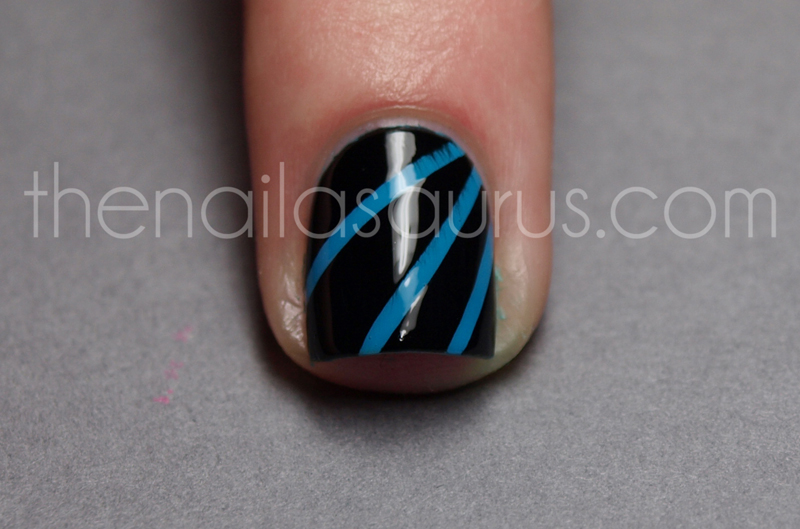
    Laser Nail Art Tutorial from The Nailasaurus
    Share:
    Glitter, Uncategorised

    Disco Nails with ‘Glequins’

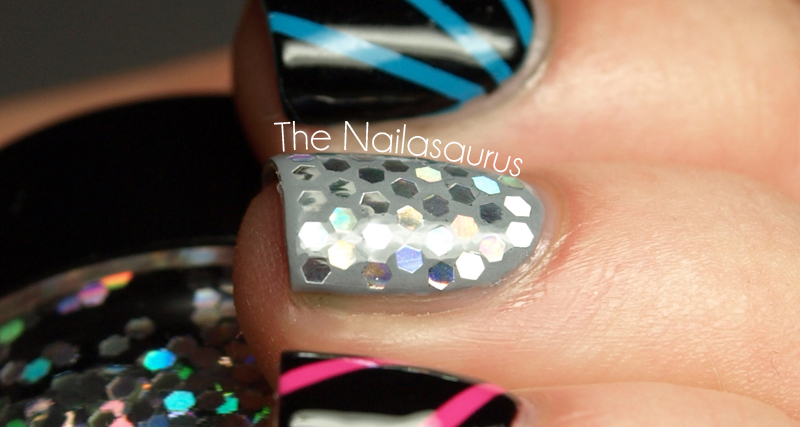
    When I showed a friend [this] manicure from a few days ago and mentioned that I placed each piece of ‘glitter’ individually, he said it’s a bit big to be glitter. I never thought about it too much before but I think he’s completely right, but then again; they’re too small to be sequins! So I ended up mashing the two words together and I will now call these little hexagonal pieces of shiny plastic GLEQUINS (glee-kwins)!
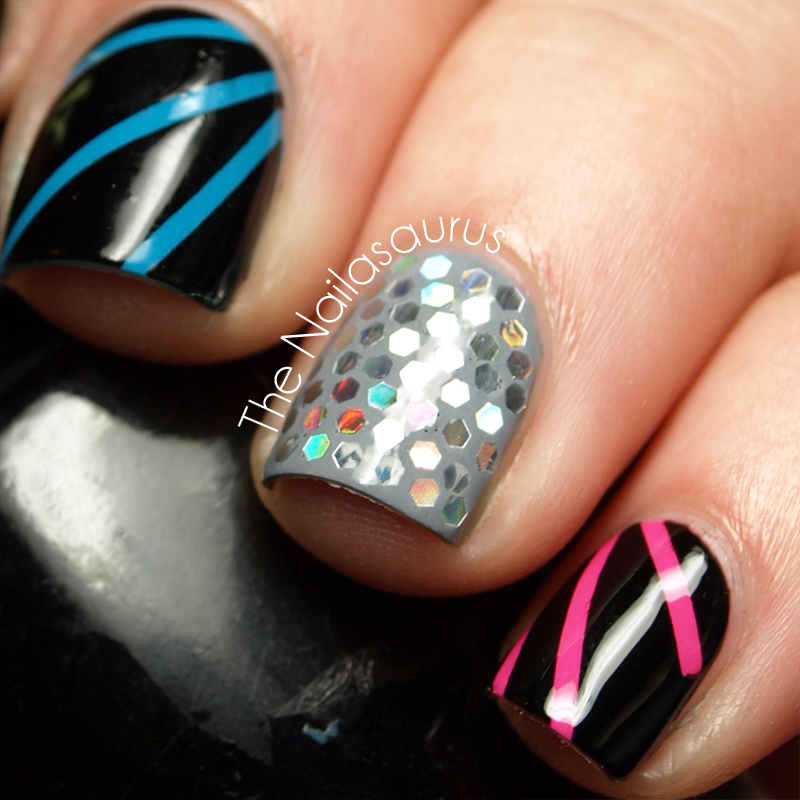
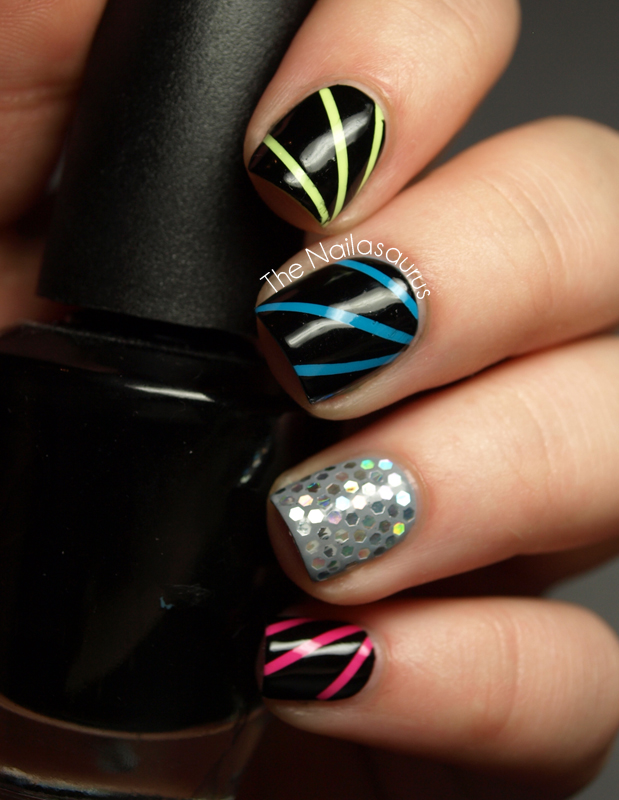
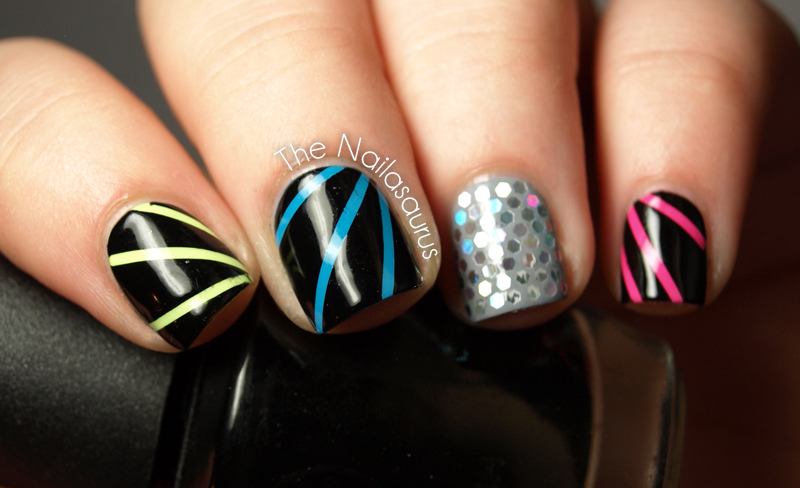
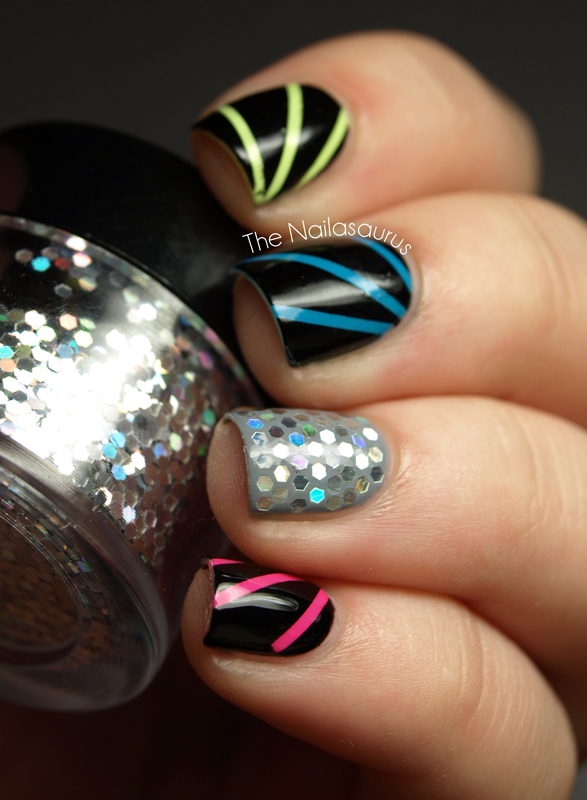
    Today’s nail art idea comes from Lucy on Facebook. She had the idea of a mirror ball accent nail and I happen to have the perfect glequins for a mirror ball look. I really can’t stop staring at that accent nail and wiggling it around in the light. I think the pictures do quite a good job of showing the holographic effect but it’s even more mesmerizing in person.
    Disco Nail Art

    Disco Nail Art

    I added some ‘strobe lights’ on the other nails by painting on the bright base colours first. Next, I marked off some lines using striping tape, painted W7 Black over the top and peeled off the tape before the black had a chance to dry.
    The base colours (top to bottom in the above picture) are Born Pretty Fluorescent #15, Sally Hansen Brisk Blue, Rimmel Grey Matter and BYS Pink Panic.
    For the accent nail, I used two coats of Rimmel Grey Matter and started attaching the glequins while the second coat was still tacky. As you can imagine, this took quite a while so when I got about half way down the nails, I had to add a coat of clear polish to make it sticky again. The holographic hexagonal glequins are from Born Pretty Store here.

    Each nail is topped with two coats of Cult Nails Wicked Fast.

    Disco Nail Art

    Disco Nail Art

    Disco Nail Art

    TwitterBloglovin’Tumblr

    Share:
    Freehand, Studs, Uncategorised

    I Call It The Whale Tail Nail!

    It would seem I have THE worst luck (or lack thereof) when it comes to camcorders. So I had trouble with the first one I was using which lead to me finally sucking it up and buying a new one a few months ago. Well as I was filming the answers for the Q and A today, the battery died and refused to recharge. When I took the cable out of the camera, the jack came with it so I now have a hole in the side of my camera! Hopefully I can return it to the store I got it from since it’s faulty and I’ll be back in the video business. Until then, you can watch the ‘outtakes‘ from the 10 minutes of footage I managed to film before the camera’s untimely death on YouTube here.
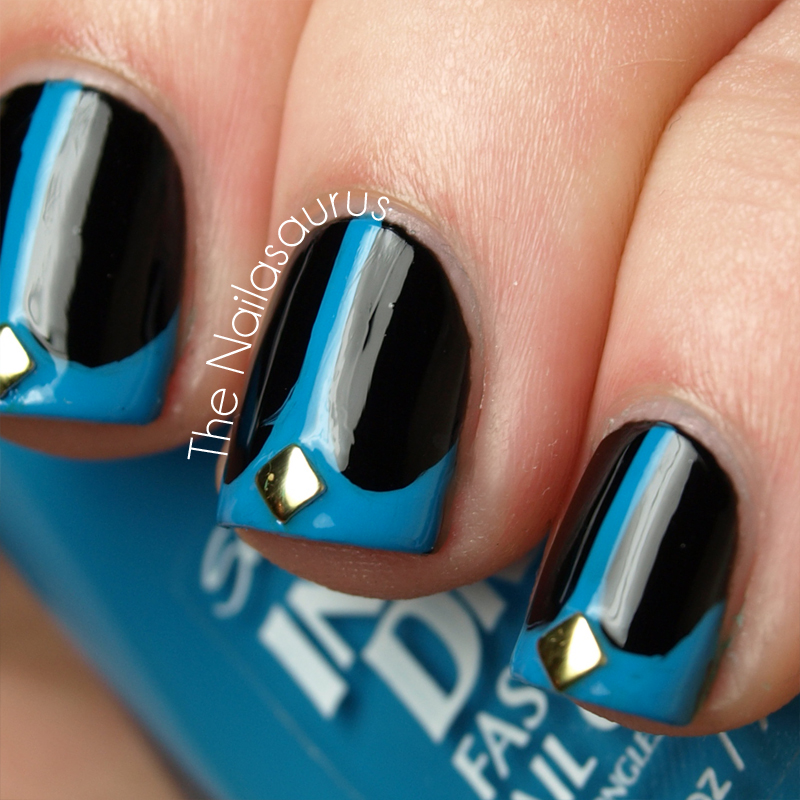
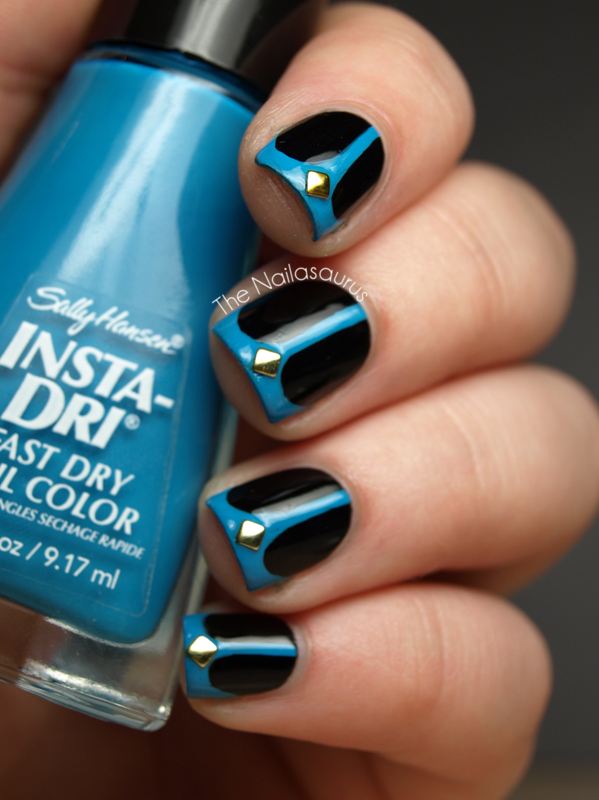
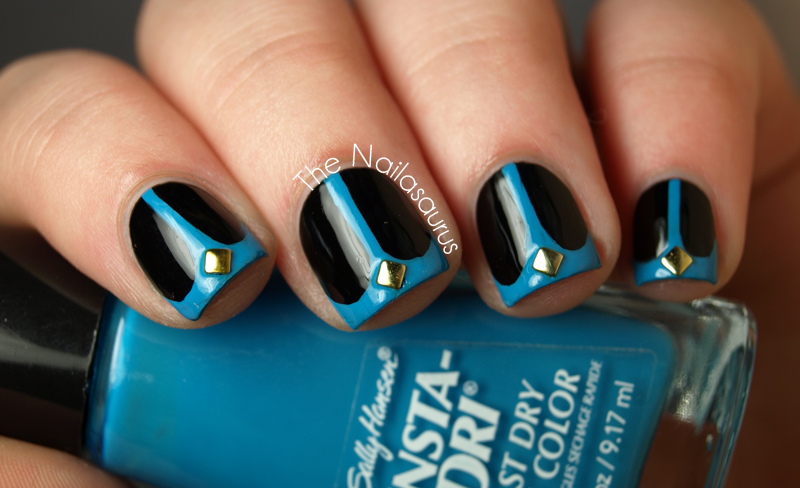
    This manicure is very similar to the V-Gap manicure but I put a little twist on it (literally), turned it upside down and named it the Whale Tail Nail because rhyming words just sing to me like I’m 10 years old!

    I used W7 Black as a base colour and Sally Hansen Insta-Dri Brisk Blue which I inexplicably found in a bargain bucket in my local Original Factory Shop. The studs are the 2mm gold squares from Born Pretty Store here. Don’t forget to use my code, SA5X31, for 10% off any order at BornPrettyStore.com!

    TwitterBloglovin’Tumblr

    Share:
    Gradient, Holographic, Uncategorised

    Hologradient

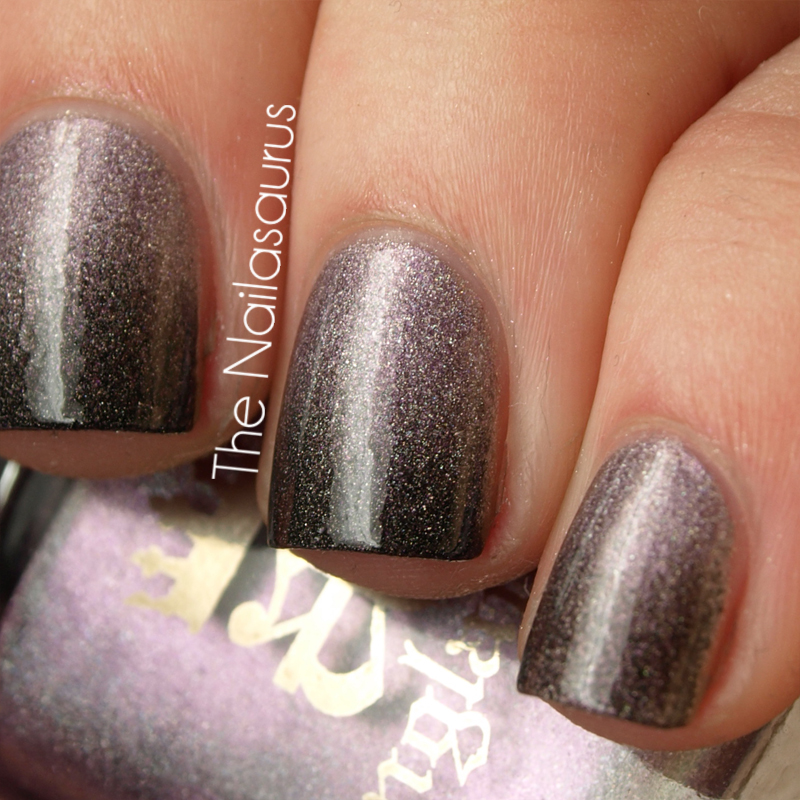
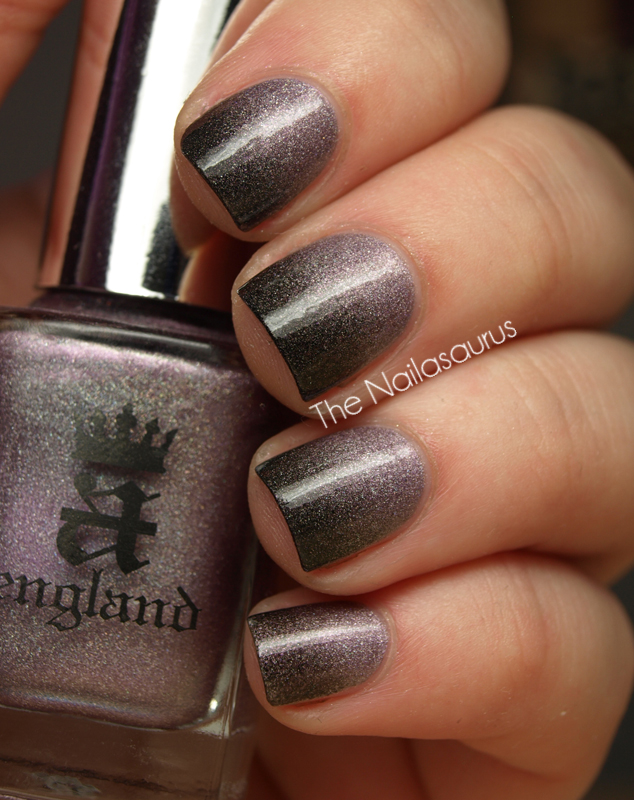
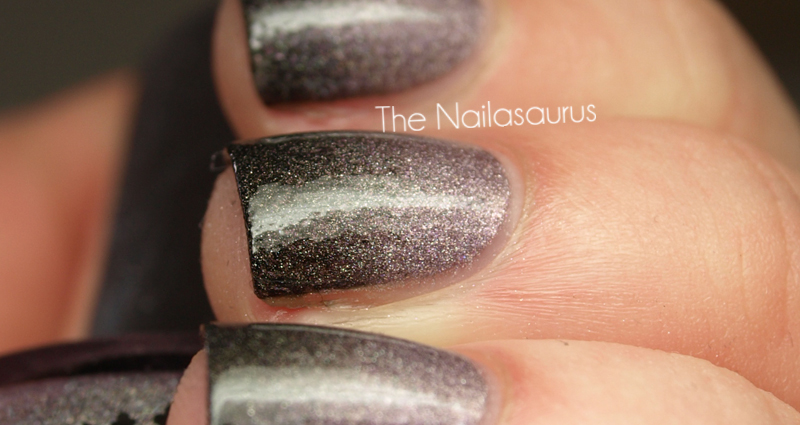
    I’m back to doing gradients again! In the tutorial I wrote, the sponge I’m using is a bathroom sponge and is quite porous. A lot of other bloggers have been using make-up sponges to create their gradients and many of you lovely lot suggested I try one myself to get a smoother fade and less ‘bumpy’ gradient. It definitely works – make up sponge  > bath sponge for gradient nails!
    Holographic Gradient Nail Art

    Holographic Gradient Nail Art
    I used A-England Princess Tears as a base and then added A-England Bridal Veil to create a gradient following this tutorial.

    Holographic Gradient Nail Art

    Holographic Gradient Nail Art

    TwitterBloglovin’Tumblr

    Share:
    Freehand, Gradient, Uncategorised

    Under Lock and Key

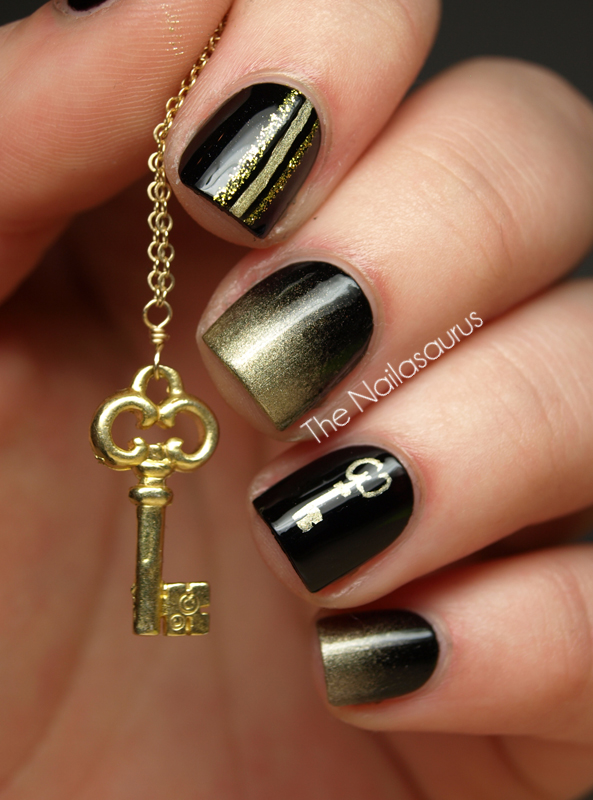
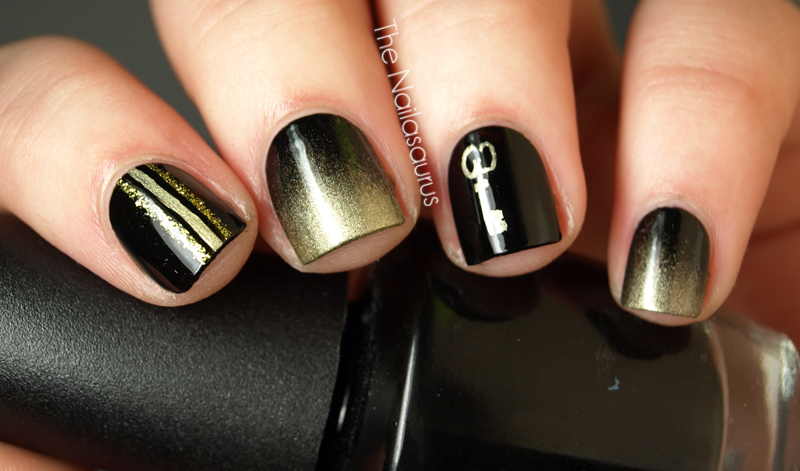
    Today’s nail art is inspired by a piece of jewelry from Anna Sabino – a New York based handmade jewelry designer. When I saw this key pendant, I instantly had the idea to fashion a lock and key on my nails which I think turned out incredibly cute! I’ve even worn this mani for more than a day which is a surefire way to tell I love it!
    The black and gold gradient just makes this mani. You can never go wrong with black and gold together, it’s a classy and chic combination but adventurous and kind of wild at the same time.
    Black and Gold Nail Art

    Black and Gold Nail Art
    I used W7 Black as a base and Barry M Gold Foil for all the details including the gradient. The gold glitter stripes were done using a Kiss nail art striper. 
    You can get 20% off any order at LucidNewYork.com using the code LN20D.
    Black and Gold Nail Art

    Black and Gold Nail Art
    Sorry if you’re sick of me reminding you, but the Bundle Monster Facebook Competition is still open and every vote counts! You can go straight to my entry here and if you like it, it would be great if you could drop a vote in the pot for me. Thank you!

    TwitterBloglovin’Tumblr

    Share:
    Freehand, Gradient, Uncategorised

    The Punisher Nail Art!

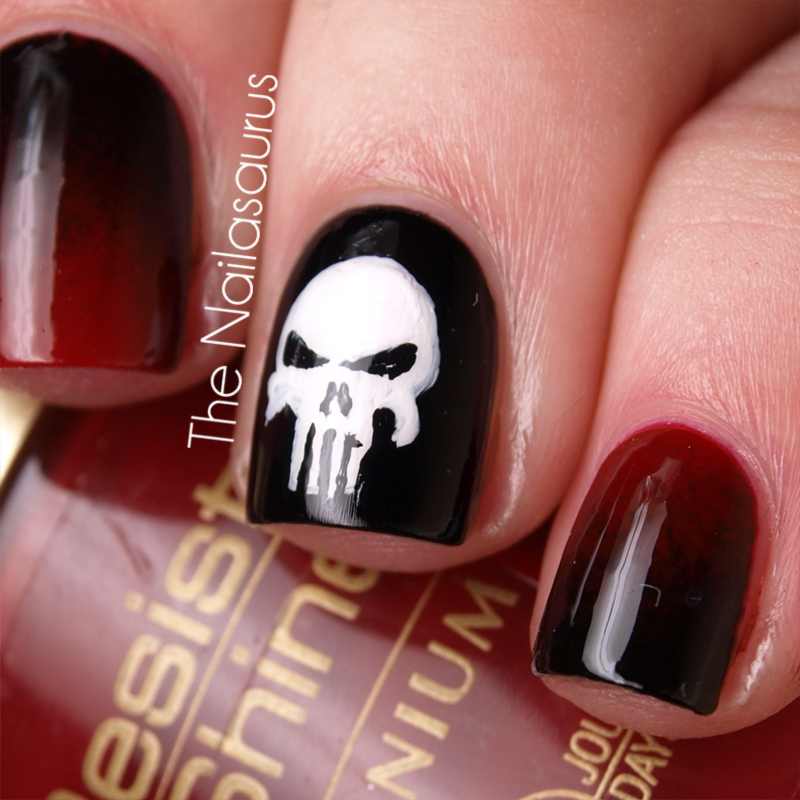
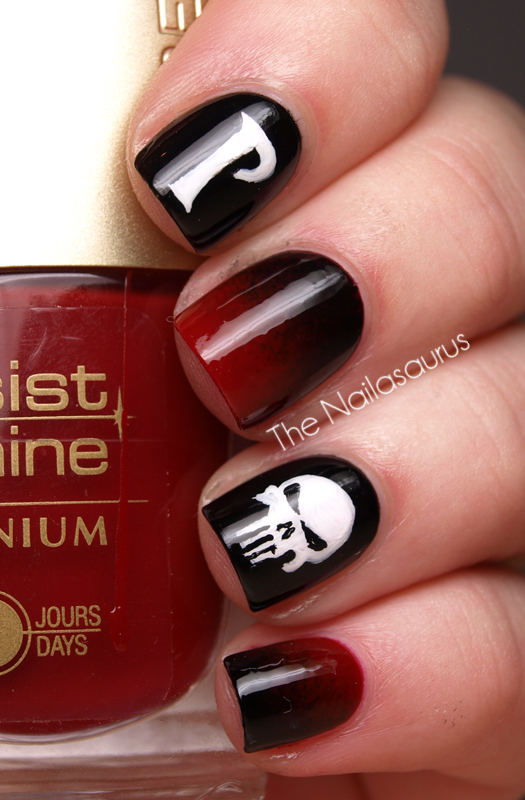
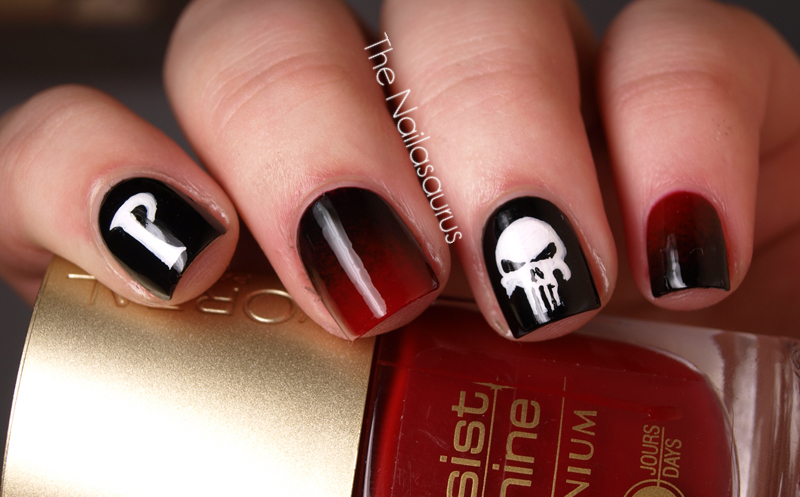
    So today’s nail art is based on Marvel’s Punisher. I’ve never read a Punisher comic or seen a Punisher film, but I’ll take any excuse to draw a skull on my nails! 
    I’m starting a new challenge in June which Jo from Northern Nails came up with and I was gonna save this idea for then but it doesn’t quite fit the criteria. I don’t want to give too much away but given my history with this theme and the fact that I’m super excited, you might be able to guess at what it is!
    Marvel Punisher Nail Art

    Marvel Punisher Nail Art
    The colours here are W7 Black and a red from L’Oreal which has no shade name on the bottle (gradient tutorial here). The details are done with white acrylic paint.

    Marvel Punisher Nail Art

    TwitterBloglovin’Tumblr

    Share:
    Uncategorised

    Black and White Day 10: Your Choice

    For the last day of the challenge we decided to recreate our favourite manicure that someone else had created during the challenge. So I had the near impossible task of picking from 42 manicures! In the end, I came to a compromise, I’d dedicate one finger on my hand to my favourite design from each of the other 5 ladies.

    Black and White Challenge Day 10

    Black and White Challenge Day 10

    Pinky Finger, The Lacquerologist: Day 3
    See Emily’s original post here
    W7 Black as a base. Dotted first with Barry M White then again with Rimmel Urban Princess, Barry M Mint Green, NYC Lexington Yellow and Miss Sporty Orange.

    Ring Finger, Nails and Noms: Day 3
    See Rie’s original post here
    W7 Black as a base. Using scotch tape to mark of the triangle closest to my cuticle, I used BYS Flirty Sparkle. I gave up on scotch tape and freehanded the next triangle with Rimmel Daisy Chain.

    Middle Finger, Fab Fingertips: Day 5
    See Esther’s original post here
    A-England Galahad as a base. A-England St George for the first cloud and W7 Black for the second.

    Pointer Finger, Sincerely Stephanie: Day 2
    See Stephanie’s original post here
    Base coat of Barry M White. W7 Black with a striping brush for the center parting. Then I switched to a dotting tool using the same two colours.

    Thumb, Let Them Have Polish: Day 1
    See Christina’s original post here
    Barry M White as my base colour. First I used a large dotting tool and W7 Black, then a slightly smaller dotting tool with Barry M White to dot in the centres.

    Finally, I finished off each nail with two coats of NYC In A New York Minute.

    Black and White Challenge Day 10

    Black and White Challenge Day 10
    Black and White Challenge Day 10
    And finally, pop over to the other ladies’ blogs to see which design they’ve recreated!
    Esther at Fab Fingertips
    Stephanie at Sincerely Stephanie

    TwitterBloglovin’Tumblr

    Share: