Follow:
Browsing Tag:

Barry M

    Freehand, Gradient, Uncategorised

    Let Me Upgrade You

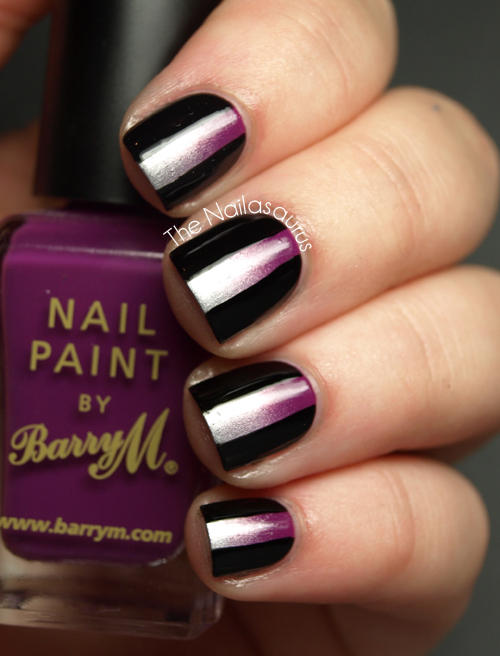
    I added some black block detail to the gradient from my last post. I just took a striper brush and my trusty W7 Black to it and here’s the result. I looove it!
    I’m sure a lot of you are wondering what’s going on with the Load N Vote contest. Voting should be live by now but it seems there’s another hiccup with their site and/or server. I am so sorry but I guess that’s the risk I took running a competition with a start up site. I know some of you saw the post that got published earlier today when voting was supposed to open, that will go up again once everything is fixed. Once again guys, I’m sorry, but it really is beyond my control.

    Gradient Nails from my previous post
    W7 Black added with a striper brush.

    TwitterBloglovin’Tumblr

    Share:
    Gradient, Uncategorised

    Gradient Nails Revisited

    Sorry about yesterday’s extremely brief post but I’m going to leave you with one again today! 
    #BadBloggerIsBad
    The nail art comes easy to me but assembling words in to cohesive sentences seems like such an effort at the moment, so I hope you don’t mind me just posting pictures.

    I used Barry M Bright Purple as a base and Barry M Silver Foil for the gradient (tutorial here)

    TwitterBloglovin’Tumblr

    Share:
    Freehand, Uncategorised

    Superheroes Challenge: Disney Hero… I Fight For The Users

    As I mentioned earlier in the week that I’m really not a huge Disney fan. The fairytale stuff just gets on my nerves a bit and I couldn’t decide on a hero character that I really wanted to portray on my nails. Then a light bulb went on somewhere and I remembered that the Tron films are made by Disney. BINGO! 
    I went for a very minimalist approach and if I didn’t tell you this manicure was Tron themed, you may not be able to guess! It’s based on Tron’s suit from the first movie and my ring finger is supposed to be The Grid. 

    The base colour is Rimmel Grey Matter and I used a nail art brush with Barry M Cyan Blue for all the details.

    Previously: Tron-ails and Tron Nail Art
    The other ladies also have some Disney Hero manicures for you!
    Charlotte from Charlotte’s Nails
    Debbie from The Crumpet
    Kerrie from PishPosh and Polish
    Sarah from Spellbinding Nails

    TwitterBloglovin’Tumblr

    Share:
    Freehand, Uncategorised

    Put The Pieces Back Together

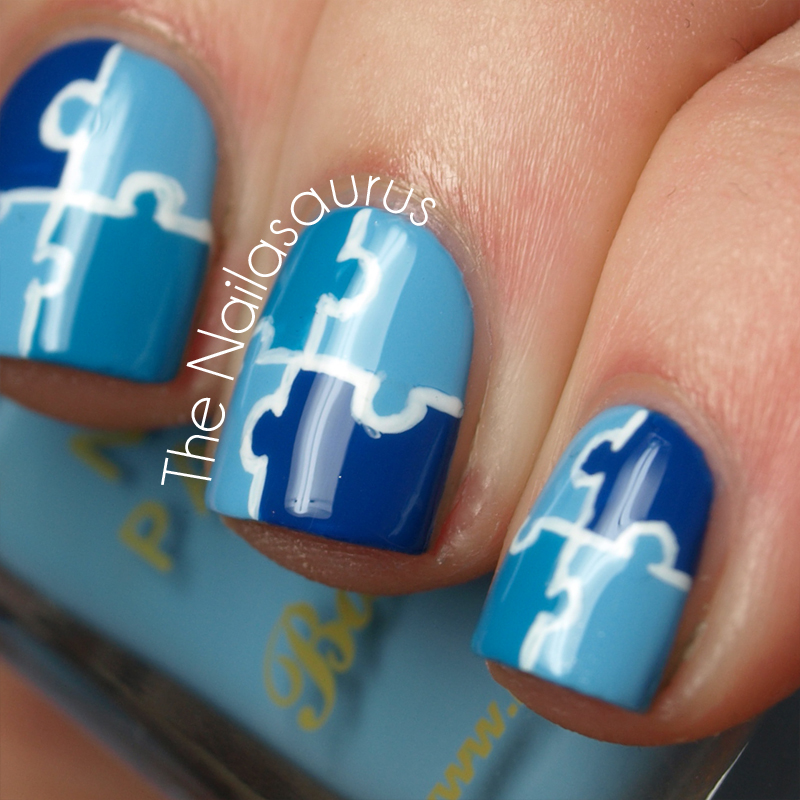
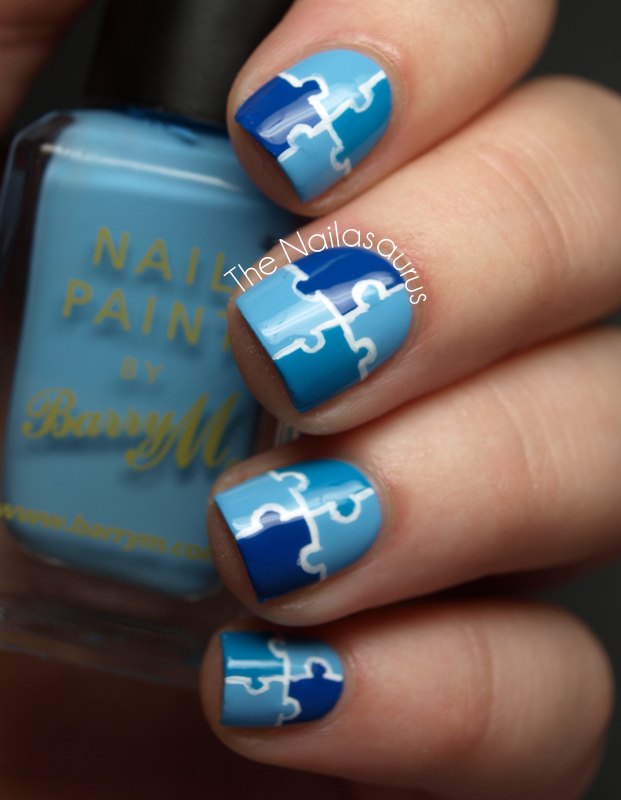
    This idea has been sitting on a post-it note for a while now. I actually have a wall covered in post-its with nail art ideas on, I just need to find the time to get through them! Blue is my favourite colour to wear on my nails and it’s been way too long since it graced my nails. Since I couldn’t decide exactly which shade I wanted to wear, this design was ideal.

    I used Barry M Blueberry Ice Cream for my base colour. Next, I freehanded on 2/4 of the puzzle shapes on each nail with No7 Poolside BlueSally Hansen Insta-Dri Brisk Blue, and a nail art brush.
    I outlined the shapes using the same small nail art brush with white acrylic paint.
    Finally, I topped it with two coats of Cult Nails Wicked Fast.

    TwitterBloglovin’Tumblr

    Share:
    Freehand, Glitter, Uncategorised

    Sandy Skittle

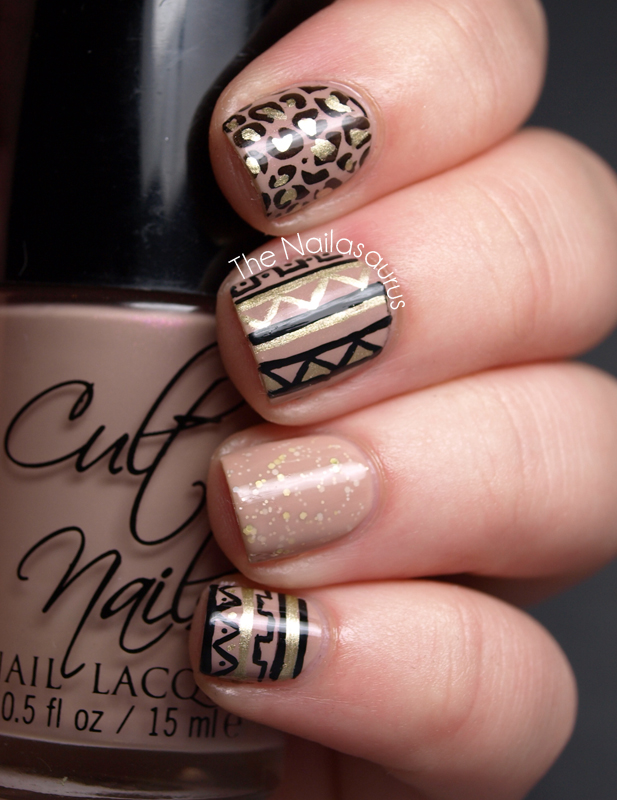
    It seems I’ve dug myself in to a comfy little nail art nook this past week. There have been two manis that I fell head over heels for and have been longing to wear again – the purple skittle mani and the sandy glitter sandwich
    But I don’t want to bore you all, so I imagined what their lovechild would look like and painted that on my nails instead! The result is a Sandy Skittle! I don’t know where I keep plucking these absurd names from but they do seem to roll off the tongue and I think they are perfectly descriptive.
    I had so many pictures to choose from today, I had to put some after the jump. You’ll also find all the info about polishes there too.

    The base colour is Cult Nails Cruisin Nude
    For the tribal patterns I used Black Acrylic Paint and Barry M Gold Foil
    The glitter on my ring finger is BYS Gold Finger and I topped that with two coats of Samoan Sand to make a glitter sandwich.
    To create the leopard print on my first finger, I used Red Angel Plate RA-107 with W7 Black and topped it with Barry M Gold Foil
    The brush I used for all the freehanded details was a small striper brush from a nail art brush set.
    Finally I finished it all off with two coats of Cult Nails Wicked Fast Top Coat.

    TwitterBloglovin’Tumblr

    Share:
    Gradient, Uncategorised

    Go On… Have Another!

    I’m back to the gradients! The Gradient Tutorial I posted about a month ago has really blown up and I really want to thank everyone who shared it on their blogs/twitter/pinterest/wherever! 
    I used to really hate making tutorials but the amazing response to that one has made me change my mind. They always seemed so much hassle to create but now I’ve found a ‘tutorial creating’ style that works for me, hopefully they’ll become less of a chore and become way more fun for me to write and you to read!
    It’s not your eyes playing tricks on you, this manicure does look very pink toned even though the polishes are definitely purples (and the names prove it!). I must have got the white balance wrong on my camera, whoopsy!
    Purple Gradient Nals by The Nailasaurus

    Purple Gradient Nals by The Nailasaurus
    I used No7 Lucky Lilac as a base coat and Barry M Bright Purple as the second colour in the gradient following this tutorial.

    Purple Gradient Nals by The Nailasaurus

    TwitterBloglovin’Tumblr

    Share:
    Glitter, Uncategorised

    Born Pretty Glitters!

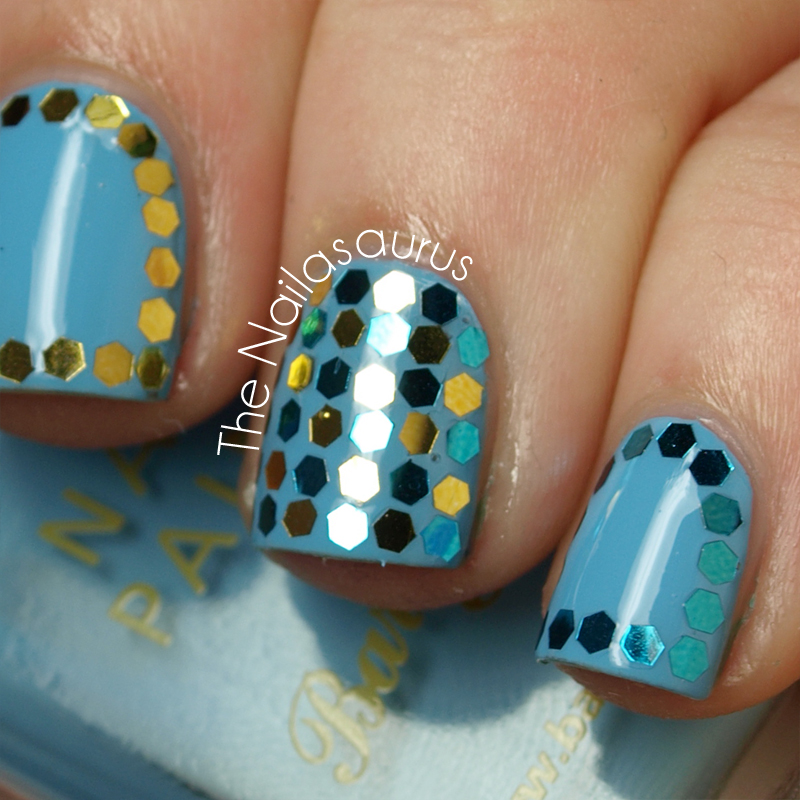
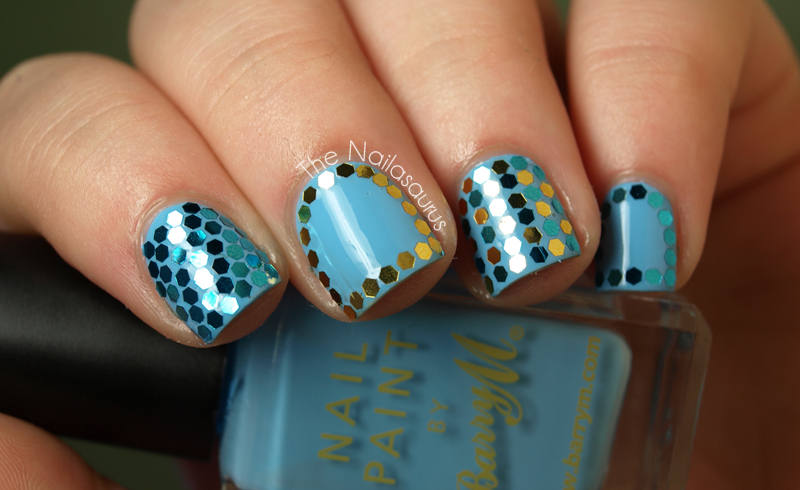
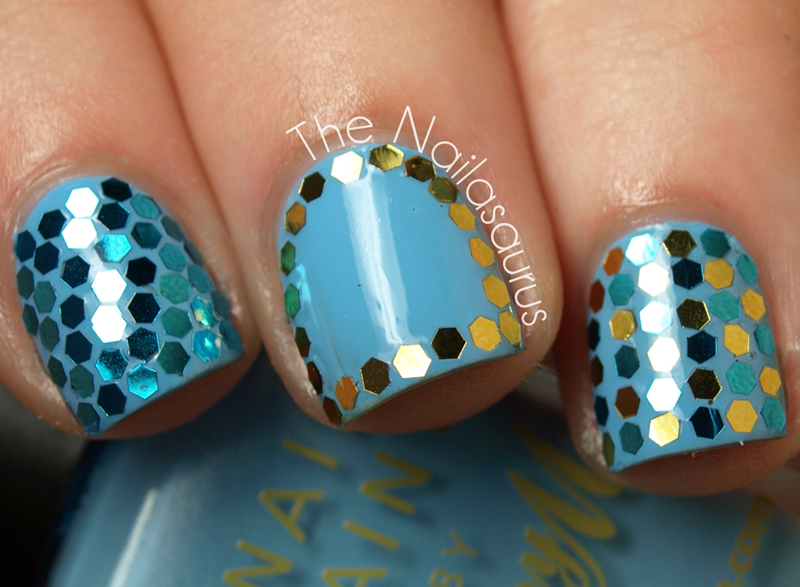
    When I spotted these glitters in the Born Pretty Store, I knew I had to try them out right here, right now, oh my god, as soon as possible! I already have some hexagonal glitter in royal blue but I really wanted to add some more colours to my collection and Born Pretty are stocking a great range.
    These pieces are just over 1mm in diameter and as close to flat as you can get so once there’s a top coat over them, they don’t snag on anything or tempt you to pick away until they’ve all somehow disappeared!
    Hex Glitter Nail Art

    Hex Glitter Nail Art

    Hex Glitter Nail Art
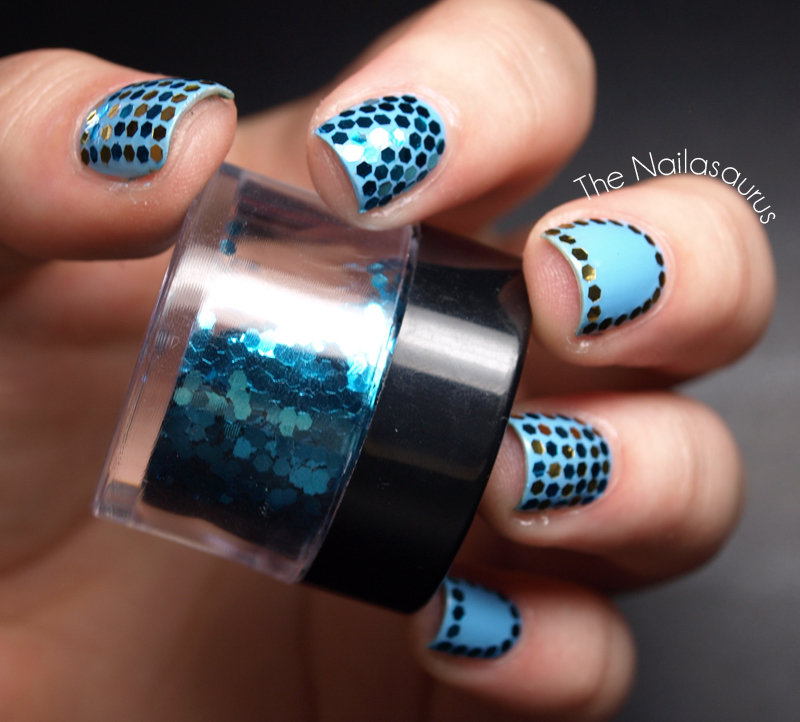
    I used Barry M Blueberry Ice Cream as a base colour. Then I took a toothpick with the end dipped in clear polish (to make it sticky) to pick up and place on the Gold* and Blue* glitter.

    Hex Glitter Nail Art

    Hex Glitter Nail Art
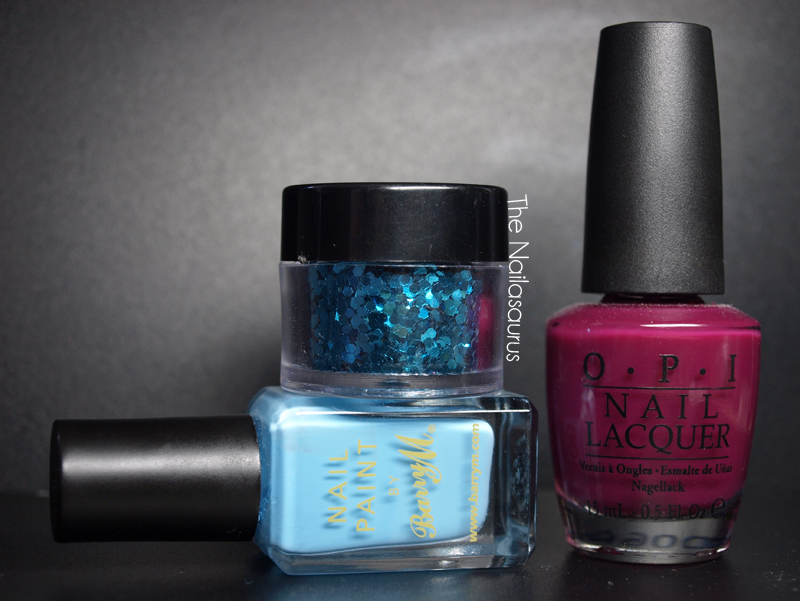
    I was completely amazed at the size of the pots these glitters come in. They are so huge, and packed right up to the top so I don’t think I’ll ever run out. Just to give you an idea, here are a few pictures to of the pot with some familiar objects to give some proportion.
    Born Pretty Glitter Pot

    Born Pretty Glitter Pot
    You can browse the selection of colours and shapes BornPrettyStore.com. They cost around $2.38 per pot but the price varies slightly with shape and colour. Don’t forget you can use my code, SA5X31, to get 10% off your order.
    *These items were sent for consideration. See my disclaimer for more information.

    TwitterBloglovin’Tumblr

    Share: