Follow:
Browsing Tag:

Barry M

    Glitter, Uncategorised

    Winstonia Plates

    More Winstonia experiments today! My favourite design from the pack is without a doubt that one that looks like loads of rainbows piled on top of each other. It reminds me of the patterns that were plastered on to the ceilings of the house I grew up in that I used to spend hours marvelling at. I never could figure out how they got those patterns up there!
     

    Barry M Lychee
    Sally Hansen Gem Crush Big Money
    W7 Black for the stamping using Winstonia Plates available here
    (Get 10% off until April 10th 2013 with code, THENAILASAURUS)

    TwitterBloglovin’Tumblr

    Share:
    Freehand, Glitter, Uncategorised

    Press Play

    Since I was 16, I’ve had a pair of headphones almost permanently attached to my person. Whenever I’m on my own, I put them in my ears and disappear in to my own little world. The best mp3 player I ever had was a Creative Zen Micro. Does anyone remember those?!
    I actually had a total of four in my time, one in almost every colour, because I’m a klutz and I break pretty much every piece of technology I touch! Even when they stopped manufacturing them, I’d be straight on eBay scouring for a new one as soon as mine bit the bullet. You can even still buy them! The symbols on the touchpad glowed blue and that’s the inspiration behind today’s manicure.
    I used China Glaze Tart-y For The Party as my base colour. The dark purple details are Barry M Blackberry and I outlined them in Calvin Klein Blue Wants to be a Millionaire.
    The glitter on my ring finger is La Femme Purple Glitter and I did the stripes on my pinky by applying a few strips of striping tape, then painting over them using the Barry M and quickly peeling them off.
    It’s all finished with a coat of Seche Vite.

    TwitterBloglovin’Tumblr

    Share:
    Tutorial, Uncategorised

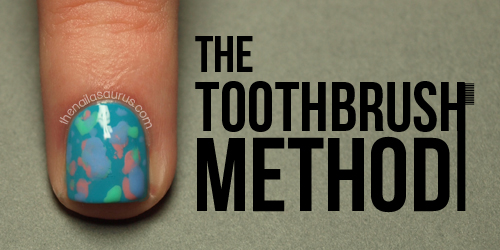
    Money Smart Nail Art: The Toothbrush Method Tutorial

    Here’s the tutorial for the hodge splodge nail art I posted earlier in the week. It had a great response and 5 of you guessed my tool correctly – it was a toothbrush! Angie D, TheNailNut, Caitlin, TheBeauBow and Lisa all got it right… give yourselves a high five from me!
    This is my entry to Money Supermarket’s Money Smart Nail Art competition. I don’t make any secret of the fact that I am a stingy SOB and I like to think myself a thrifty, bargain sniffing miss. For this criteria, I really wanted to create a tutorial for a nail art look that only used nail polish and tools that you would already have around the house, or that cost literally pennies to buy. It really doesn’t get much more money smart than an 18p pack of toothbrushes. That’s a quarter to my American friends.

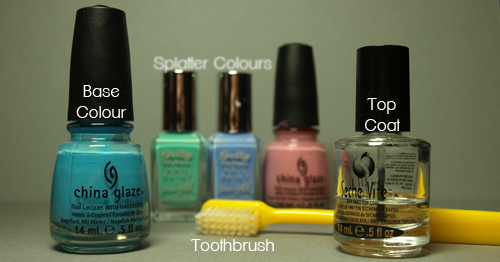
    To create this nail art, you’ll need to pick a polish for your base colour, a few others that you want to use for the splodges, a toothbrush and a top coat. You’ll also need nail polish remover or acetone because there’ll be a bit of cleaning up to do at the end.

    The colours I’m using here are (l-r) China Glaze Sunday Funday, Barry M Greenberry, Barry M Blueberry and China Glaze Pink-ie Promise.

    I got these toothbrushes from Tesco and for 18p! You can but cheap toothbrushes pretty much anywhere that sells toothbrushes but try to make sure you get ones where the bristles are all the same length.  

    Step 1: Paint on your base colour and wait for it to dry completely.

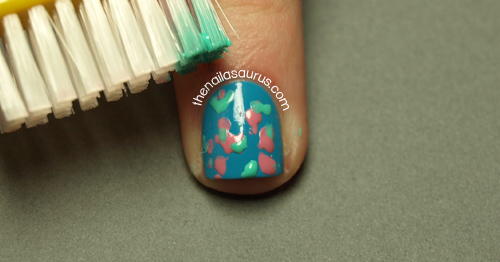
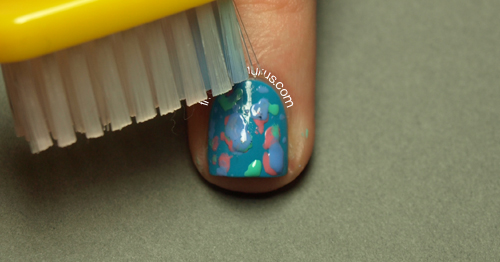
    Step 2: Paint your first splodge colour straight from the bottle on to the bristles near the end of the toothbrush. Be quite generous with the polish otherwise it won’t transfer on to your nails.
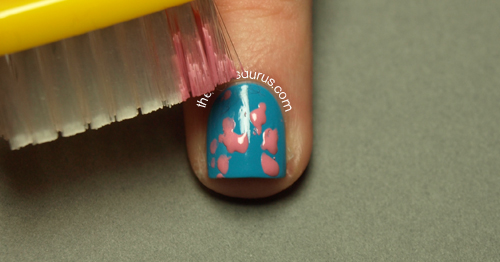
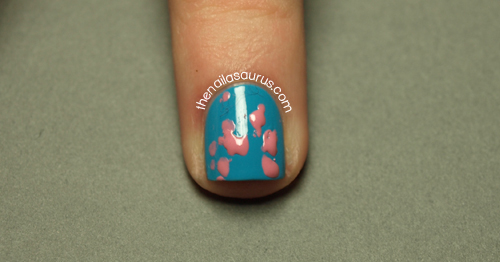
    Step 3. Carefully dab the brush down on to your nails to create your first splodges. Wait for them to dry before moving on.

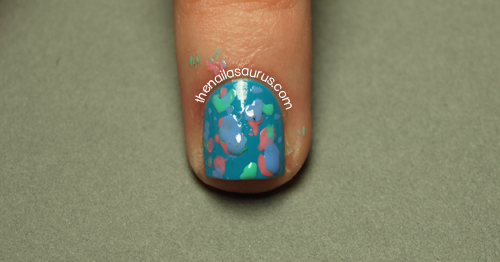
    Step 4. Apply more colours in the same way until you’re happy with the look. Between each colour, you’ll need to clean the toothbrush and wait for each layer to dry. You can clean the toothbrush by wiping it with a tissue or dipping it in to nail polish remover/acetone and drying on a cotton pad. 

    Step 5: The finished result might be a bit bumpy so apply a thick layer of your top coat.

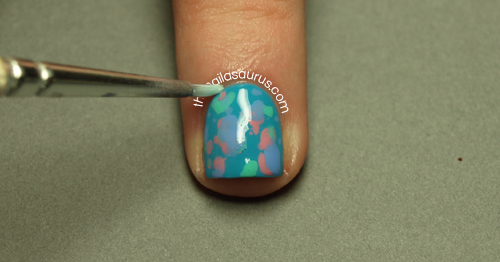
    Step 6: Finally, use a small paintbrush dipped in acetone or polish remover to clean up any of the bits that got around your nail and you’re done!

    TwitterBloglovin’Tumblr

    Share:
    Uncategorised

    Take A Guess…

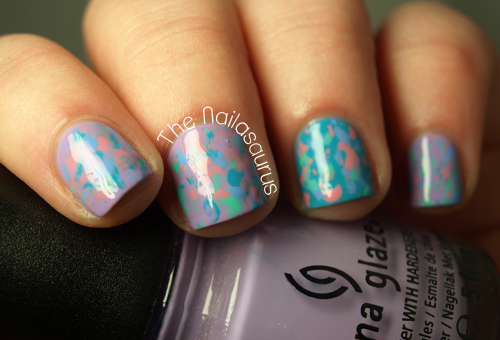
    This nail art is a little different from the kind if stuff you normally see here. I wasn’t really sure if I liked it at first but after wearing it for a few hours I’ve come round and decided it’s quite an interesting look. I think it looks a lot like camo print in groovy colours and I’m not going to reveal exactly how I did it today because there’s a tutorial coming later in the week. I used one tool to complete the look and it wasn’t a nail brush. I’d love to hear your guesses, I think you’ll be surprised when you find out what it is!

    Polishes used:
    China Glaze Tart-y For The Party
    China Glaze Sunday Funday
    China Glaze Pink-ie Promise
    Barry M Gelly Blueberry
    Barry M Gelly Greenberry
    Seche Vite Top Coat

    TwitterBloglovin’Tumblr

    Share:
    Glitter, Gradient, Uncategorised

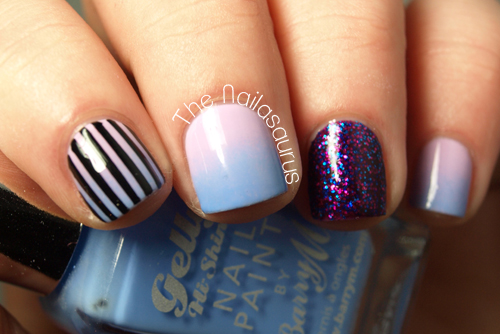
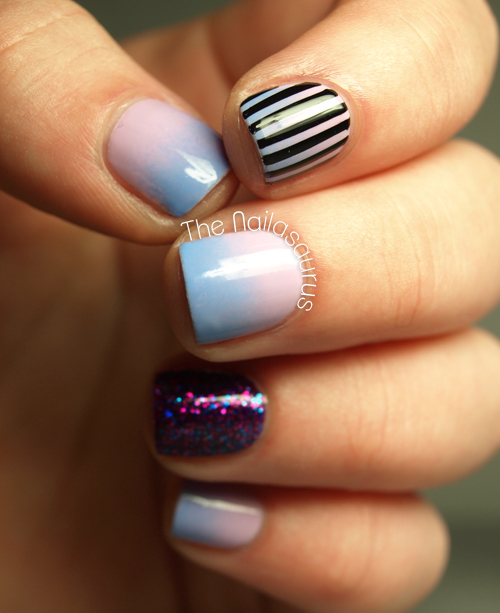
    Cotton Candy Gradient

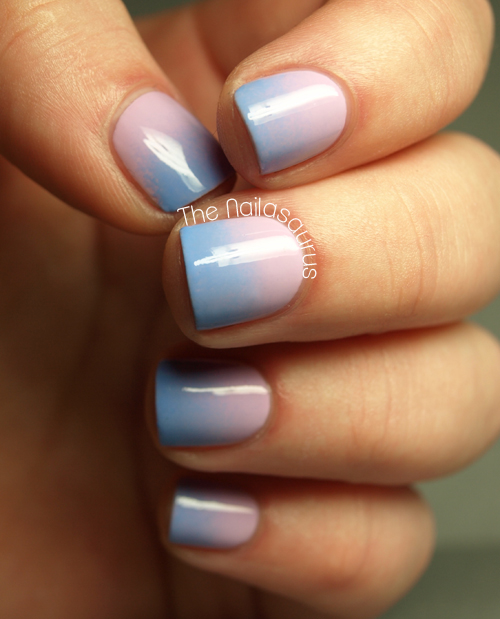
    I’m so so proud of myself today! This is the smoothest gradient I’ve ever done and possibly my favourite colour combo too. I’m going to chock it up to the perfect polishes which are both smooth but kind of watery two coaters – perfect for gradienting!

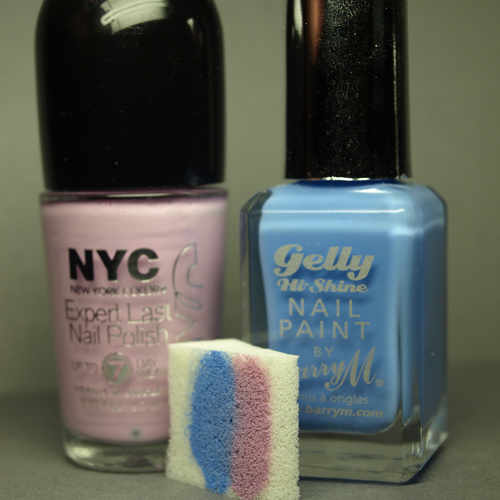
    I used NYC Lavender Cupcake as my base coat and created the gradient using Barry M Gelly Blueberry following this tutorial. Then I coated it with one coat of  Seche Vite.
    For the striped finger I applied a few strips of striping tape straight from cuticle to tip using some nail art tweezers, then painted over them with W7 Black and quickly removed the strips.
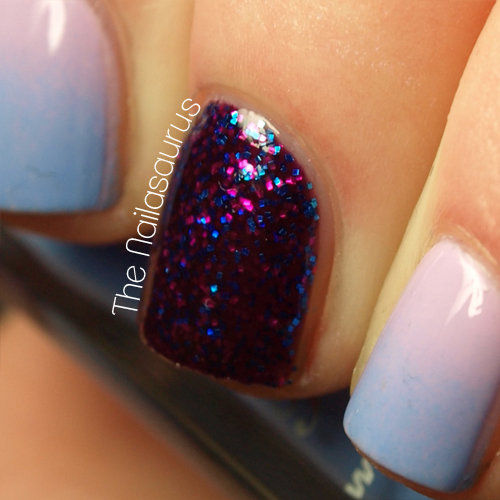
    The glitter on my accent finger is La Femme Purple Glitter. La Femme make some interesting polishes but unfortunately the names aren’t quite as creative! This one’s is a vibrant purple jelly base packed with tiny purple and blue squares and only took two coats for full coverage. I found this in my local What! store. They don’t have a website but they’re scattered all over the country and they’re one of those shops that you have to just stumble across unless Google Local has one listed near you!

    TwitterBloglovin’Tumblr

    Share: