Follow:
    Uncategorised

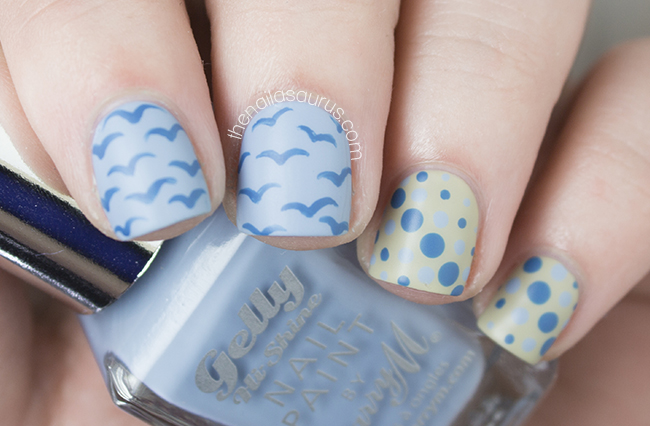
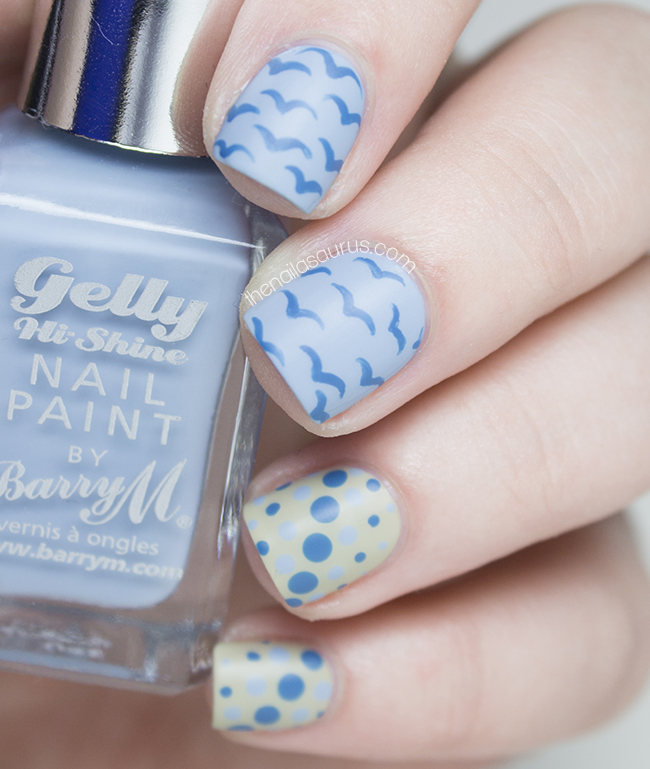
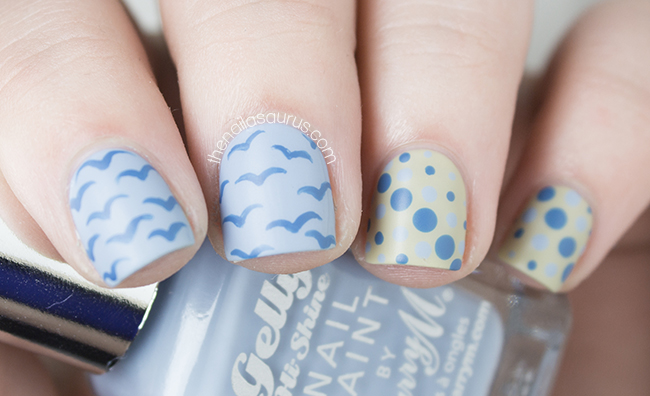
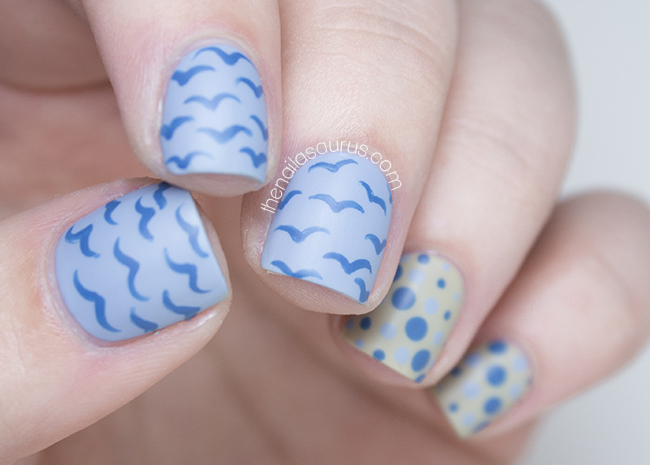
    The Birds

    Sometimes (okay most of the time), I paint on my base colours with no idea what nail art I’m going to put on top. When I put these down, I thought they looked like very ‘mod’ colours and for some reason I thought of an old beach towel! This naturally led me to the seagulls and moddy dots!

    The base colours here are Barry M Elderberry and Olive with OPI Suzi Says Feng Shui thrown in for the nail art too.

    I topped it with a coat of Glisten & Glow HK Girl then one coat of Rimmel Matte Top Coat.

    Share:
    Uncategorised

    OPI Neons with Nailed Kit Totally Tribal Decals

    OPI Neons with Tribal Nail Art | The Nailasaurus | UK Nail Art Blog

    After what has felt like a nail art dry spell, I finally have a steady trickle of ideas coming in. I think it’s thanks to all the new summer releases that we’re seeing at the moment. I’ll start today with a few from OPI’s Neon collection and a preview of some upcoming Nailed Kit decals.

    I was lucky enough to find the Neon shades in my goody bag from Coty’s summer nail preview on Thursday. I made my way to London to meet up with Alice and Allie and we headed to the event together. I’m a bit of a country bumpkin so I normally avoid London at all costs but since it was solely a nails event and some of my favourite brands (can you say Sally Hansen and NYC) to boot, I thought it would be worth the adventure and it totally was! I had a great day talking to the ladies at Coty and met the bloggers behind Dahlia Nails too, so there was more than enough nail talk to go round.

    The Neon shades I used here are Life Gave me Lemons (Yellow, 2 coats), Juice Bar Hopping (Orange, 2 coats) and Hotter Than You Pink (Pink, 2 coats) with one coat of the Put a Coat On! white base coat underneath. I had a little bit of streaking with the neons on the first coat but that smoothed out with the second as long as I left plenty of drying time between layers.

    This is my first time trying Nailed Kit’s decals so I wasn’t sure how it was going to go, but it turned out to be a successful attempt. The instructions said to use them like temporary tattoos – place them where you want them on the nail and apply a wet piece of cotton/tissue to the back – but this way didn’t work for me. The decal came away from the backing perfectly but I just couldn’t get the decal right where I wanted it. I tried the traditional way of dipping them in to water and dislodging the decal from the paper, then placing them on to the nail which also worked and I much preferred doing it that way.

    This set is Totally Tribal and will be available on their website in June.

    OPI Neons with Tribal Nail Art | The Nailasaurus | UK Nail Art Blog

    OPI Neons with Tribal Nail Art | The Nailasaurus | UK Nail Art Blog
    OPI Neons with Tribal Nail Art | The Nailasaurus | UK Nail Art Blog

    OPI Neons with Tribal Nail Art | The Nailasaurus | UK Nail Art Blog

    OPI Neons with Tribal Nail Art | The Nailasaurus | UK Nail Art Blog

    Where to buy OPI Neon

    RRP £11.95. Available in department stores and salons.
    Currently £6.93 each at Beauty Bay with free delivery
    Share:
    Freehand, Uncategorised

    Assassin’s Creed Nail Art

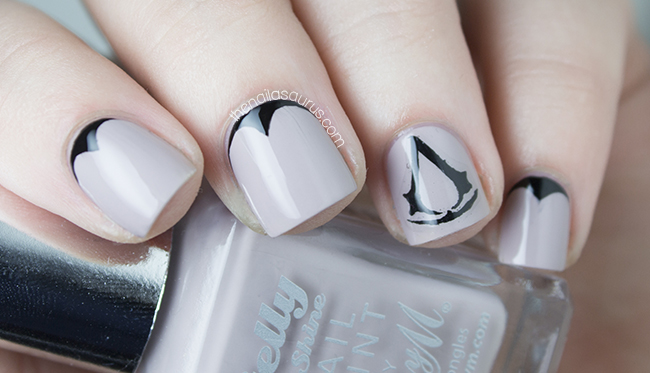
    Assassin's Creed Nail Art | The Nailasaurus | UK Nail Art Blog
    I’ve been playing my way through the Assassin’s Creed series since some time last year although I skipped over the first two and started at Brotherhood. Recently, I’ve been spending nearly every Friday night under a blanket playing Black Flag in the dark. Oh what a glamorous life I lead! I’m enjoying playing as Edward but I think that’s only because he’s from Swansea (which is about an hour down the road from me) but Ezio is my favourite of the Assassin’s I’ve played as.
    For the nails, I used Barry M Almond as my base colour. I painted on the ‘hood’s using the Sweet Colour Black Liner from Born Pretty Store. 
    To create the logo, I painted it straight on to a sheet of plastic using acrylic paint. This gave me the chance to correct any mistakes by scraping away small details that I got wrong. When I was happy with it, I painted two thin layers of top coat over it. Once it was thoroughly dry, I peeled it away from the plastic and trimmed as close to the paint as I could to make a kind of DIY decal. The results aren’t ideal – you can kind of see the outline and there are a few air bubbles – but I think it saved me a lot of time and trouble in the long run!
    It’s all topped off with two coats of Glisten & Glow HK Girl.
    Assassin's Creed Nail Art | The Nailasaurus | UK Nail Art Blog
    Assassin's Creed Nail Art | The Nailasaurus | UK Nail Art Blog
    Assassin's Creed Nail Art | The Nailasaurus | UK Nail Art Blog
    Assassin's Creed Nail Art | The Nailasaurus | UK Nail Art Blog
    Share:
    Gradient, Tutorial, Uncategorised, Video

    Watercolour Gradient Video Tutorial

    As promised, here is a video tutorial for the Life’s a Beach / Watercolour Gradient nail art I posted a while back. See that post here! If you’re wondering why I’ve suddenly gone crazy for video tutorials, it’s because I have enough time to create them these days and I’m really enjoying building on my video skills. I’ve always wanted to make great video tutorials but often doubted my abilities to create them the way I envisioned them. This year, I finally got a good video kit sorted out and the only thing holding me back was self-doubt about my filming and editing skills. You may remember that, in March, I finally decided that ‘Done Is Better Than Perfect’ (I even have it hanging on my wall to remember) and the first thing on my ‘get done’ list was videos. It also seems that video is becoming an almost essential component of blogging as audiences move towards YouTube for answers and I thought it would be best to jump on that train before it disappears over the horizon!

    I really like this new way of doing gradients to make them to look a bit more streaky and raw! It looks perfect in blue as it has a really watery look about it but I’m looking forward to trying it in other colour schemes too. 

    Share:
    Uncategorised

    Introducing #guiltfreeze with yoomoo x Nails Inc.

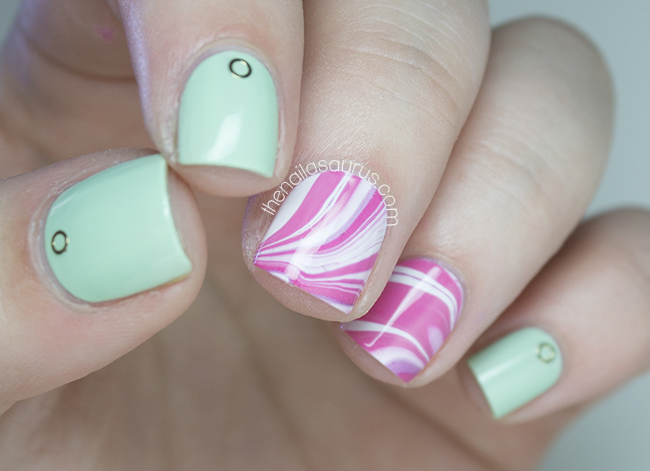
    Pink Water Marble Nail Art | The Nailasaurus | UK Nail Art Blog

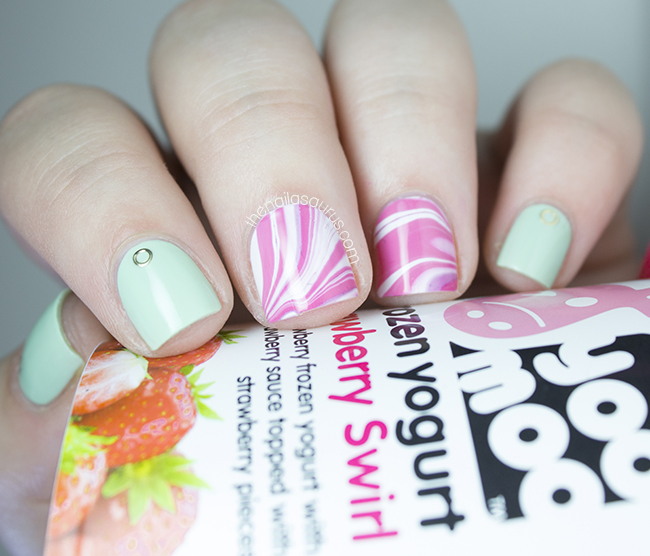
    This summer, yoomoo have teamed up with Nails Inc. to bring us #guiltfreeze, a nail art competition with prizes up for grabs every week. Nails Inc. are bringing the nail art and yoomoo will be providing the mouthwatering snacks! To keep up with the competition and tutorials, make sure you like yoomoo on Facebook or subscribe to their YouTube channel.

    The first tutorial in the series is Water Marbling so that’s what I’m trying my hand at today. In the past I haven’t had the best luck with marbling – it’s definitely one that comes with practice but I truly nailed today’s attempt. I got both nails done on the first attempt and managed not to ruin them before they were dry. Success!

    How to enter #guiltfreeze

    1. Visit yoomoo on Facebook to get your money off voucher here
    2. Snap a picture of your yoomoo inspired nail art with your pot of yoomoo in hand (just like my picture above)
    3. Post your picture to Instagram with the hashtag #guiltfreeze to win on-the-spot prizes
    Pink Water Marble Nail Art | The Nailasaurus | UK Nail Art Blog
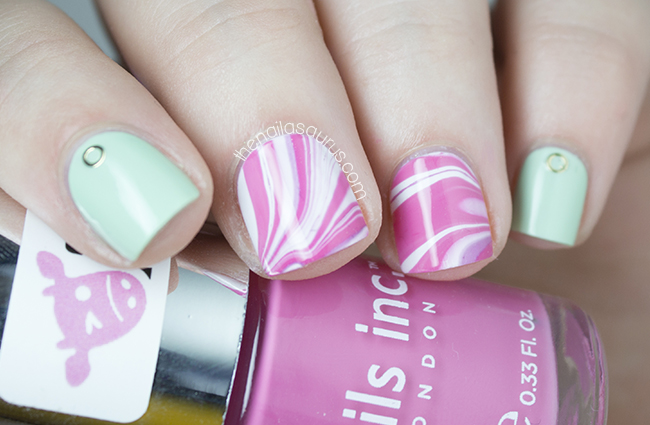
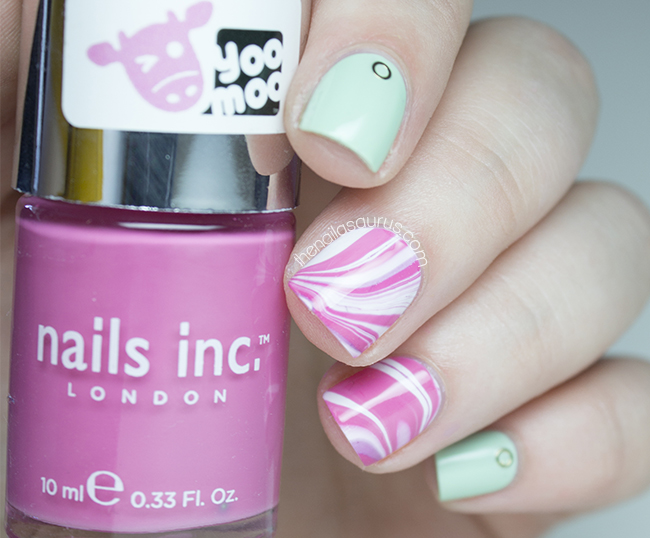
    For my take on Nails Inc.’s water marble, I used Barry M White as my base colour and created the marble using Barry M White, Different Dimension Lucky and Nails Inc. Udderly Shocking Pink. If you want to get your hands on your own bottle of Udderly Shocking Pink, make sure you enter your nail art on Instagram for a chance to win!
    I also used Revlon Minted with some circle decals from Born Pretty Store (#123).
    It’s all topped off with a coat of Glisten & Glow HK Girl.
    Pink Water Marble Nail Art | The Nailasaurus | UK Nail Art Blog
    Pink Water Marble Nail Art | The Nailasaurus | UK Nail Art Blog
    Share:
    Uncategorised

    Much More Muted

    OPI French Quarter For Your Thoughts with Nail Art | The Nailasaurus | UK Nail Art Blog
    I’ve been in full on Summer mode this weekend – waking up with the sun, filling the freezer with ice cubes and, get this, wearing flip-flops! With one thing or another, it’s been almost a week since I painted my nails and when I finally sat down today, I had it in my head that I must use summery colours. I tried brights, I tried pastels but nothing stuck. In the end I opened up a drawer, pulled out the first two polishes that I fancied and it turns out that my heart was singing for much more muted tones. The resulting nail art is nothing special, just a strange mix and match but I’m happy with it for today!
    OPI French Quarter For Your Thoughts with Nail Art | The Nailasaurus | UK Nail Art Blog
    The polishes here are OPI French Quarter For Your Thoughts and Revlon Cloud. 
    I topped a few nails with Seventeen Off The Wall,  black and white glitter topper.
    The Anchor is from She Sells Seashells it’s all topped off with KBShimmer Clearly on Top.
    OPI French Quarter For Your Thoughts with Nail Art | The Nailasaurus | UK Nail Art Blog
    OPI French Quarter For Your Thoughts with Nail Art | The Nailasaurus | UK Nail Art Blog
    OPI French Quarter For Your Thoughts with Nail Art | The Nailasaurus | UK Nail Art Blog
    Share:
    Uncategorised

    Instagram Nail Art Accounts You Need to Follow #3

    The Best Nail Artists on Instagram | The Nailasaurus | UK Nail Art Blog
    Time for round 3 of some of my favourite Instagram nail art accounts. The best thing about this series is that I could literally go on forever. There is so much talent out there and I discover new accounts to follow every single day!

    @thenailpolishchallenge

    Instagram: @thenailpolishchallenge
    Blog: The Nail Polish Challenge
    Follow Kelli for: The perfect balance of nail art and swatches. She also has the most uniform hand pose EVER and writes one of my favourite blogs so follow her there too if you like a bit more meat on your swatches!

    The Best Nail Artists on Instagram | The Nailasaurus | UK Nail Art Blog

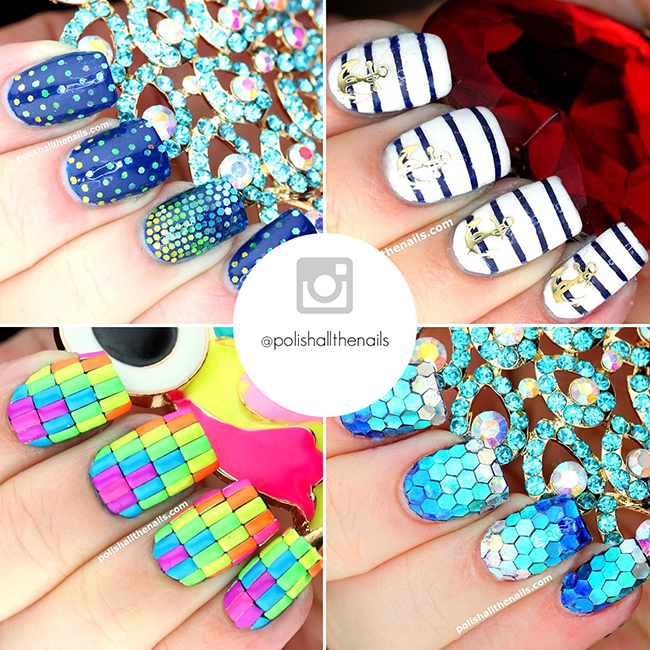
    @polishallthenails

    Instagram: @polishallthenails
    Blog: Polish All The Nails
    Follow Laura for: Taking studs and glitter placement to a whole ‘nother level. I really admire the intricacy in Laura’s work and her sheer dedication!

    The Best Nail Artists on Instagram | The Nailasaurus | UK Nail Art Blog

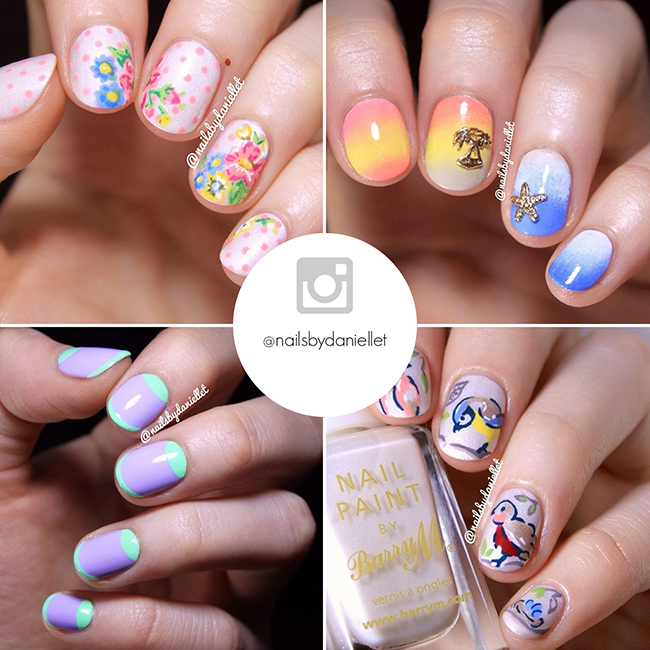
    @nailsbydaniellet

    Instagram: @nailsbydaniellet
    Follow Danielle for: She’s a really cool chick and she posts a really good mix of edgy and delicate nail art.

    The Best Nail Artists on Instagram | The Nailasaurus | UK Nail Art Blog

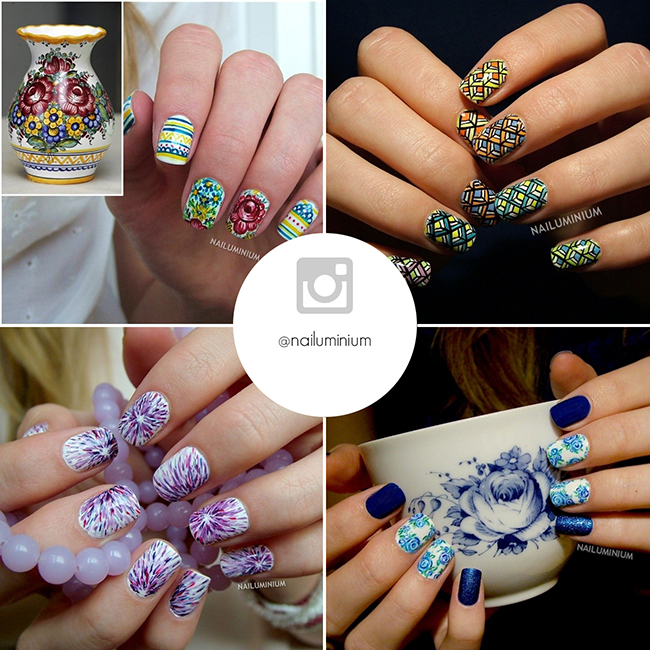
    @nailuminium

    Instagram: @nailuminium
    Blog: Nailuminium
    Follow Margee for: Amazingly intricate freehand designs. Margee takes inspiration from some unlikely places and creates the most detailed renditions on her nails.

    The Best Nail Artists on Instagram | The Nailasaurus | UK Nail Art Blog

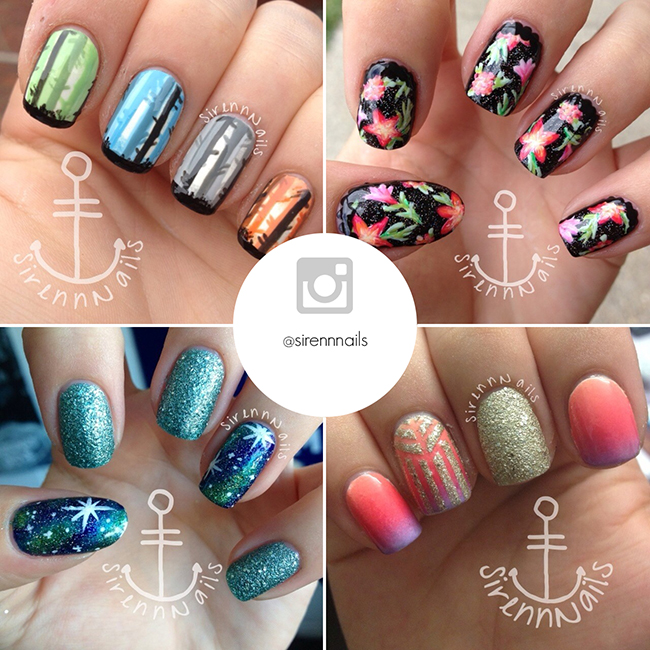
    @sirennnails

    Instagram: @sirennnails
    Follow Zofia for: Unique and creative designs that will get your own brain ticking with ideas.

    The Best Nail Artists on Instagram | The Nailasaurus | UK Nail Art Blog
    (for easy following if you’re on a device)

    Share: