Follow:
    Nail Art, Stamping, Uncategorised

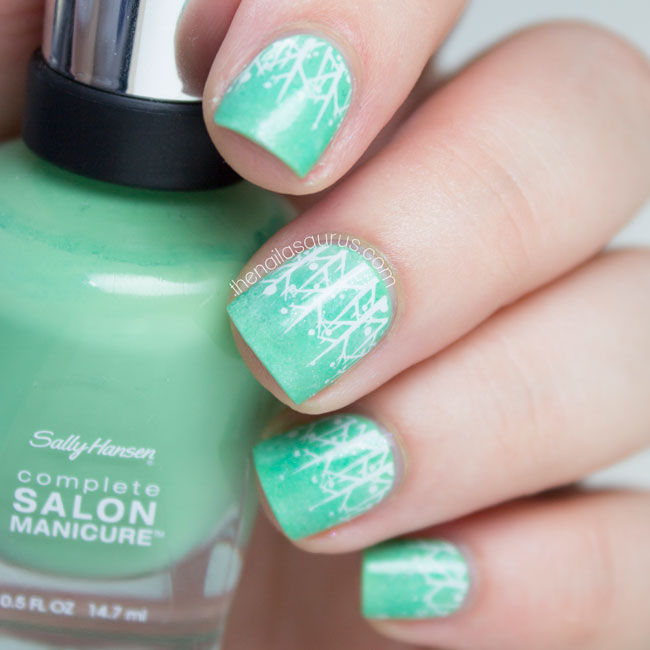
    Evergreen

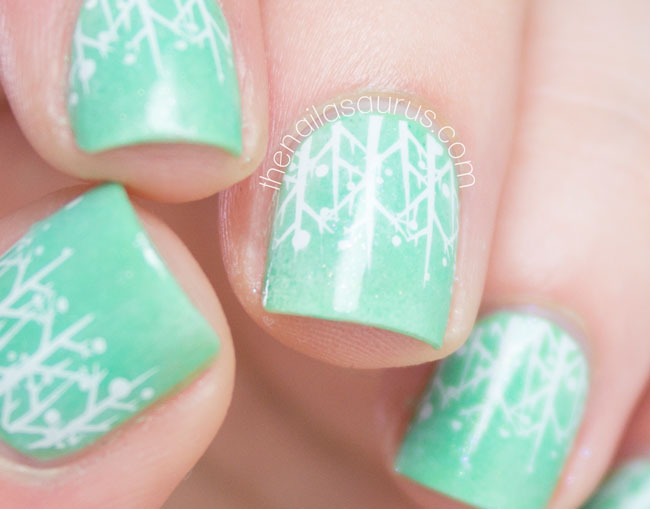
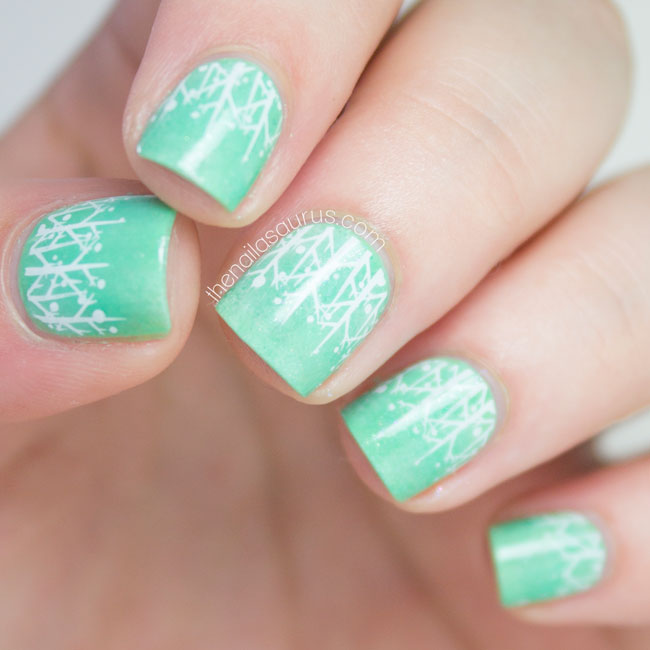
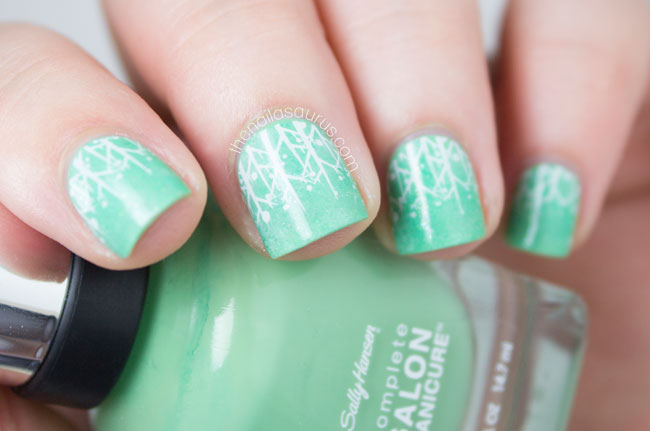
    For this forest themed nail art, I wanted a soft and fuzzy background so I went to work with a sponge. I tried it in the style of a galaxy but I couldn’t quite achieve the look I was going for. In the end, I painted little blobs of colour straight on to the sponge and dabbed at it until I was happy. The result is barely even there, but I think it adds a subtle softness to the mani.
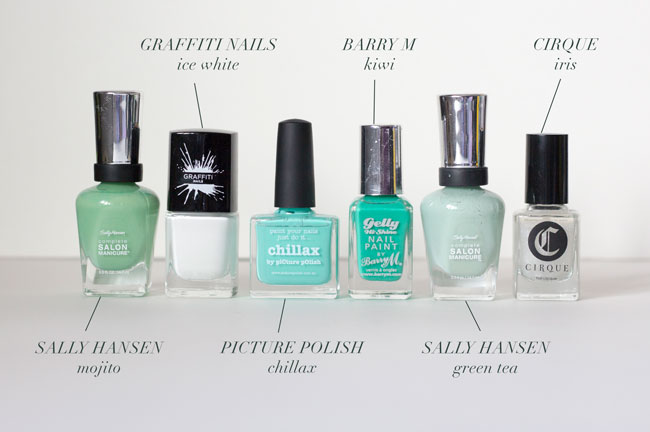
    I started with a base of Sally Hansen Mojito and then applied a mixture of Graffiti Nails Ice White, piCture pOlish Chillax, Barry M Kiwi and Sally Hansen Green Tea with a sponge.
    I topped it with a thin coat of Cirque Iris – a very sparse shimmer – and then stamped the design from Bundle Monster Plate BM407 with BK Matte White.
    It’s all topped off with Glisten & Glow HK Girl top coat.
    Share:
    Freehand, Nail Art, Uncategorised

    Beautiful Bleached Mess

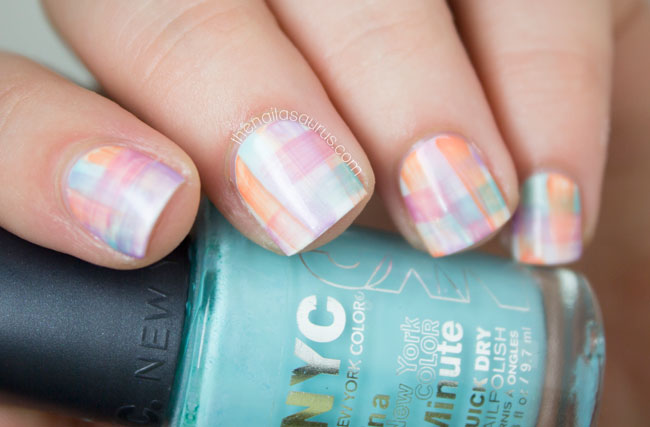
    Streaky Watercolor Nail Art | The Nailasaurus

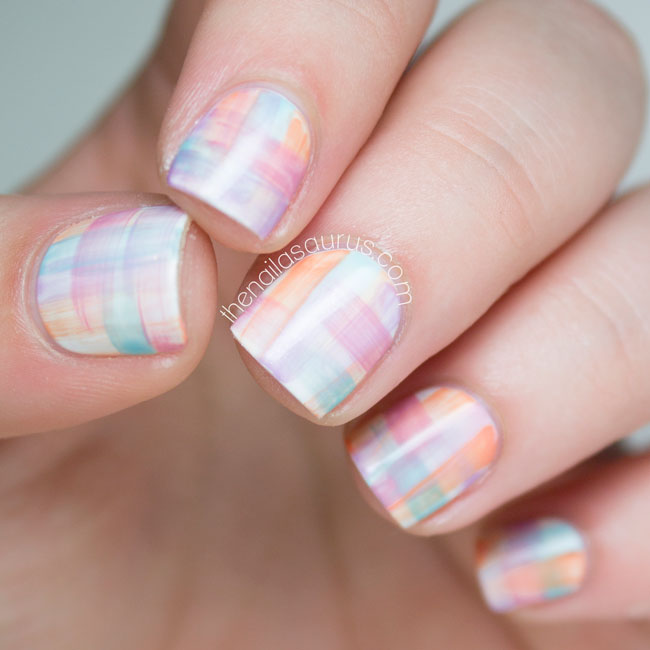
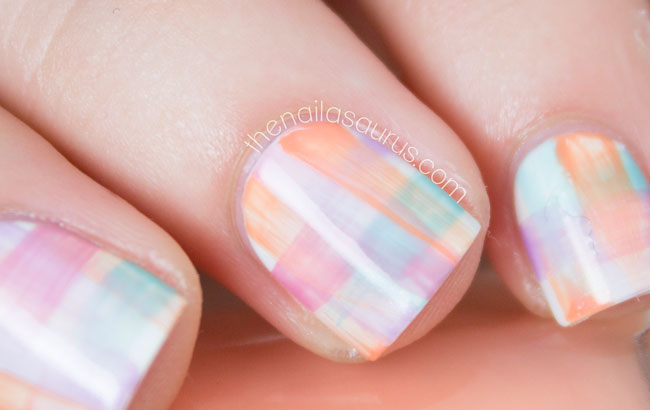
    Last night, I had a proper sit-down nail art session for the first time in about a week and a half and this was the result. I tried a few things that went completely wrong and was going to go back to my watercolour gradient when I had the idea to try something else along the same lines, with a different twist. The result is this kind of bleachy, streaky, pastel watercolour ensemble and I really love the way it looks. 
    I started with the pink streaks and then picked the other colours as I went along so the result is quite fun and spontaneous. Knowing me, if I’d have picked the whole selection beforehand, it would have been a selection of blues or purples! 

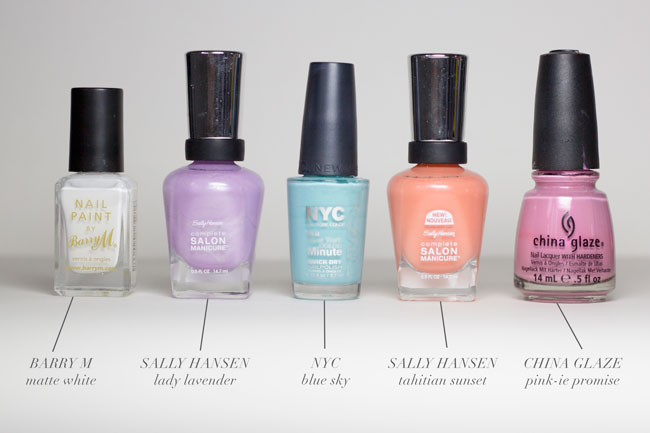
    Polishes Used

    Barry M Matte White
    Sally Hansen Lady Lavender
    Sally Hansen Tahitian Sunset
    China Glaze Pink-ie Promise

    Technique

    I started by painting on my white base and letting it dry completely.
    I dotted out one colour at a time on to a sheet of plastic and thinned it out using a flat brush dipped in acetone.
    Using the brush, I worked the polish/acetone in circles on the plastic until it was very thin and then painted it on to my nails in streaks. Instead of acetone, you could also use nail polish thinner or remover.
    I repeated this with each colour a few times until I got full coverage and then topped it with Glisten & Glow HK Girl top coat.
    Streaky Watercolour Nail Art | The Nailasaurus
    Streaky Watercolor Nail Art | The Nailasaurus
    Streaky Watercolour Nail Art | The Nailasaurus
    Share:
    Nail Art, Uncategorised

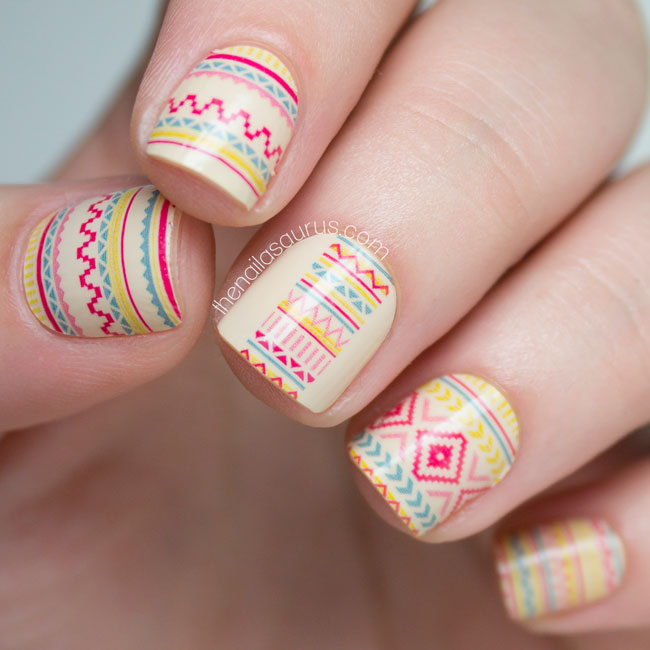
    Incoco Desert Sunset: Tribal Nail Art Wraps

    Incoco Tribal Beats: Desert Sunset

    These nail wraps are from Incoco’s new summer collection – Tribal Beats. This particular design is called Desert Sunset and I love the combination of a muted, nude base with the colourful  patterns. I could never dream of doing such intricate designs freehand so the Tribal Beats collection gets a big thumbs up from me. I’m be saving the rest of these for when I go camping this summer to save on lugging around multiple bottles of polish. In the event that I even need to reapply all I’ll need is some polish remover, a nail file and pack of these decals!
    I’ve previously reviewed Incoco strips in a bit more depth so if you want to hear my thoughts, you can read that post here. Everything I wrote then still holds true – easy application, great results and a good range of designs.
    Incoco Tribal Beats: Desert Sunset
    Incoco Tribal Beats: Desert Sunset
    Incoco Tribal Beats: Desert Sunset

    Where to Buy Incoco Nail Wraps

    You can buy these wraps at incoco.com. RRP $8.99.
    Share:
    Freehand, Nail Art, Tutorial, Uncategorised

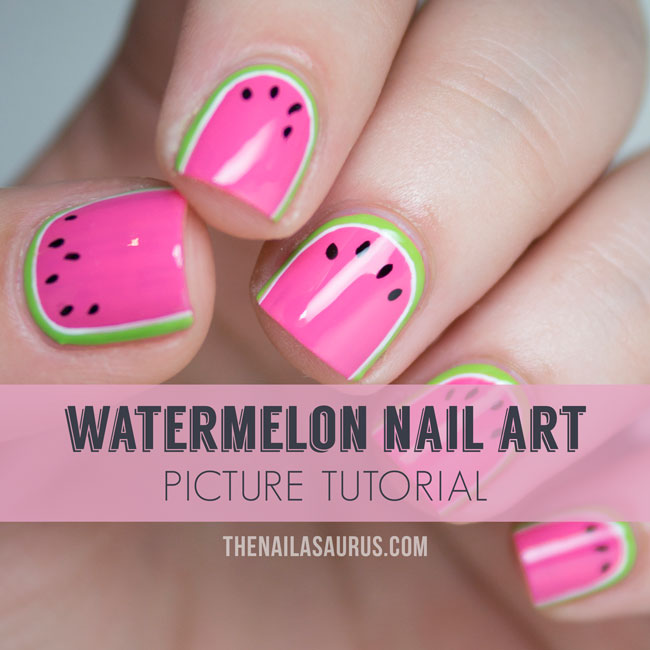
    Watermelon Nail Art Tutorial

    Easy Watermelon Nail Art Tutorial
    My Watermelon nails received a very warm reception when I posted them a few days back so I’m back with a tutorial for the look. I’ve seen so many takes on watermelon nails which is what inspired me to do some of my own and I think I put enough of a twist on it to make it something a bit new. The 3/4 border is a cute and simple trick that I really love and find myself going back to time and again. It works on every nail shape but I have to admit that I think it looks extra spectacular on square nails but I’m probably biased on that front. Digital high five to all my square sisters out there!

    Read more

    Share:
    Glitter, Uncategorised

    Pastel Jelly Sandwich

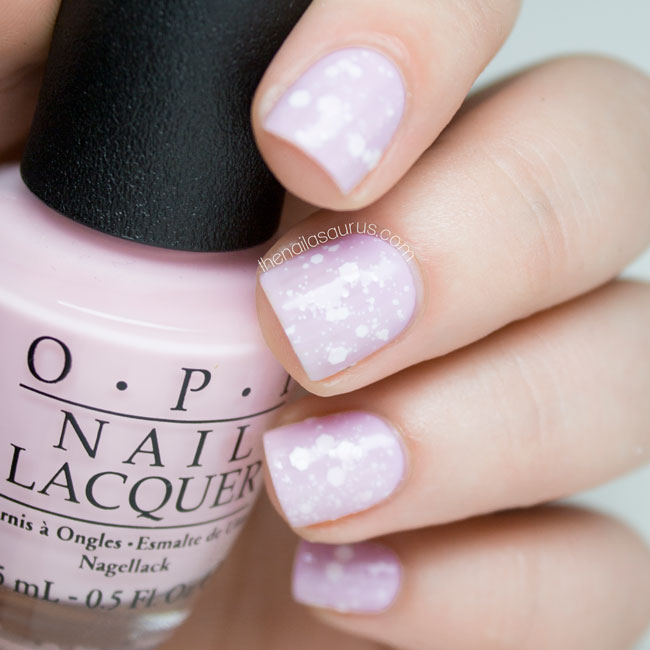
    Jelly Sandwich with Maybelline Acid Wash Top Splatter
    Jelly Sandwich Nails Recipe - The Nailasaurus
    With the rise of indie glitter polishes over the last few years, I feel like jelly sandwiches are becoming a thing of the past. So many indies are described as a ‘jelly sandwich in a bottle’ and it’s true, they absolutely are! Soon enough, Jelly Sandwiches will be to nail polish what the Game Boy is to gaming – a nostalgic piece of the not-so-distant past. Don’t get me wrong, I love the innovations that indie brands have brought to the table in the nail industry and I hope they’ll be changing the game for many more years but sometimes you can’t beat a good classic.
    It’s been years since I last wore a jelly sandwich and I’ve been meaning to revisit them since I got hold of the OPI Muppets Most Wanted collection. The nude and pink polishes in that collection are very sheer and although they’re not true jellies, they fit the role okay in a jelly sandwich.
    I tried out a few combinations yesterday but couldn’t decide which to actually put on my nails so I put it to a vote on Facebook and this combination came up trumps. I had to switch out the base colour for something a bit closer in tone to the jelly topping but I think it works nicely.

    The Recipe

    2 coats of NYC Lavender Cupcake
    1 coat of Maybelline Acid Wash Top Splatter
    1 coat of OPI I Love Applause
    1 coat of Glisten & Glow HK Girl (Top Coat)
    Jelly Sandwich with OPI I Love Applause
    Jelly Sandwich with NYC Lavender Cupcake
    Jelly Sandwich with White Glitter
    Jelly Sandwich Nails
    Share:
    Freehand, Nail Art, Uncategorised

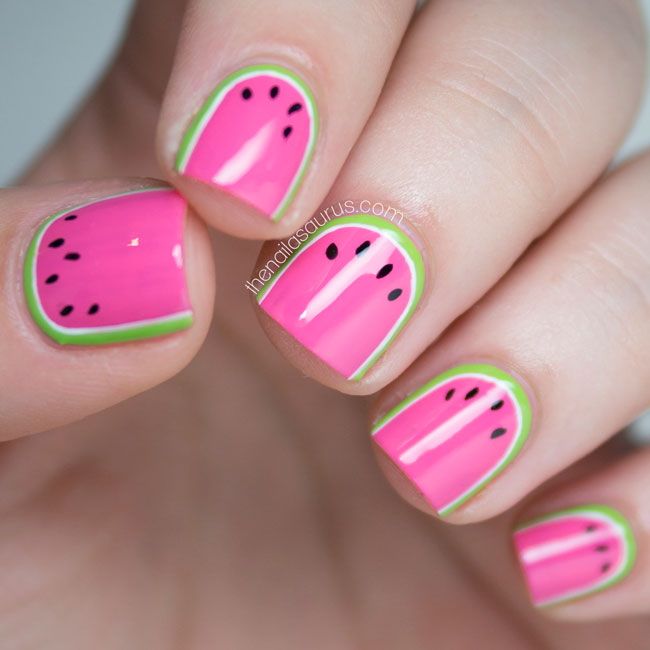
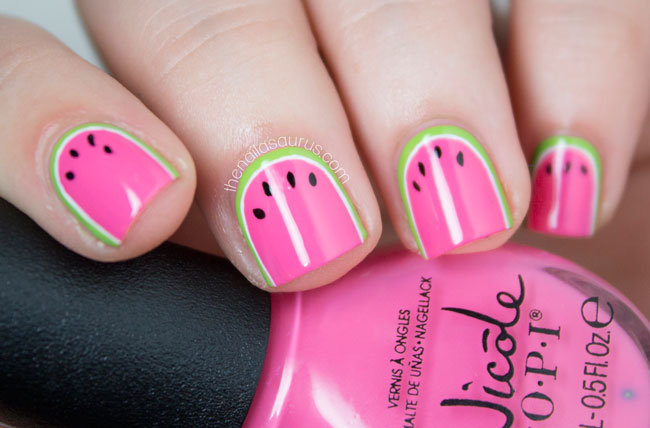
    I Been Dranking… Watermelon

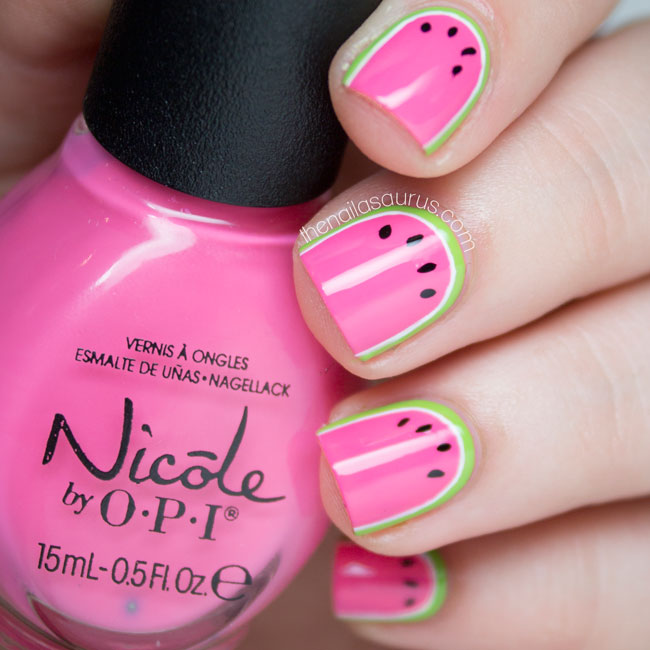
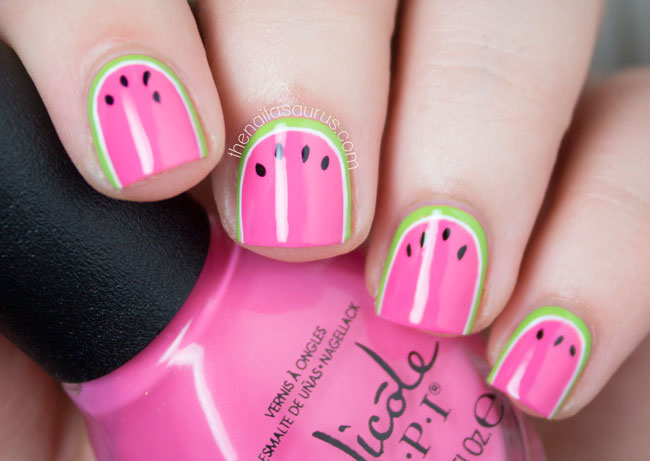
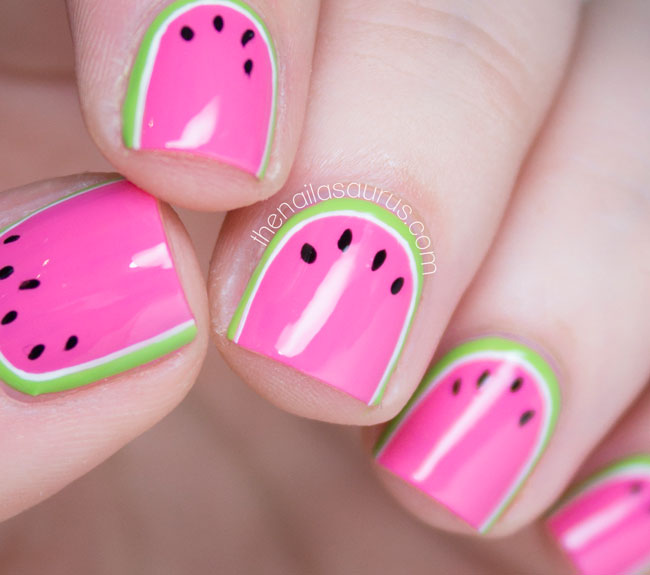
    Watermelon Nail Art with Nicole by OPI LeaPink for Joy
    Watermelon Nail Art with Nicole by OPI LeaPink for Joy
    Carrying on the fruit theme from last week’s Nailvengers post, I’ve opted for some Watermelon nail art today!
    The Cosmo Blog Awards shortlist was announced today and I’m very pleased to say that this blog was shortlisted in the Best Established Beauty Blog category! Thank you very muchly to everyone that nominated me and if you want to vote for your favourites, you can do so here. I’m in the very first category near the bottom! This is the third year I’ve been nominated in the awards and I’m so grateful to have such amazing readers that think I deserve their nomination year after year. You guys are truly awesome… thank you!
    For this nail art, I used Nicole by OPI LeaPink for Joy as my base colour and freehanded on the edge with Barry M Key Lime with a nail art brush. 
    I used Sweet Color White Liner for the outline and then black acrylic paint for the seeds. Can you see where I made a whoopsie on the index finger? I think it blends pretty well!
    It’s all topped off with a coat of Glisten & Glow HK Girl.
    Watermelon Nail Art with Nicole by OPI LeaPink for Joy
    Watermelon Nail Art with Nicole by OPI LeaPink for Joy
    Watermelon Nail Art with Nicole by OPI LeaPink for Joy
    Share: