Follow:
    Glitter, Uncategorised

    Spell Polish Pirate Swatch & Giveaway

    Spell Polish // Pirate Swatch

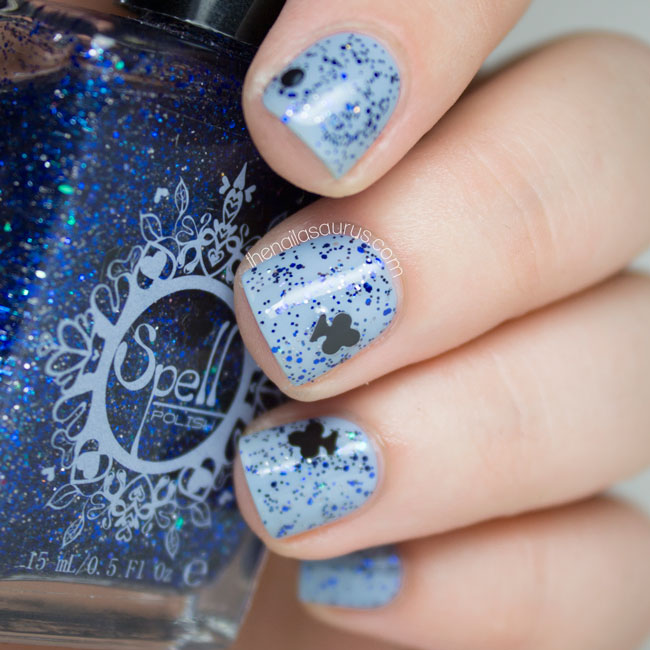
    Today’s post is quite an exciting one, I’ve got a swatch of Spell Polish Pirate and a great giveaway to go along with it. First thing’s first… Pirate!
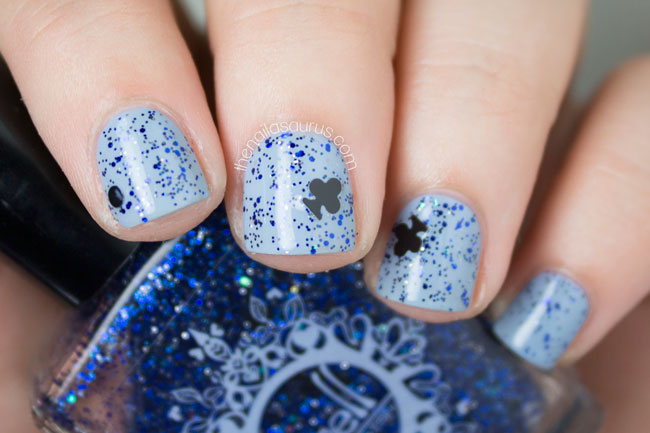
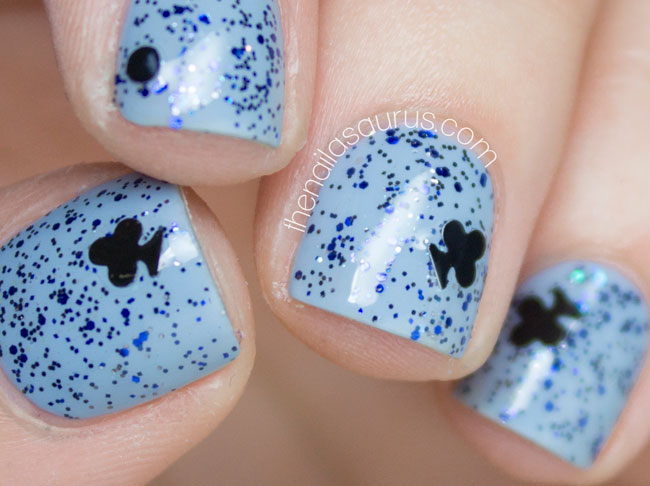
    Pirate is a glitter topper that’s right up my street with various sizes of blue hex and some silver micro glitter and green hexes. There are also larger ‘clubs’ and dots sprinkled through the bottle. For this swatch I used one coat of Pirate over Barry M Elderberry with top coat. 
    Glitter payoff is great and I’m really impressed at how evenly the glitter is distributed on the nails. There was no sign of clumping or bare patches that I had to go back and fix later, just a perfectly smooth application. Although it doesn’t bother me too much, it’s worth mentioning that the smell is on the strong side but Heather, Spell Polish’s creator, has let me know that the scent is being phased out for something a bit less pungent. 

    Where to buy Spell Polish

    Spell Polish is available from Spell Polish, The Nailista Shop and Norway Nails. RRP $17.00.

    Spell Polish Pirate // Indie Glitter Nail Polish Swatch

    Spell Polish Pirate // Indie Nail Polish Swatch

    Spell Polish // Indie Nail Polish Giveaway
    Heather has been kind enough to offer up a prize for one of my readers – 5 Spell Polish bottles of the winner’s choice. All you have to do to enter the giveaway and win your 5 favourite Spell Polish shades is fill out the Rafflecopter below! The giveaway is open internationally and will end on August 8th 2014.
    Share:
    DIY, Glitter, Uncategorised

    My De-Stashing Story: Nail Polish Keepsakes

    I think now would be a good time for me to confess to being a hoarder of sorts. I’m very attached to my nail polishes and the collective body of bottles that makes up my Stash of around 500. I guess the same could be said for any ‘collector’ – whether it’s of stamps, shoes or books – and perhaps that’s a kinder word to describe me. The only problem I’ve faced as a collector is that housing any collection can take up a lot of space and a little while ago I found myself running short on nail polish real estate.
    I have an Ikea Helmer (UK £25 / US $39.99) for storing my nail polish but bottles were beginning to spill over on to my work surface and even in boxes under the bed. I decided the best solution was a De-stash: a clear-out and simultaneous reorganisation to be carried out on the aforementioned Stash. During the De-stash I decided on around 100 polishes that would be rehomed to make space for the next generation and they were all weeded out using the following criteria:
    1. Is it still a fully functional nail polish i.e. paintable consistency, lid fused to bottle etc. 
    2. Have I worn it in the last 6 months? 
    3. Will I wear it in the next 6 months?
    4. Is it even really that pretty?
    If the answer to most of these questions was ‘No’, the polish had to go! Of course, there were other influential factors such as my sentimental attachment to each individual polish (yes, that happens) but I mostly went along with these four questions.
    Despite what I thought was a fool proof de-stashing strategy there were still a few among that final 100 that I really didn’t want to say goodbye to. They were mostly ones who received three No’s but a Yes to the final question – they were all hella pretty polishes.
    I held on to those special ones for a little while. I considered keeping them in a box in the attic to be dusted off and marvelled at once in a blue moon but I soon came up with a better solution that would allow me to 1. Display the pretty polish somewhere I can see it all the time, 2. Pass the polish along to my friends and family who would actually use it and 3. Have fun with a good DIY project.
    I decided I would decant a little bit of each polish in to those glass vials that you often get when you buy small nail art accessories. I got mine in Poundland (filled with Caviar beads) but you can also get them from lots of places online and in different sizes, and you may even already have some at home.
    After disposing of the Caviar, I just poured the polish straight from the bottle in to the little vial and capped the top. At the moment they’re all sitting pretty against the wall on top of a framed print. I know that if ever I decide I don’t want to display them anymore, I’ll easily find a spot for them in the Helmer after sealing the stoppers with a layer of glue.
    I wanted to share in case anyone found themselIf you recently had your own De-stash, how did you decide which polishes stayed and which had to go?

    Share:
    Freehand, Nail Art, Uncategorised

    Alexander McQueen S/S15 Inspired Nail Art

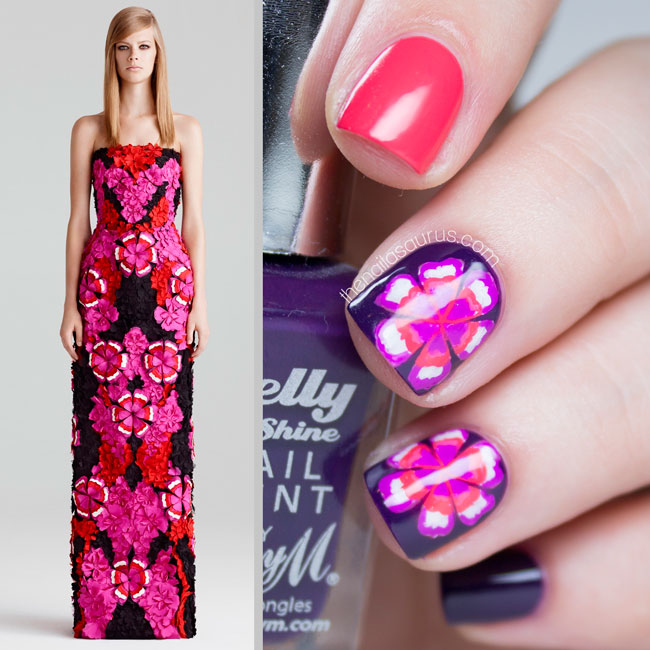
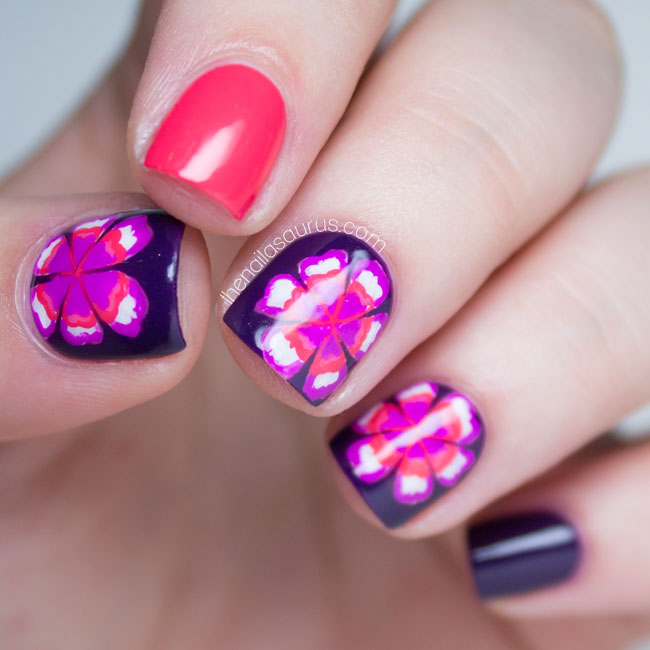
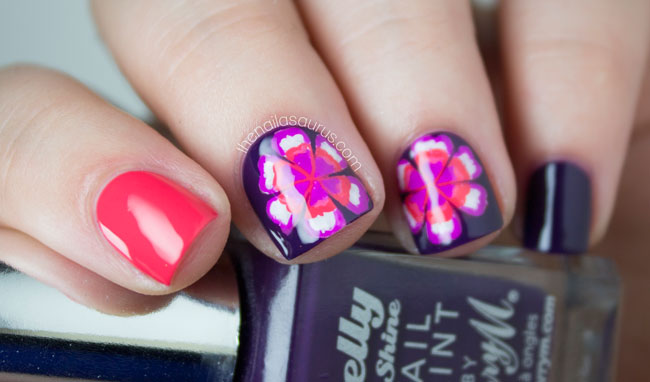
    I spent a few hours last night browsing the Vogue galleries. Fashion never fails to provide mountains if inspiration for nail art so whenever I’m feeling a bit low on creativity, these talented designers can always spark something. Sometimes I find a piece I love in 2 minutes, sometimes it takes 2 hours! It took me quite a while to come across this beautiful dress from Alexander McQueen’s SS15 lookbook but it was nail art at first sight! 
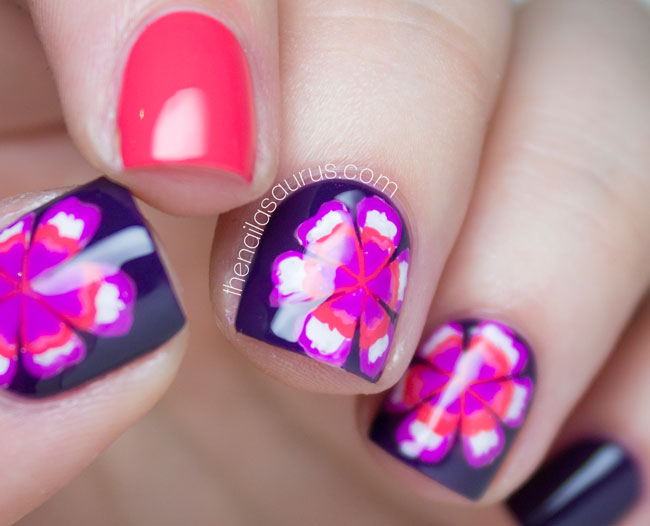
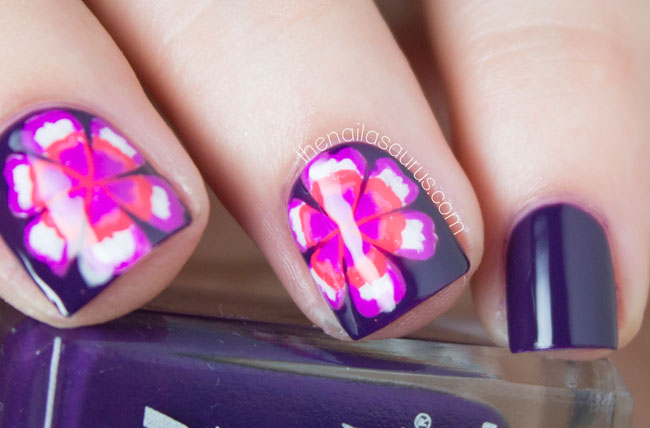
    It’s been so long since I did intricate freehand nail art that I almost feel like I’ve lost the ability. Florals are always a good way to ease in to freehand nails and this pattern is the perfect mix of simple shapes with elements that are a bit trickier. My confidence has been restored a little and I’m going to build up to more adventurous freehand nail art.
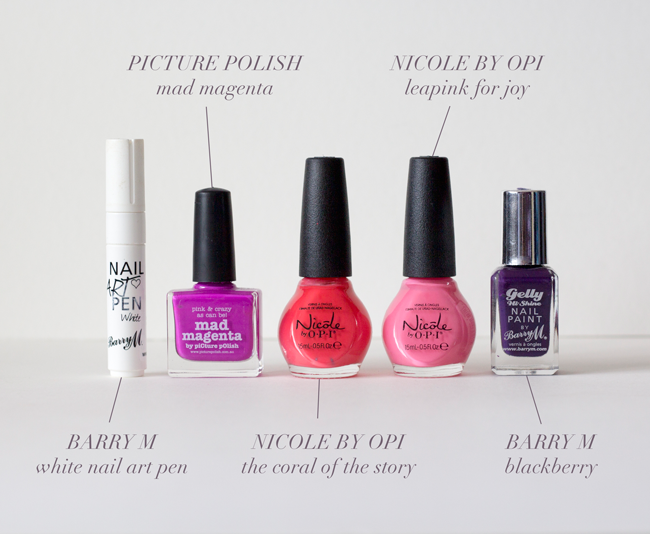
    I didn’t lay down a base colour for this nail art, just painted it straight on to my bare (base coated) nails which was a first for me. I started by painting on the outline of the flower with Barry M’s nail art pen and then used a nail art brush to add the colour. Finally, I painted the dark plum on the bare bits and topped it all with HK Girl.

    Products Used

    piCture pOlish Mad Magenta
    Nicole by OPI The Coral of the Story
    Nicole by OPI LeaPink for Joy
    Barry M Blackberry
    Glisten & Glow HK Girl Top Coat
    Share:
    Glitter, Nail Art, Uncategorised, Waterfall

    Throw Some Glitter, Make it Rain

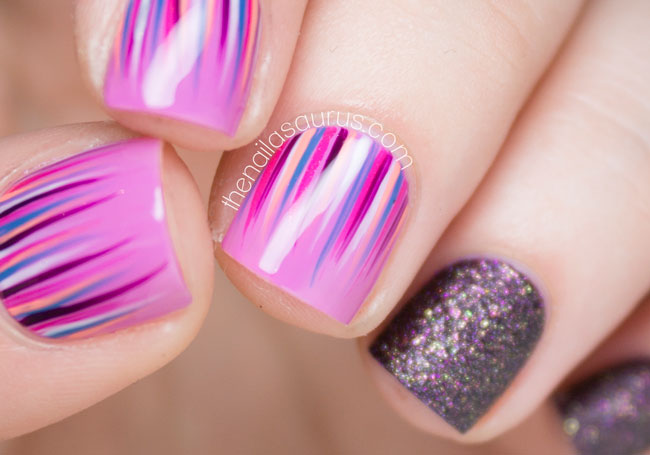
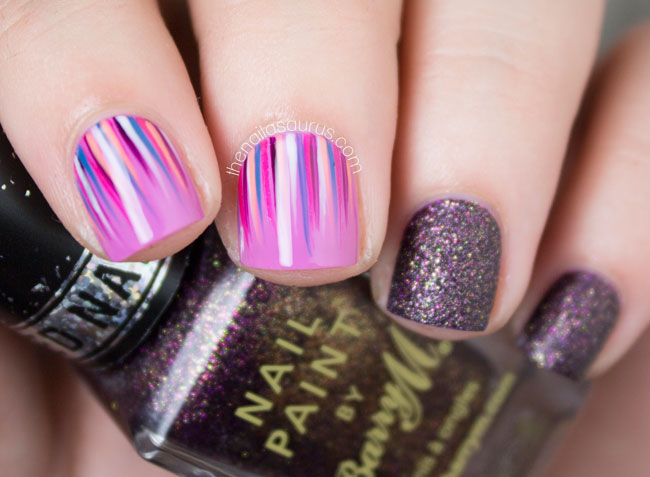
    Purple Waterfall Nail Art with Barry M Countess

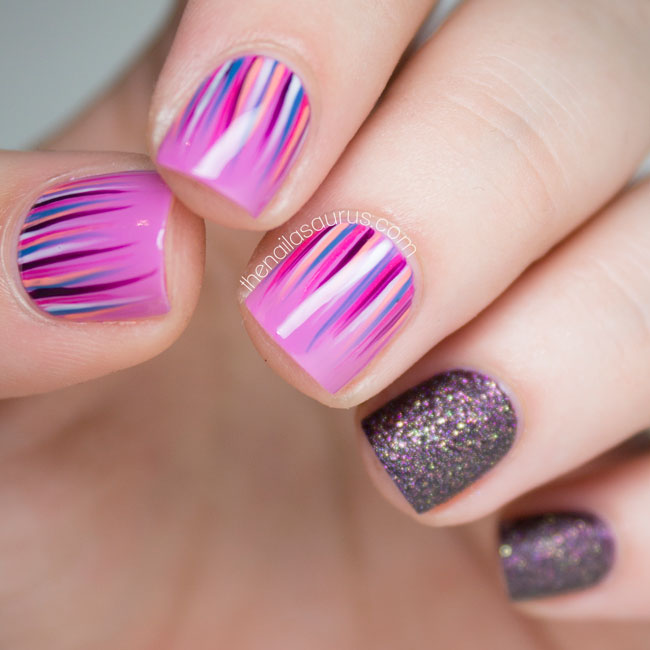
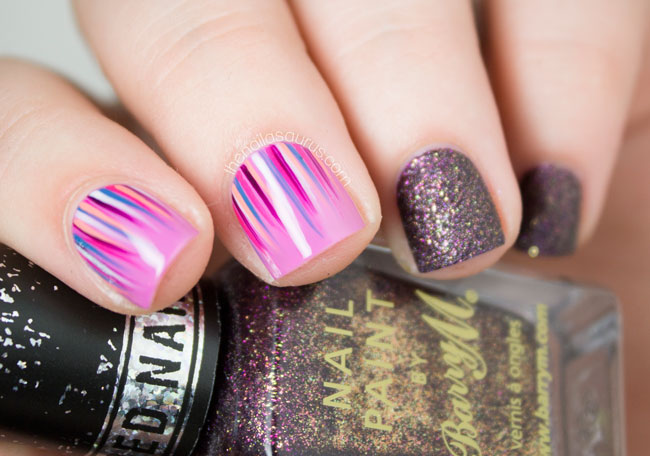
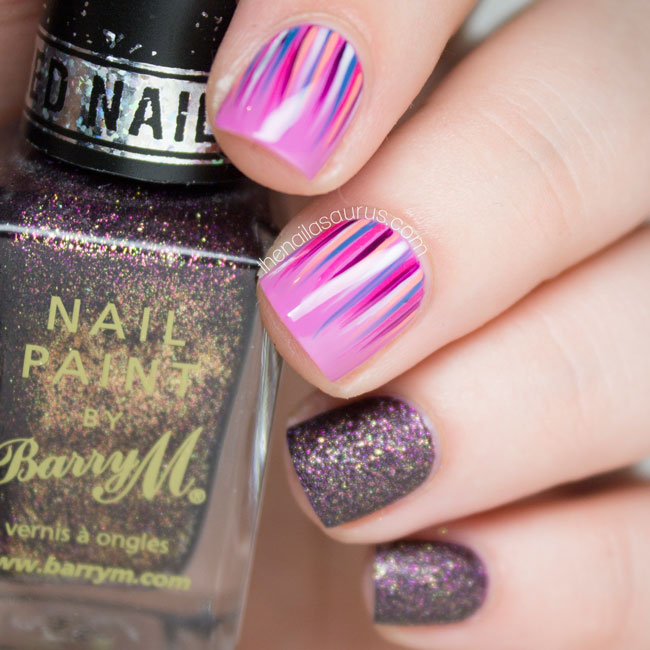
    This mani is one I threw together in a bit of a rush last week when I was in a panic because I didn’t have anything to post. As it turned out, I did actually have a few interesting things to post so I haven’t needed to delve in to my emergency supply until today! Despite doing this in a bit of a rush, I don’t think it’s any ‘less’ than my other manis that I take my sweet time with. I think that’s the beauty of the waterfall – you don’t have to give it too much care or concentration.
    For the waterfall, my base colour is Sally Hansen Pinch of Punch but your guess is as good as mine when it comes to the other colours in the mix as I shuffled them back in to my Helmer before making a note. Doh! I think I see NYC Peach Popsicles in there, a plum, turquoise, pink and white.I topped it with Glisten & Glow HK Girl.
    The glitter is Barry M Countess, a textured polish and my favourite from their Royal Glitters collection. No top coat here!
    Purple Waterfall Nail Art with Barry M Countess
    Purple Waterfall Nail Art with Barry M Countess
    Purple Waterfall Nail Art with Barry M Countess
    Purple Waterfall Nail Art with Barry M Countess
    Share:
    Galaxy, Nail Art, Uncategorised

    The Qualities of a Galaxy

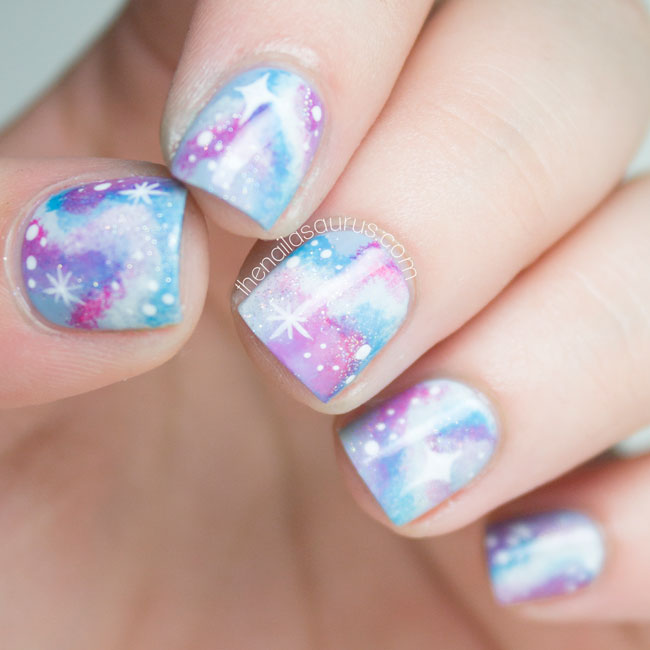
    Pastel Galaxy Nail Art

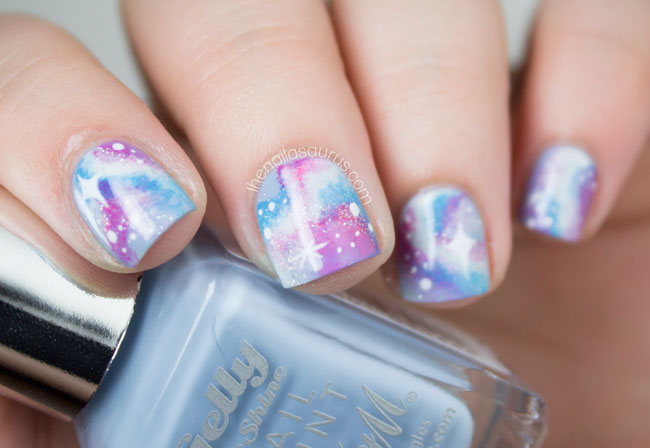
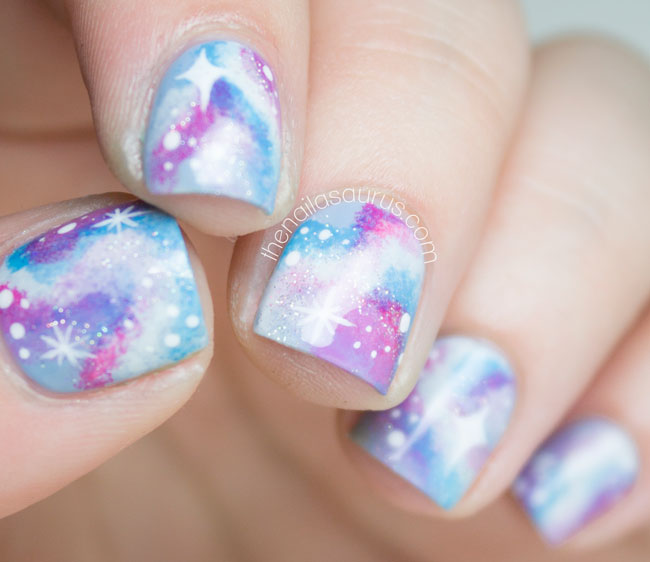
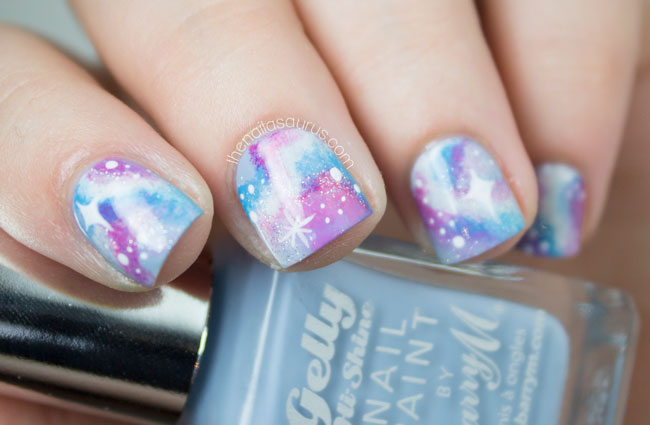
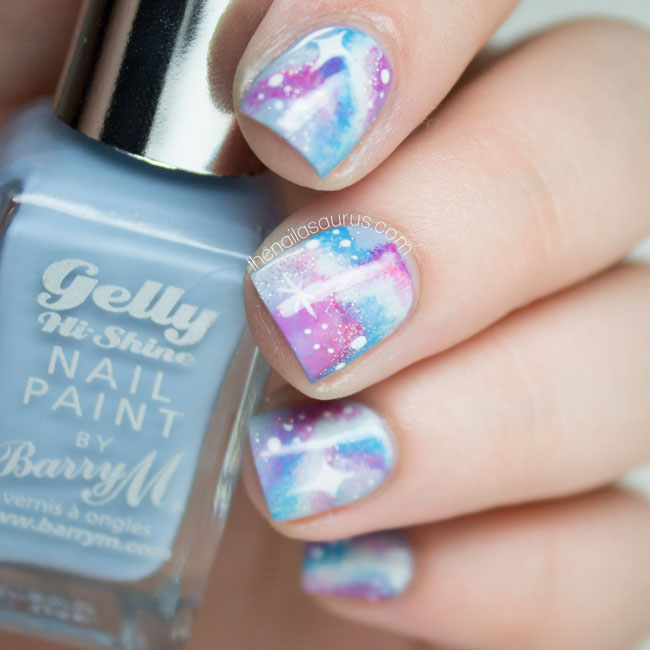
    Once again I’ve found myself drawn towards the bold pairing of turquoise and pink. When I saw Wondrously Polished’s pastel galaxy nails I knew I’d have to imitate – they were so awe inspiring and I just couldn’t stop staring! I like knowing in my heart that galaxy nails will never fail me. Whenever I feel a bit uninspired, wearing galaxy nails for a few days can rekindle my love for nail art and spark new ideas.
    Lindsey wrote a great tutorial for this galaxy look over at The Hunt so I’d urge you to check that out if you’re looking for some pointers.

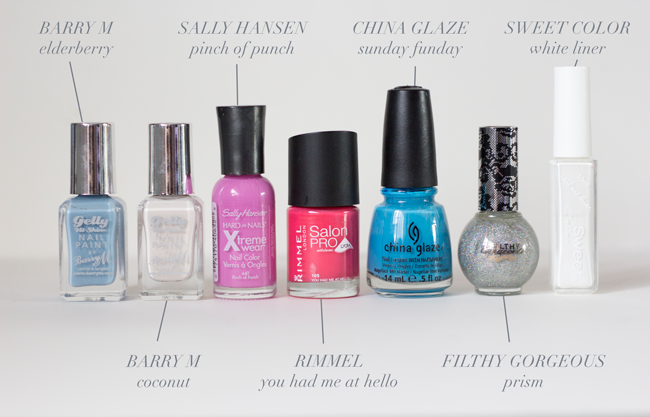
    Polishes Used

    Barry M Elderberry
    Barry M Coconut
    Sally Hansen Pinch of Punch
    China Glaze Sunday Funday
    Filthy Gorgeous Prism
    Sweet Color White Liner
    Glisten & Glow HK Girl top coat
    Pastel Galaxy Nail Art Nail Polish
    Pastel Galaxy Nail Art
    Pastel Nebula Nail Art
    Pastel Galaxy Nail Art
    Pastel Galaxy Nail Art
    Share:
    Gradient, Nail Art, Uncategorised

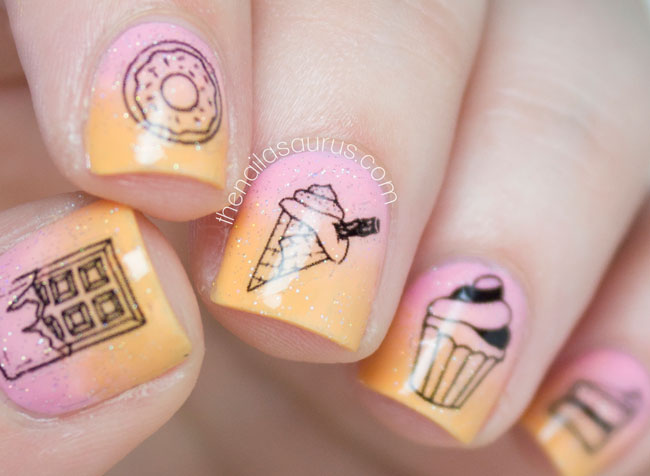
    Nail Doodles: The Sweetheart Collection v.2

    When I was introduced to new Etsy shop on the block, Nail Doodles, I had a look around and quickly discovered that the creator behind the hand drawn, hand made water decals lives but 10 minutes away from me. Small world, huh?
    One of my favourite things about being a blogger is having the opportunity to collaborate with small businesses and introduce them to a new bunch of people that share my hobbies and interests (that’s you guys!). Most Indie makers and Etsy sellers that I’ve worked with are US based so I always love it when I come across one that’s in the UK. Now to find an Etsian, by chance, who lives down the road… just amazeballs!
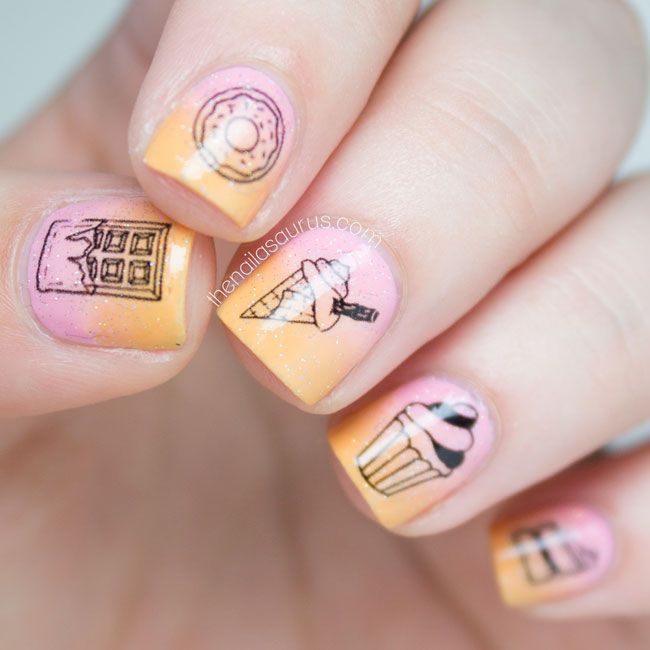
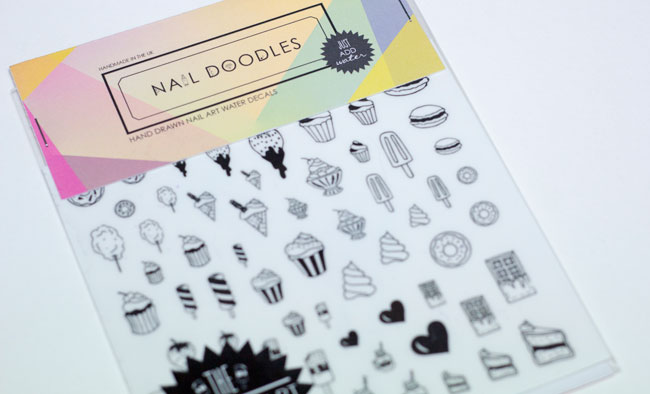
    I snapped up The Sweetheart Collection v.2. Most of the designs come in colour or outline options and I went for the outlines because I wanted to get adventurous with my backgrounds! The instructions say to snip closely around each decal, place it on your nail (with the backing paper still attached) and submerge it in water to separate the decal. 
    Of course I thought I knew best, didn’t bother reading the instructions first, and went ahead with dunking the whole thing in water until the decal and paper separated, then placing the decal on my nail with tweezers. My way worked too but I’ll try it the ‘proper way’ next time!
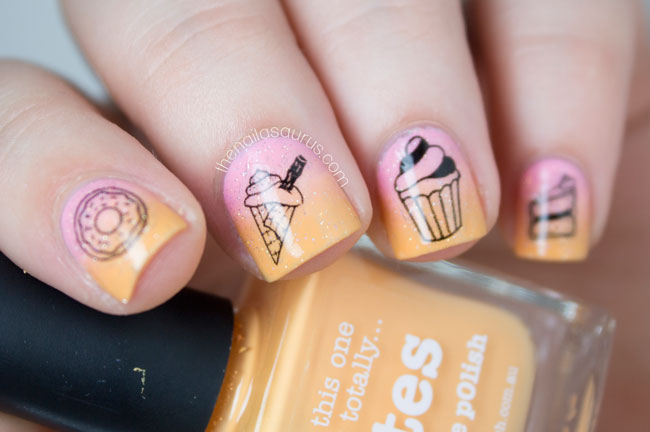
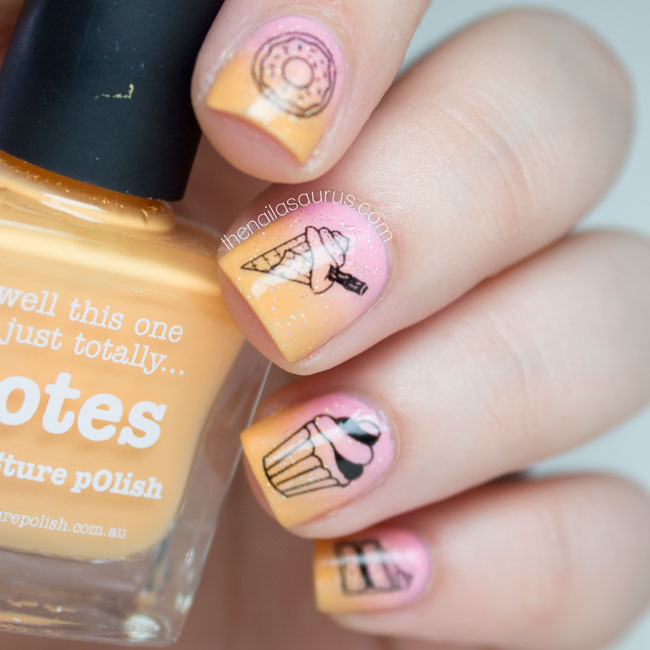
    I’m really impressed with the colour on these decals – it didn’t fade at all and has stayed jet black. I was left with a few bumps at the edge of each decal but it wasn’t anything a lick of top coat couldn’t sort out and may have been to do with my application. Overall, I love the decals and next on my wishlist is the Davy Jones Collection. Arrrr! 
    For the gradient underneath, I used W7 Baby Pink and piCture pOlish Totes with a thin coat of China Glaze Fairy Dust over the top. There’s a gradient tutorial here. The whole manicure is topped with a coat of Glisten & Glow HK Girl.

    Where to Buy Nail Doodles

    You can get Nail Doodles decals from Nail Doodles on Etsy and the seller ships worldwide. RRP £6.00. 
    Share: