
‘When the rich wage war, it’s the poor who die.’ -Jean-Paul Sartre



The way your blog looks is just as, if not more, important than the content you’re putting there. A good looking blog that functions well plays a huge part in keeping your audience engaged. The last thing you want to do is turn people off with illegible fonts and crazy colours as they will simply leave at the click of a button, never to be seen again.
This blog has been through its fair share of awful design, but over the years I’ve learned more about what visitors expect to see when they find themselves landing on a blog. On top of that, there are ever-evolving trends to keep up with too but since blogging has taken a turn for the mainstream, it’s easier than ever to make your blog look good on a budget. Here are 5 quick and easy things you can do to make your blog look better…
I’m sure you’ve heard it said before that your blog needs ‘Branding’. All this means is consistency running through the content you’re putting online, from your writing style to the quality of your photos.
When it comes to the look of your blog, choose a colour scheme, a few fonts that work well together and an all-over visual style for your blog and stick to it. You might also consider creating a logo or having a designer create one for you.
Once you’ve got everything sorted on your blog, carry it across your social media too – everything should be recognisable as YOU!
Unless you can design and code a blog yourself, you’ll need to make use of the services of a designer at some point. Best to get it out of the way early by biting the bullet and investing in a template for your blog. There’s no need to spend hundreds on a custom design at first (or ever, if you don’t want to) as you can pick up beautiful premade templates for anything from £10-£50.
Whatever blogging platform you’re using, there’s a template out there for you. Some of my favourite places for browsing templates are pipdig, Blog Milk and Etsy but there are quite literally hundreds of places online where you can buy a good template.
When it comes to formatting posts and tweaking the design of your blog, HTML knowledge is a huge advantage no matter your skill level – a little goes a very long way.
I learnt basic HTML as a teen when I started customising my MySpace profile (back then, you could customise your social media profiles in a BIG way!) and it’s paid off both in terms of my personal blog and my career, even though I only know the very basics. I can’t code a whole site from scratch, but I can go in to the code and tweak things without worrying about completely breaking my blog!
For me, the main advantage of knowing a little about HTML is that I don’t have to consult (or pay!) someone else every time I want to make a small change to the way my blog looks or functions. I can decide this font needs to be a bit bigger or that share function needs changing and go straight in and do something about it.
I know it’s very intimidating when you look at 2000 lines of code and don’t know where to start, but you can learn it all online! I find reading help articles is the easiest way I learn but if you’re more of a visual learner, there are plenty of YouTube tutorials to help as well. Although nothing compares to using these skills in practice, seeing the results of your work and learning as you go.
Now I’m not talking about overhauling everything on your blog, but basic design skills are invaluable for any blogger. If you own and/or can use Photoshop and other design programs, that’s awesome and you can probably ignore this point! I personally use Adobe Photoshop for all of my photo editing and design but if you’re not so savvy with the software, there are plenty of free services out there to make graphic design easy for beginners.
Tools like Gimp, PicMonkey and new kid on the block Canva are at least partially free to use for editing and creating stunning imagery. They can be used to create everything from banners to pinnable images for your blog posts. Even though I am technically capable when it comes to design, I’m not the most creative when it comes to creating graphics so I frequent sites like Canva, Creative Bloq and Pinterest for inspiration and to keep up with current design trends.
There are a few exceptions but generally speaking, anything that doesn’t add to the reader experience probably doesn’t need to be there so it’s important to regularly clear any clutter from your blog. When there’s too much to look at, visitors can get overwhelmed or confused and may not stick around for very long. This is especially true for first time visitors.
In order to clean the clutter, slowly scroll through the front page of your blog and take a look at each individual element that makes up your blog. Decide whether it’s necessary or useful to the reader and if its not, get rid of it. I’ve made it sound quick and easy but I know that it’s not because I’ve been through it myself! I culled a lot of ‘stuff’ from my sidebar this year and at the time, it’s always a hard decision to make but I don’t miss any of it now! It really helps if you can be objective about it. I always try to think about it like I’m viewing someone else’s blog, not my own.
Now I’m going to leave you with a challenge! One thing that you can do right now, in 10 minutes… clean up any clutter on your site and take that first step to a better looking blog.
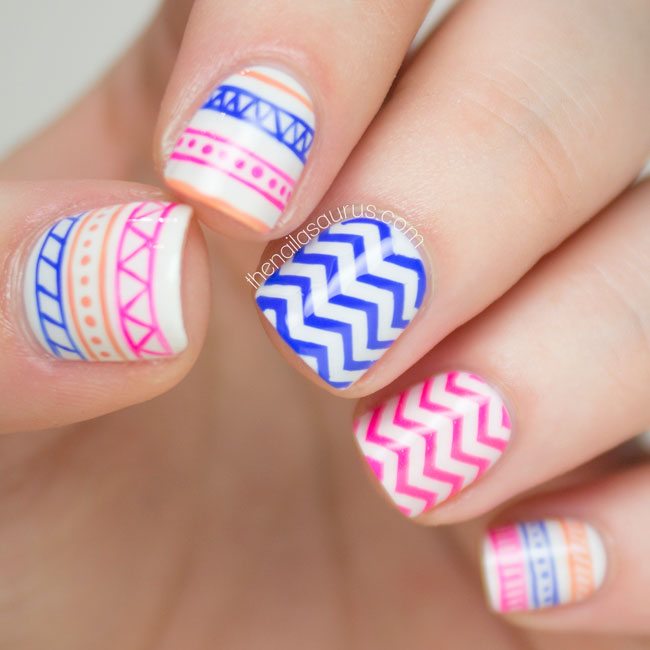
When I saw that Hannah from The Dalai Lama’s Nails listed Winstonia Store’s brushes in her ‘Can’t Live Without’ products in this month’s Nail It! magazine, I knew I had to get my hands on some. I went for the 5-piece set (recommended by Hannah) and also the 1.4cm and 1.65cm stripers. All the brushes are really amazing but you can’t beat a strong, skinny striper for some tribal nail art.
I also have to give a shout out to these Skinny Chevron Guides by What’s Up Nails. I threw them in to my Winstonia basket along with the brushes, but they also have their own site where you can buy too (and you can get 10% off all vinyl products with the What’s Up Nails code: NAILASAURUS10). All the chevron decals/guides/stickers/vinyls I’ve used in the past have been bigger and I can never fit all that many on my nails but the skinny size works so well on my tiny little nail beds. Can’t wait to try more things with these!
Tomorrow, I’m off to Nail Harmony HQ to spend the day mastering Gelish. It’s very exciting since I’ve never (EVER!) used gel polish before but I really want to learn more. Gels are such a huge thing now, even some of my friends who normally show little interest in nails have been asking me for advice about which techniques and products are best. They get a bit of a surprise when I sit there quietly and tell them I have no idea! Normally you can’t shut me up when someone asks anything vaguely nail related! It should be a fun day and I can’t wait to meet some new bloggers. As always, you can follow me on Twitter for updates on the day (and maybe a selfie or two!).
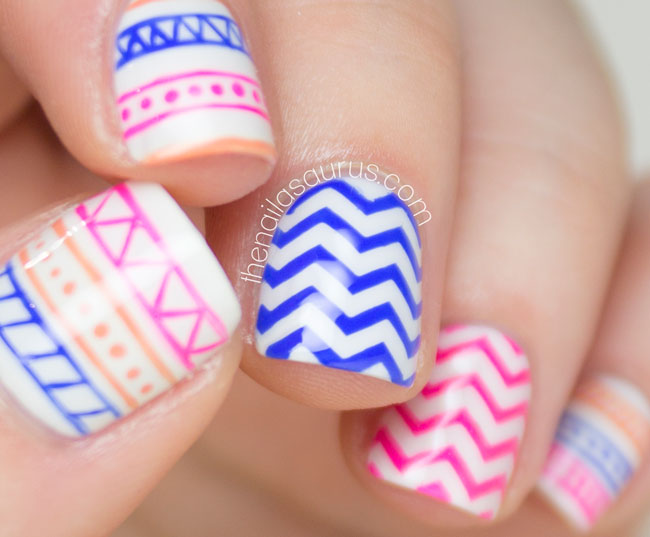
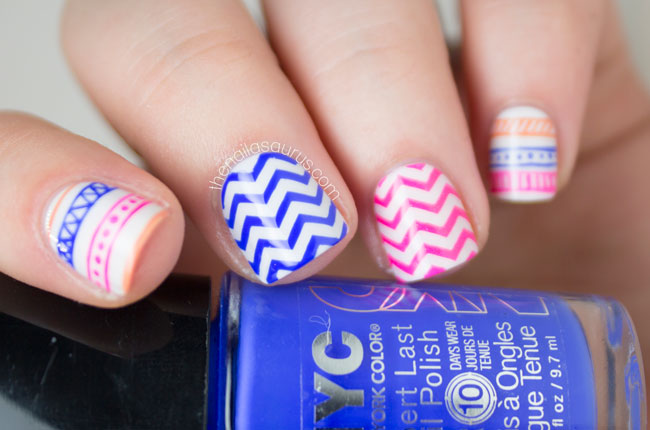
For this nail art, I used a base of Barry M Coconut and topped it with a thin coat of Glisten & Glow HK Girl.
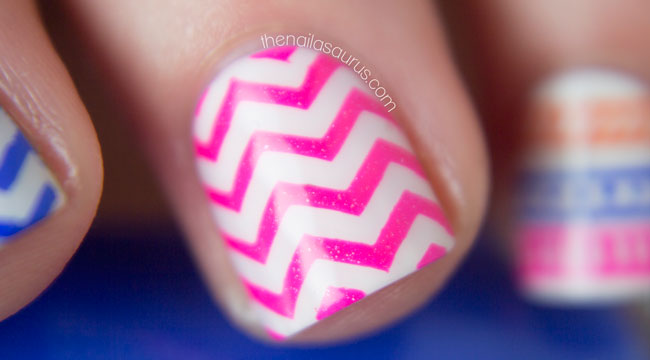
For the chevron nails, I used What’s Up Nails Skinny Zig Zag Guides with piCture pOlish Sizzle and NYC Hudson Breeze.
I freehanded all the tribal details using the 1.4cm striper from Winstonia. The colours are NYC Hudson Breeze, piCture pOlish Sizzle and Sally Hansen Tahitian Sunset.
It’s all topped with two coats of HK Girl.
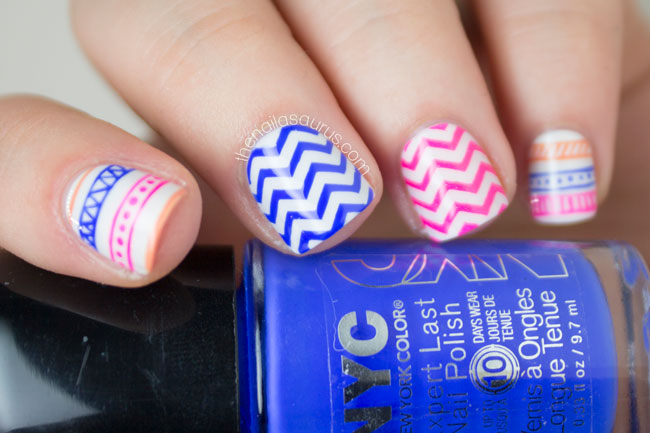
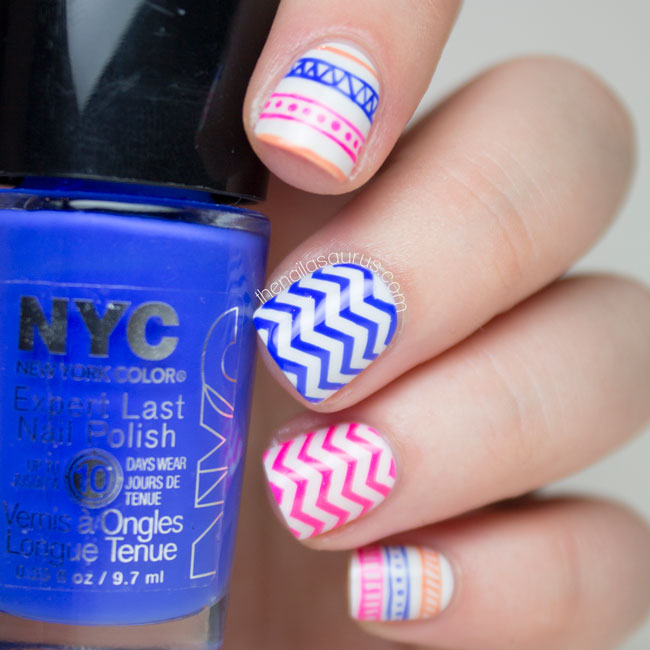
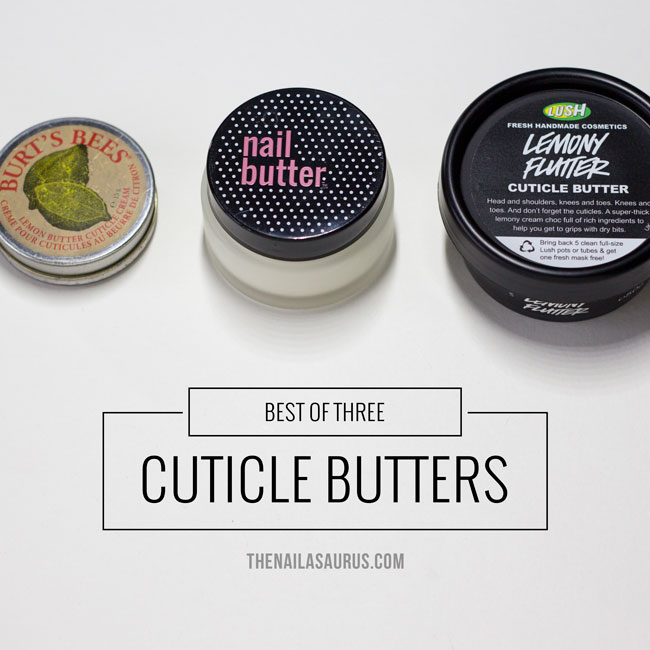
When it comes to cuticle care, there are only a few products that I use consistently and a butter is one of them. Well, actually it’s 3 of them! There are 3 cuticle butters which contribute to my cuticle care routine and each of them serves a slightly different purpose. I know it sounds slightly ludicrous to have three seemingly identical products all for different things, but with any beauty product you always find those little differences that only you notice. Whether it’s shampoo, foundation or top coat! The cuticle butters in the running are Burt’s Bees Cuticle Cream, Lush Lemony Flutter and Nail Butter.
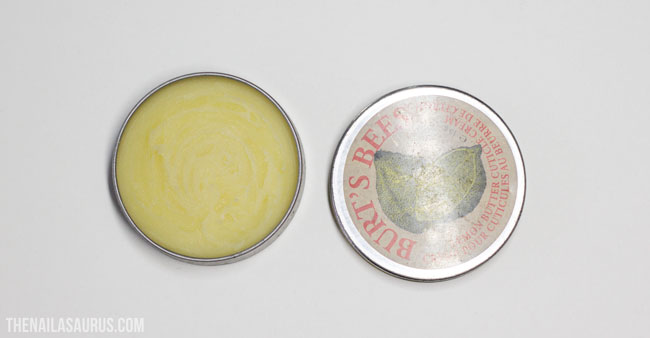
15g RRP £5.99. Available from Boots, Feel Unique and more.
I use it: On-the-go
As you can see, my tin of Burt’s Bees is very well worn! I carry this around everywhere with me because it’s such a convenient size and the tin is super light-weight. It has a very strong lemony scent which I think is delicious and the consistency is fairly thick but still creamy. You can definitely feel the oil in this one. I’ve found that the surface can harden up over time, which makes it difficult to pick up any of the product, so I occasionally have to stick a q-tip in there and work the product to soften it up. It’s the perfect product if your cuticles need a pick me up during the day.
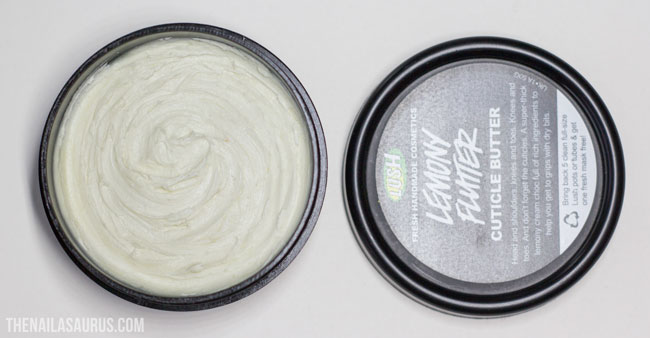
50g RRP £6.75. Available from Lush online and in-store.
I use it: Sparingly before taking nail pictures
I’ve reviewed Lemony Flutter in the past and my opinion still stands – I’m definitely a casual user. I like having it around but I don’t rely on it too heavily for my cuticle health. This one lives on my desk where I do all my swatching and photographing. When used sparingly, it doesn’t leave a shiny finish so I can get away with using it around my nails just before taking pictures so that my cuticles look trim and fresh!
The scent on this one is lemony but muted with just a hint of hospital floors. The consistency is less oily than the Burt’s Bees but still nice and creamy. Like with the Burt’s Bees, this one sometimes gets a hard layer on the top but a good mix will revive it.
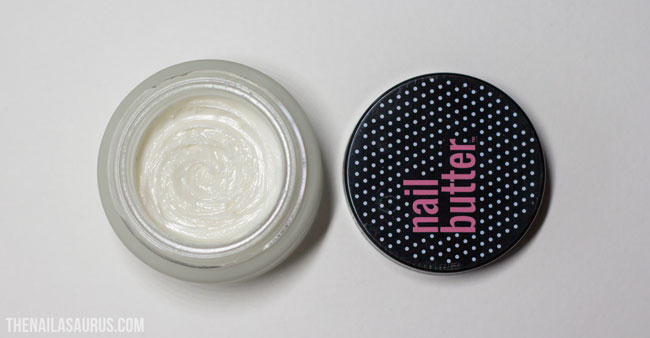
28.35g/1oz RRP $24.00 (~£15.00). Available from Nail Butter.
I use it: In abundance just before bed
Nail Butter has had a complete makeover since I last spoke about it at the end of last year. There’s a new formula with new packaging but it’s better than ever and still the reigning champion of cuticle butters for me because it is just so moisturising.
I keep it next to my bed and use it every night before falling asleep. By that time, I’m normally too tired to spend 5 minutes massaging it in, so I just slather it on all over my nail beds and let it get to work overnight.
The new formula is absolutely incredible. It’s very silky and never gets that hard layer on the surface. It’s fairly greasy but absorbs quickly – although not as quickly as the other two. It doesn’t have the lemon scent either, the scent is almost impossible for me to describe because it’s not really like anything else. It’s not nice, not nasty, but just kinda funky! Although subtle enough that you aren’t going to smell it unless your hands are very close to your face.
Nail Butter used to come in a tin but the new packaging is a glass pot. While this is easier to keep clean and I appreciate the air-tight seal, it’s a bit too heavy to be carrying around in my bag – otherwise I would!
Nail Butter takes the title because it’s the one that has the most impact on the overall health of my nails and cuticles. If I could only use one cuticle butter for the rest of forever, it would be Nail Butter! While I could live without Lush Lemony Flutter, I think I’ll always keep the Burt’s Bees around because of the amazing smell and convenient size.

Happy Halloween all! I’ve teamed up with the Nailvengers (Amelia, Allie, Alice and Lucie) today for my first and final Halloween look. I’m sorry if you might have been expecting something a bit more adventurous considering I had 18 designs to choose from, but I was in a bit of a rush and blood drips are always going to be my go-to Halloween design! This time around, I tried to 3D-ify the drips with some highlighting and contouring with moderate success!
This glitter polish caught my eye half way through the paint job. It’s an untried that’s been sat on my desk just waiting to be used. My eyes skimmed over it and just thought ‘the is PERFECT for Halloween!’, so I removed the polish that was already there and applied the glitter instead!
For the blood drips, I painted a base colour of Barry M Lychee, then freehanded on the drips using Rimmel Heart on Fire with a nail art brush.
I mixed a little bit of black polish in with the red to paint the shadows, then mixed a little bit of red with white for the highlights/reflections.
The glitter is W7 Lava Flow. I used about four (really thin) coats to get full opacity but you could just apply two over white for a similar effect.
It’s all topped off with two coats of Glisten & Glow HK Girl.


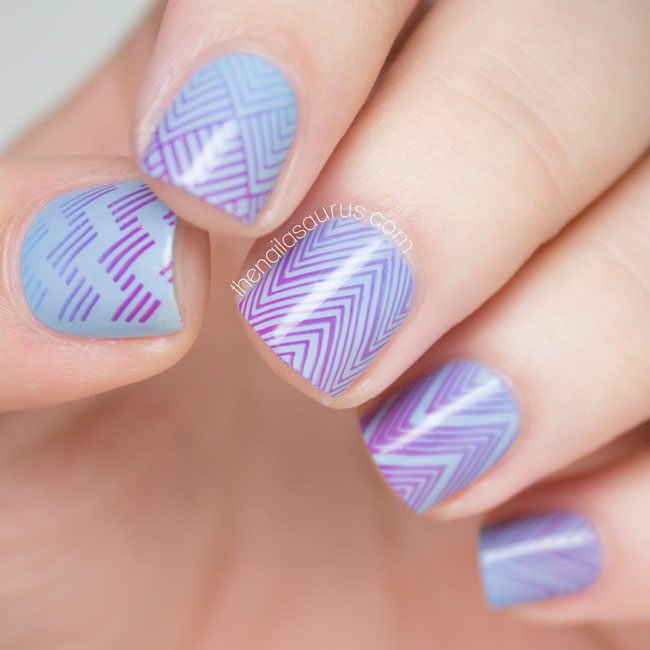
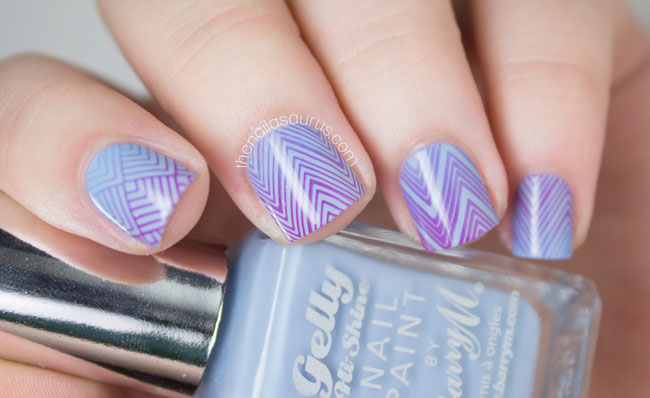
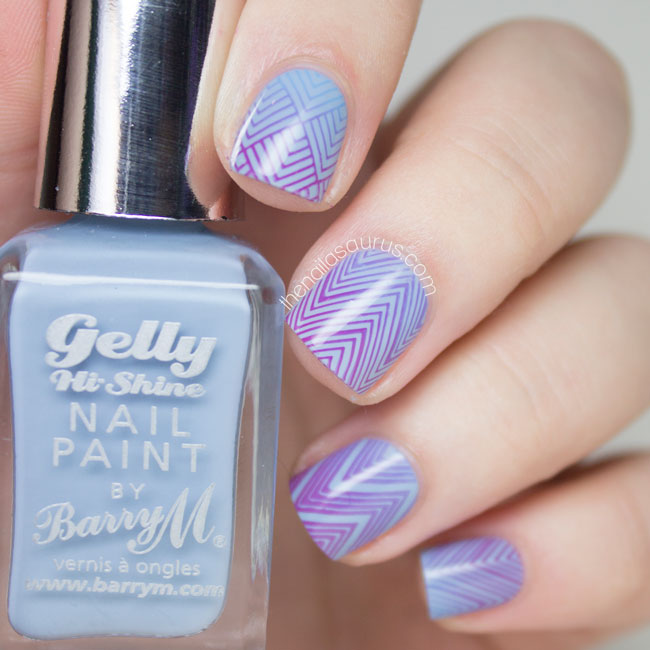
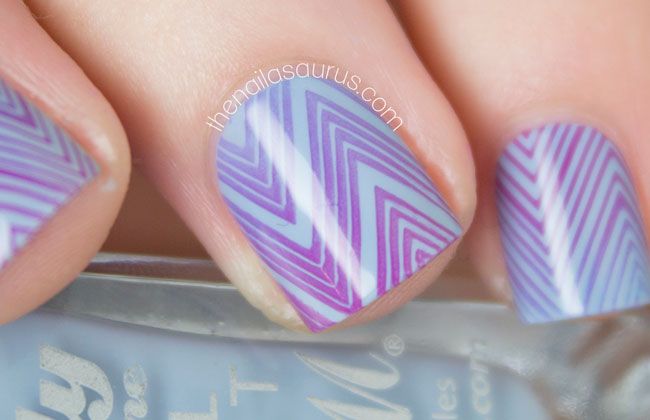
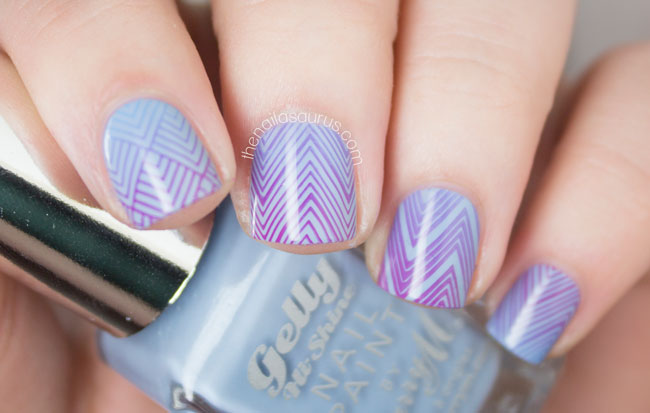
I did a spot of MoYou shopping last weekend because I’ve had my eye on a few of the Fashionista plates since they dropped in to my inbox a while back. I’m showing off one of the Fashionista plates today – SO MANY CHEVRONS! I also did some quick thinking while I was there and picked up the Festive Collection 06 plate (the one with all the cute fair isle patterns) since it sold out last year before I had the chance to snap it up! Looks like I did the right thing because it seems to be sold out already. It’ll be here when it comes back in stock.
I’m having a lot of fun experimenting with stamping on gradients. It’s a good alternative for stamping over a gradient since it requires considerably less time and skill than creating the traditional gradient with a sponge. This time I used a bright blue and bright pink for the stamping and they’ve mixed nicely to create a purple fade through the middle.
A video tutorial for this technique is on my to-do list, and has been for a while. I’m completely swamped with other projects at the moment – all very exciting stuff but very time consuming – so I just haven’t had enough time to sit down and film it. I just wish I had a camera-person to do the filming for me because I love the editing process and can just get lost in it for hours… maybe one day! In the meantime, my YouTube channel is here if you want to catch up on some of my older tutorials.
1. I painted on a base of Barry M Elderberry.
2. Using MoYou Fashionista 05 Stamping Plate, I painted on the two colours next to each other and mixed them together as I swiped to create the gradient effect. The shades I used are Barry M Rhossili and Sally Hansen Himalayan Blue.
3. Finally, I topped it off with a coat of Glisten & Glow HK Girl.

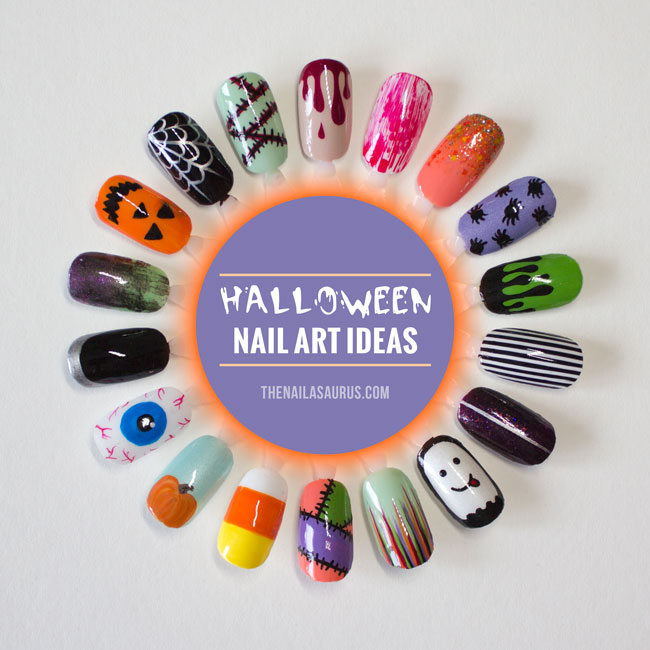
October has completely flown by and I can’t believe Halloween is less than a week away! I haven’t posted a single Halloween nail design yet this year so I wanted to round up a couple of easy designs that anyone can do for the holiday.
I started on this nail art wheel last week and just had a few details to finish off last night, when I spilled a whole lot of nail polish remover over the whole thing. Despite my best efforts, I couldn’t rescue it so I had to start over! I think the second attempt is better than the first anyway since I knew exactly what I was doing this time around. I also made my way through 5 episodes of Once Upon a Time while doing it so it wasn’t a complete disaster!
Don’t forget to tag me @thesammersaurus and use the hashtag #looknailasaurus if you recreate any of these designs so I can see!

Start with a base coat that matches your skin tone or even leave your nails bare. Use a deep red to give the effect that you’re bleeding straight out of your cuticles.
Polishes Used: Barry M Lychee, Revlon Bordeaux
Over a green base, paint some red lines using a nail art brush, then add the stitching using black paint or polish.
Polishes used: Nicole by OPI I Shop Mintage, Barry M Red, Black Acrylic Paint
Paint a few silver lines coming out from the corner of your nail. Connect them up with some ‘dips’ to create a cobweb.
Polishes Used: W7 Black, A-England Excalibur Renaissance

Paint your nails with a bright orange polish and add details
Polishes Used: Essie Fear & Desire, Black Acrylic Paint
There’s a tutorial for the distressed look at Chalkboard Nails.
Polishes Used: piCture pOlish Tail Feather, piCture pOlish Hussy, A-England Dorian Gray
Named so because it’s exactly what Morticia Addams would be rocking on her nails! Start with a black base coat and freehand on the ruffian edge with a silver chrome polish.
Polishes Used: W7 Black, A-England Excalibur Renaissance

I believe this design is originally by Wah! Nails. Over a white base colour, start with the largest blue circle as the pupil. Draw a smaller black circle inside it as the iris and add a small whit dot just to the edge of the iris. Using a thin brush, add some wiggly veins creeping in from the edges.
Polishes Used: Graffiti Nails Ice White, Barry M Malibu, W7 Black, Barry M Red
Over a light base colour, paint on a pumpkin shape at the very base of your nail in orange polish. Mix the orange polish with a little bit of yellow to add some highlights.
Polishes used: Barry M Meadow, Essie Fear & Desire, NYC Lexington Yellow
Paint your nails white and wait for it to dry. You can either freehand on the blocks of yellow and orange or use scotch tape to mark off each section as you go for a super crisp edge.
Polishes Used: Graffiti Nails Ice White, Essie Fear & Desire, NYC Lexington Yellow

Tutorial here
Polishes used: China Glaze Mimosa’s Before Mani’s, Rimmel Keep Calm and Party, Sally Hansen Grass Slipper
Tutorial here
Polishes Used: Nicole by OPI I Shop Mintage, Revlon Bordeaux, Essie Fear & Desire, W7 Black, Rimmel Keep Calm and Party
Polishes Used: Barry M Pearl, W7 Black

If you’re in a rush, a spooky glitter will do the job! Add some simple details using silver polish.
Polishes Used: China Glaze Cowgirl Up, Orly Fowl Play, A-England Excalibur Renaissance
Paint a white base colour and add a top coat to speed up drying time. Use striping tape to mark off your pinstripes, paint over everything in black and immediately remove the tape. Perfect pinstripes every time!
Polishes Used: Graffiti Nails Ice White, W7 Black,
Start with your slimy green base coat and paint on the drips using a small nail art brush.
Polishes Used: Sally Hansen Grass Slipper, Black Acrylic Paint

Use a large dotting tool to create the ‘bodies’ and add the 8 legs to each using a little nail art brush.
Polishes Used: piCture pOlish Eerie, W7 Black.
Just go nuts with glitter! Use a make-up sponge to create the gradient effect.
Polishes Used: Barry M Papaya, Sally Hansen Sparktacular, Lac Attack Weasley’s Wizard Wheezes
This was a bit of a fluke! I used the distressed technique with red over white and got this amazing streaky look. I don’t know if it was the brush or polish but my gosh, it works!
Polishes Used: Graffiti Nails Ice White, Barry M Red