Follow:
Browsing Category:

Stamping

    Gradient, Nail Art, Stamping, Uncategorised

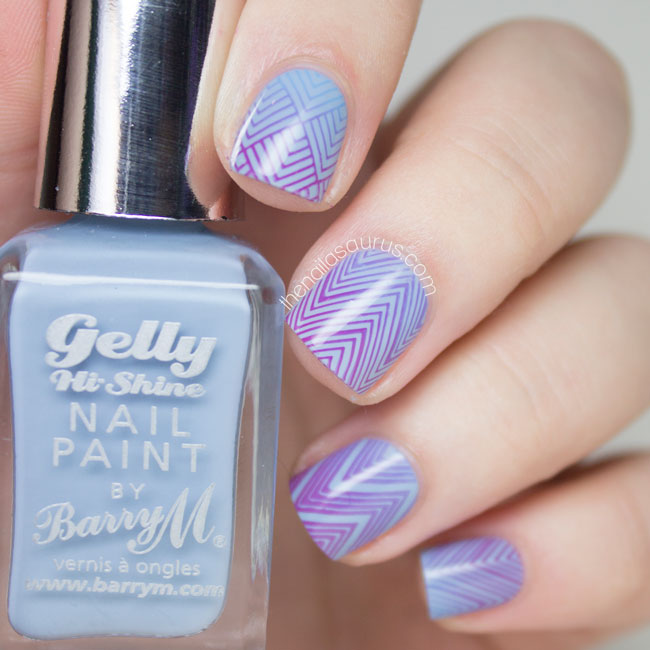
    Gradient Stamping with MoYou Fashionista Collection

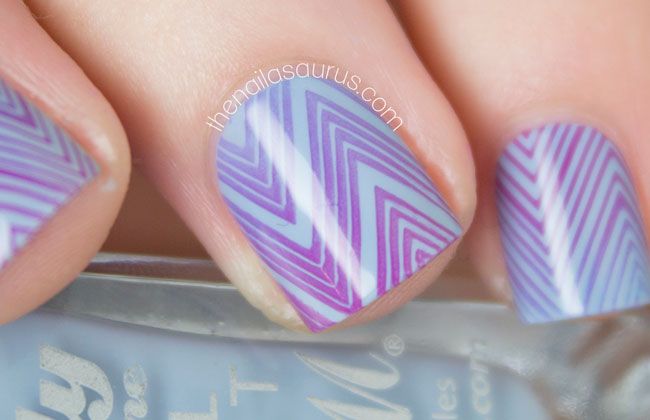
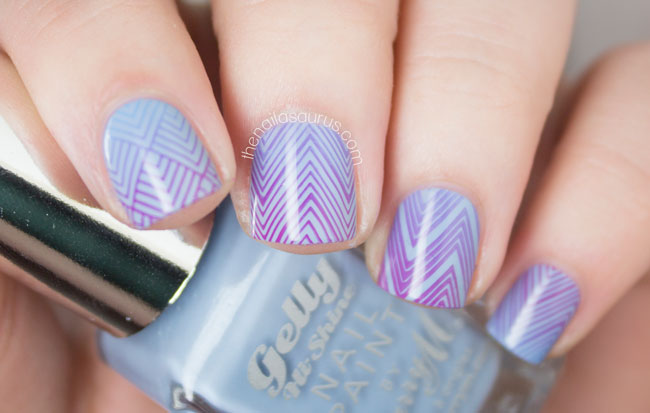
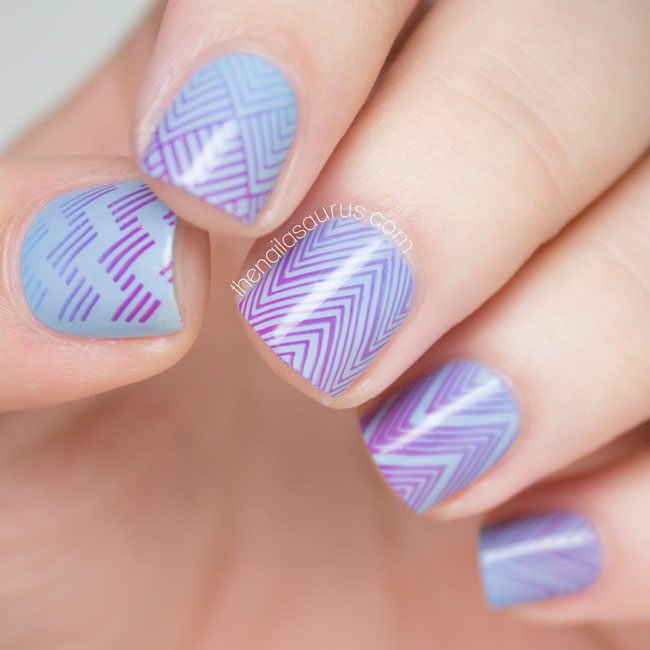
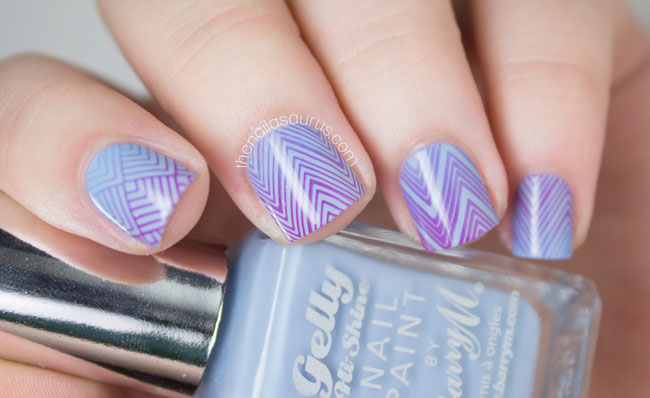
    Gradient Stamping Nail Art

    I did a spot of MoYou shopping last weekend because I’ve had my eye on a few of the Fashionista plates since they dropped in to my inbox a while back. I’m showing off one of the Fashionista plates today – SO MANY CHEVRONS! I also did some quick thinking while I was there and picked up the Festive Collection 06 plate (the one with all the cute fair isle patterns) since it sold out last year before I had the chance to snap it up! Looks like I did the right thing because it seems to be sold out already. It’ll be here when it comes back in stock.

    I’m having a lot of fun experimenting with stamping on gradients. It’s a good alternative for stamping over a gradient since it requires considerably less time and skill than creating the traditional gradient with a sponge. This time I used a bright blue and bright pink for the stamping and they’ve mixed nicely to create a purple fade through the middle.

    A video tutorial for this technique is on my to-do list, and has been for a while. I’m completely swamped with other projects at the moment – all very exciting stuff but very time consuming – so I just haven’t had enough time to sit down and film it. I just wish I had a camera-person to do the filming for me because I love the editing process and can just get lost in it for hours… maybe one day! In the meantime, my YouTube channel is here if you want to catch up on some of my older tutorials.

    1. I painted on a base of Barry M Elderberry.
    2. Using MoYou Fashionista 05 Stamping Plate, I painted on the two colours next to each other and mixed them together as I swiped to create the gradient effect. The shades I used are Barry M Rhossili and Sally Hansen Himalayan Blue.
    3. Finally, I topped it off with a coat of Glisten & Glow HK Girl.
    The Nailasaurus

    MoYou Fashionista 05

    Barry M Elderberry

    Share:
    31 Day Challenge, Nail Art, Stamping, Uncategorised

    31 Day Challenge: Animal Print

    Leopard Print Nails // The Nailasaurus

    For my my animal print nails, I’ve gone pretty simple with a true classic leopard print stamp from Konad. This is the first stamping plate I ever owned so I have deep feels for the patterns that are on it! 
    This gold polish from NYC is really great for nail art as it’s good and opaque with a foil finish, rather than chrome, but it is a bit of a nightmare to clean up! I think it’s because it’s sort of like a lgitter in that there are trillions of tiny particles of colour in there which get away from you. I used my DIY Peel Off Base Coat around my nails before stamping in an effort to protect from the worst of it but you can still see little bits around my cuticles that I couldn’t get rid of. I could have scrubbed with a nail brush but I didn’t want to risk scraping off the stamping, since there’s no top coat over it.
    I started with a base of Barry M Espresso.
    I used a coat of Rimmel Matte Finish to even out the surface as I find the Barry M mattes can sometimes look a bit streaky.
    Finally, I stamped the leopard design using NYC Full Metal Jacket with Konad Plate M57.
    31 Day Challenge: Animal Print
    Matte and Glossy Stamping Nail Art // The Nailasaurus
    Konad M57 Stamping // The Nailasaurus
    Konad M57 Nail Art // The Nailasaurus
    Share:
    31 Day Challenge, Freehand, Nail Art, Stamping, Uncategorised

    31 Day Challenge: Rainbow Nails

    Rainbow Half Moon Nail Art // The Nailasaurus

    In the words of Chris Traeger, these are LITERALLY.. the best rainbow nails I’ve ever painted! This was the only nail art I had in my head when I took up the challenge and it turned out exactly how I pictured. I was doubtful about the freehanded rainbows but once I got past a few wobbles, it was easy enough and everything balanced out nicely in the end.
    I started with a Base of Barry M Blueberry. 
    I stamped on the clouds using a Konad knockoff plate from Born Pretty Store (M79) and BK Matte White.
    For the rainbows, I used a nail art brush with 6 different shades: 
    Purple: Rimmel Keep Calm & Party
    Blue: Models Own Asscher Blue
    Green: Rimmel Keep Calm & Play
    Yellow: Rimmel Cute as a Kitten Heel
    Orange: China Glaze Mimosas Before Manis
    Red: Rimmel Mars
    It’s all topped off with two coats of Glisten & Glow HK Girl.
    Rainbow Nail Polish
    31 Day Challenge: Rainbow Nail Art
    Rainbow Nails by The Nailasaurus
    Rainbow Nail Art by The Nailasaurus
    Rainbow Half Moon Nail Art by The Nailasaurus
    Share:
    31 Day Challenge, Nail Art, Stamping, Uncategorised

    31 Day Challenge: Violet

    Essie Go Ginza Nail Art // The Nailasaurus


    For Day 6 of the challenge, we have to create Violet nails but I have always taken that to mean purple in general. Nevertheless, I’ve embraced it today and even used a polish with Violet in the name!
    To create this harlequin look, I created my own decal using a stamping plate and stamper. I picked up the diamond design from MoYou Hipster 08 with BK Matte White and left it on the stamper. Next, I used a nail art brush to fill in the diamonds using a few purple shades. After a few minutes, I coated it with a thin layer of clear nail polish and once that was dry, I peeled it all off the stamper in one piece and placed it on my nail. There’s a video tutorial here if you want to see the method in action. The other chevron design is stamped from the same plate with The Lacquer Lab Ultra Violet.

    Items Used

    Essie Go Ginza
    Barry M Lavender Foil
    The Lacquer Lab Ultra Violet
    31 Day Challenge Day 6: Violet Nails
    Essie Go Ginza with MoYou Stamping Nail Art // The Nailasaurus
    Essie Go Ginza Harlequin Nail Art // The Nailasaurus
    Essie Go Ginza Harlequin Nail Art // The Nailasaurus
    Share:
    Gradient, Nail Art, Stamping, Uncategorised

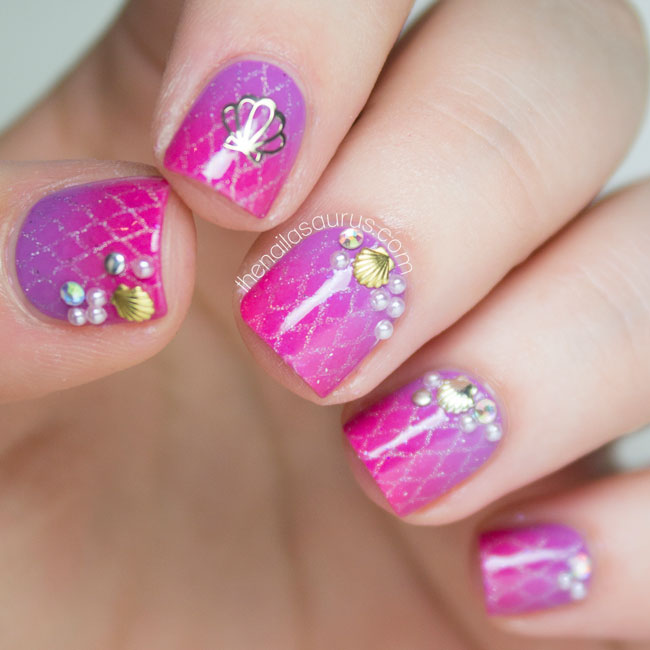
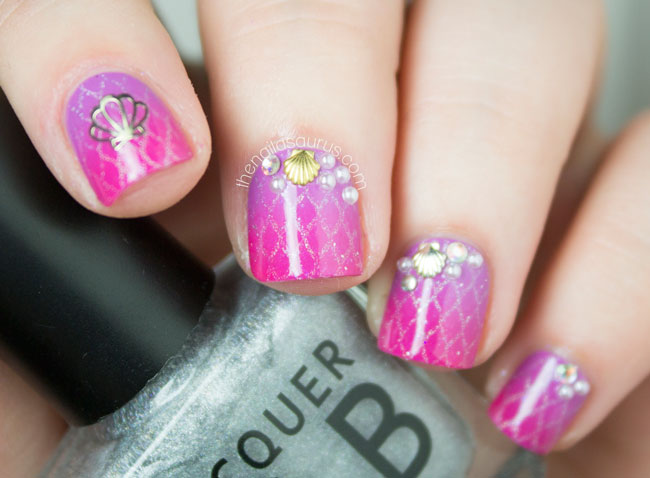
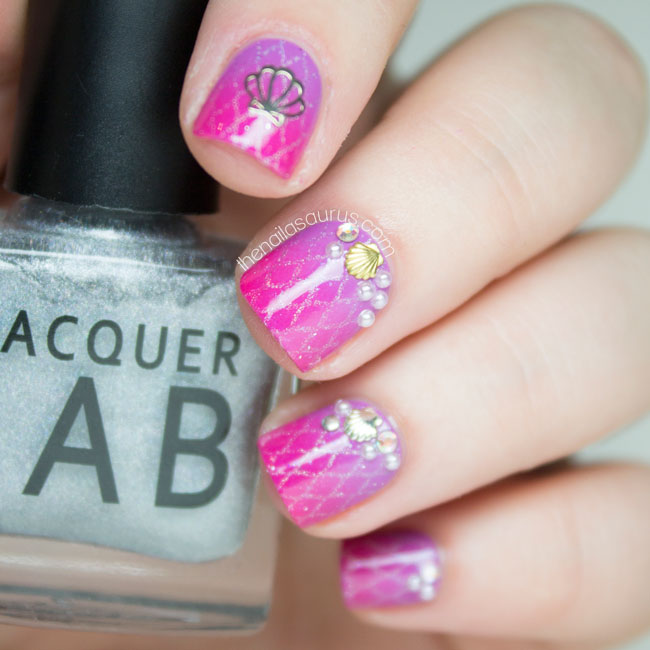
    Gradient Mermaid Nail Art

    Gradient Mermaid Nail Art // The Nailasaurus

    I’ve always been a strong believer in ‘less is more’ but sometimes you just gotta go for it. This mani has a little bit of everything – gradient, stamping and embellishments – but boy oh boy, does it work!

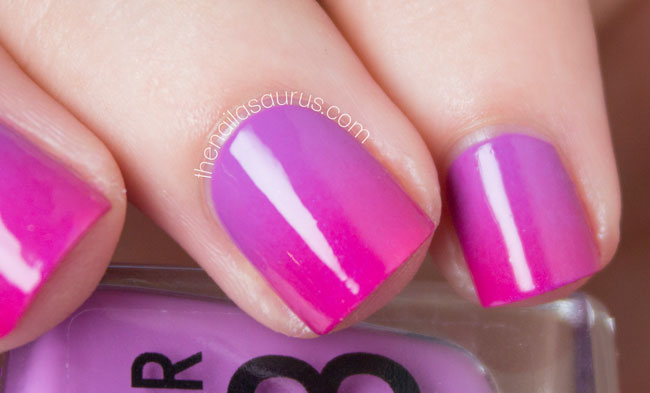
    For the gradient, I used The Lacquer Labe Ultra Violet as my base colour and created the gradient with Sally Hansen Back to the Fuschia. There’s a gradient video tutorial here.

    I topped the gradient with Cirque Liquid Laminate and snapped a few pics (below) before I added the art.

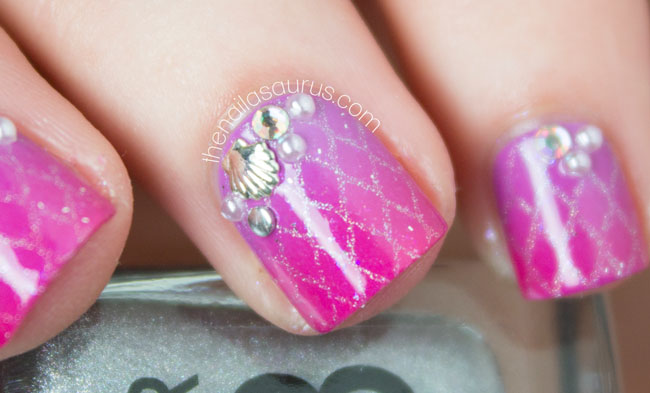
    I stamped on the fishnet / mermaid scales pattern from Bundle Monster plate BM209 using The Lacquer Lab Moonshine and used another coat of Liquid Laminate.

    Finally, I added all the little gems using top coat and a wax pencil. The selection you see is 1mm Swarovski FlatbacksGold and Silver 3.5mm shells and 1mm Flat Back Pearls with a shell embellishment from She Sells Seashells (currently out of stock).

    After I took these pictures, I added a layer of Liquid Laminate over the details and not a single thing fell off before I removed everything 24 hours later!

    Gradient Mermaid Nail Art // The Nailasaurus
    Gradient Mermaid Embellished Nail Art // The Nailasaurus
    Gradient Mermaid Kawaii Nail Art // The Nailasaurus
    Hot Pink Gradient Nail Art // The Nailasaurus#
    Hot Pink and Purple Gradient Nail Art // The Nailasaurus
    Share: