Follow:
Browsing Tag:

Tribal

    Freehand, Nail Art, Uncategorised

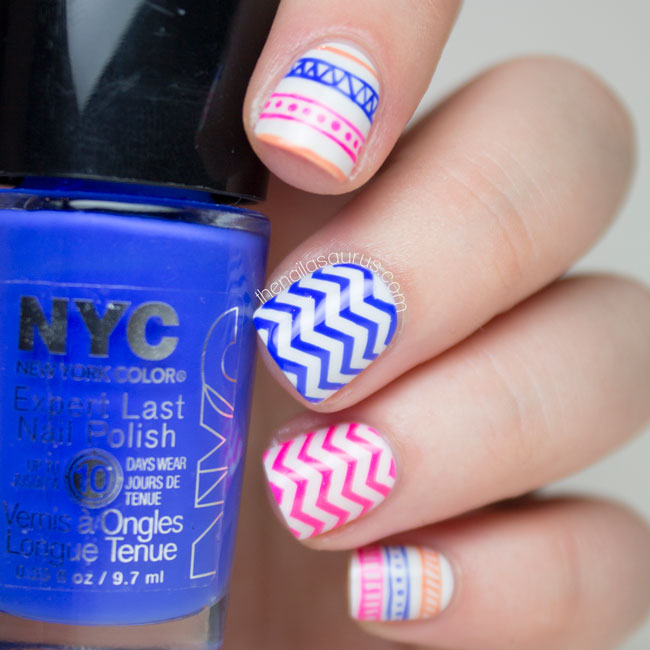
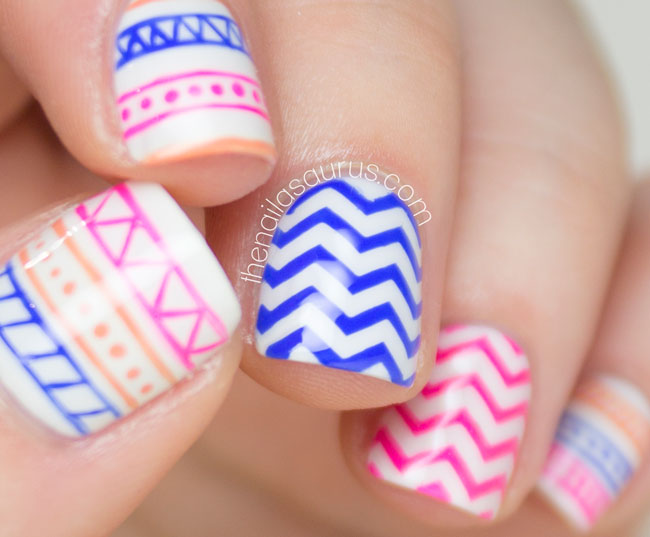
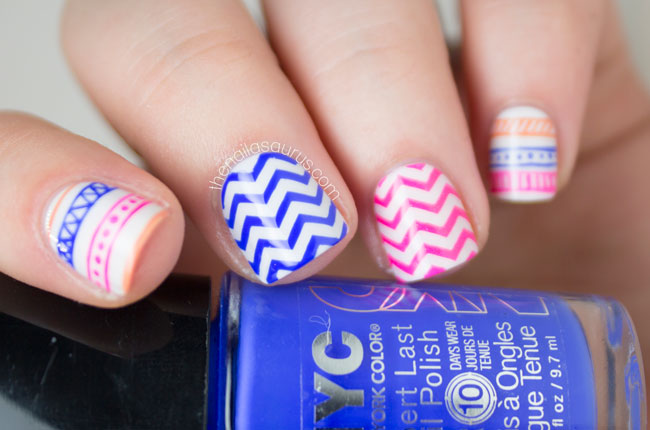
    Popping Tribal Nail Art

    Tribal Nail Art // Freehand

    When I saw that Hannah from The Dalai Lama’s Nails listed Winstonia Store’s brushes in her ‘Can’t Live Without’ products in this month’s Nail It! magazine, I knew I had to get my hands on some. I went for the 5-piece set (recommended by Hannah) and also the 1.4cm and 1.65cm stripers. All the brushes are really amazing but you can’t beat a strong, skinny striper for some tribal nail art.

    I also have to give a shout out to these Skinny Chevron Guides by What’s Up Nails. I threw them in to my Winstonia basket along with the brushes, but they also have their own site where you can buy too (and you can get 10% off all vinyl products with the What’s Up Nails code: NAILASAURUS10). All the chevron decals/guides/stickers/vinyls I’ve used in the past have been bigger and I can never fit all that many on my nails but the skinny size works so well on my tiny little nail beds. Can’t wait to try more things with these!

    Tomorrow, I’m off to Nail Harmony HQ to spend the day mastering Gelish. It’s very exciting since I’ve never (EVER!) used gel polish before but I really want to learn more. Gels are such a huge thing now, even some of my friends who normally show little interest in nails have been asking me for advice about which techniques and products are best. They get a bit of a surprise when I sit there quietly and tell them I have no idea! Normally you can’t shut me up when someone asks anything vaguely nail related! It should be a fun day and I can’t wait to meet some new bloggers. As always, you can follow me on Twitter for updates on the day (and maybe a selfie or two!).

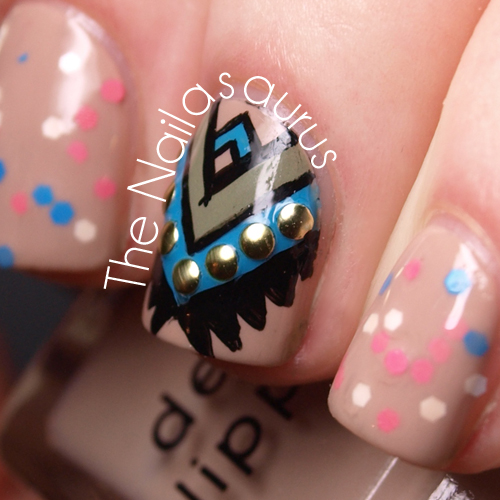
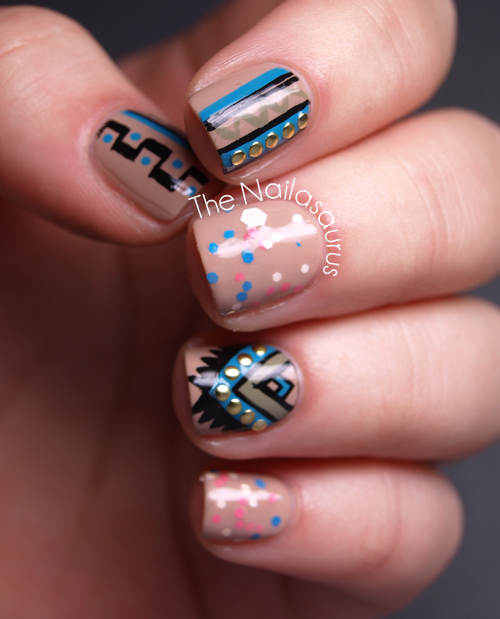
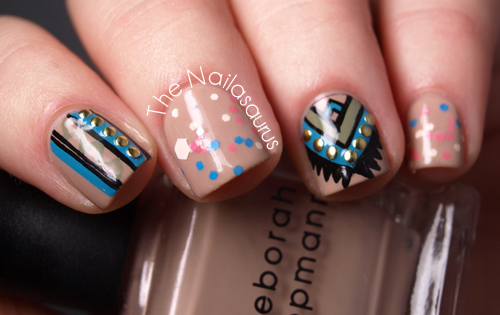
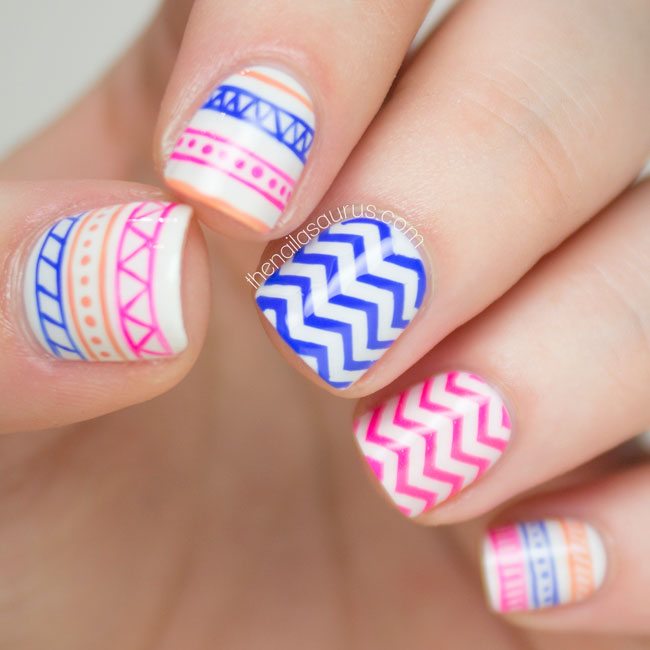
    For this nail art, I used a base of Barry M Coconut and topped it with a thin coat of Glisten & Glow HK Girl.

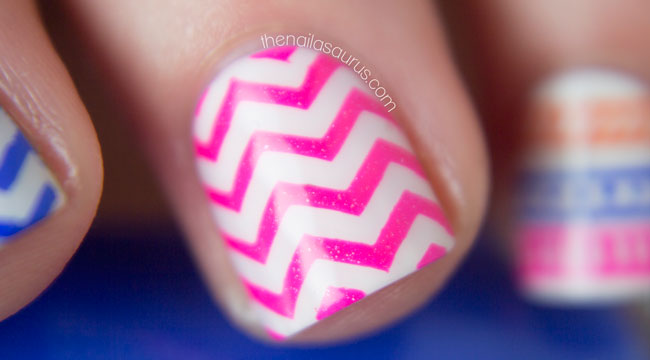
    For the chevron nails, I used What’s Up Nails Skinny Zig Zag Guides with piCture pOlish Sizzle and NYC Hudson Breeze.

    I freehanded all the tribal details using the 1.4cm striper from Winstonia. The colours are NYC Hudson Breeze, piCture pOlish Sizzle and Sally Hansen Tahitian Sunset.

    It’s all topped with two coats of HK Girl.
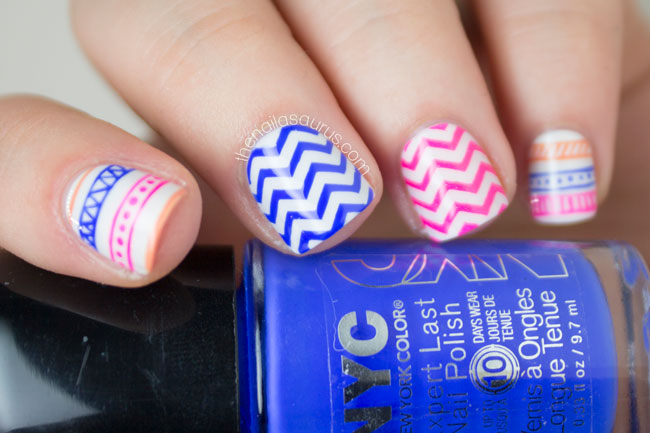
    What's Up Nails Skinny Chevrons

    Chevron Nail Art with piCture pOlish Sizzle

    Blue Chevron Nail Art

    Tribal Nail Art

    piCture pOlish Sizzle

    Share:
    Nail Art, Uncategorised

    Incoco Desert Sunset: Tribal Nail Art Wraps

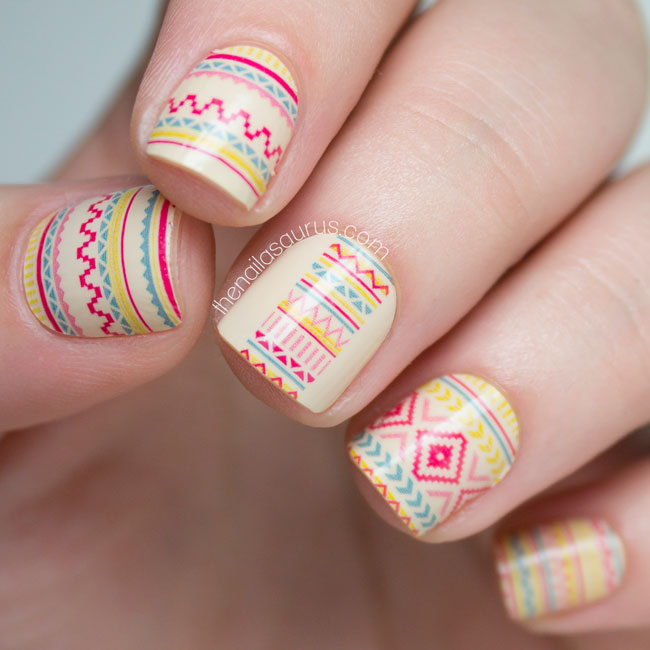
    Incoco Tribal Beats: Desert Sunset

    These nail wraps are from Incoco’s new summer collection – Tribal Beats. This particular design is called Desert Sunset and I love the combination of a muted, nude base with the colourful  patterns. I could never dream of doing such intricate designs freehand so the Tribal Beats collection gets a big thumbs up from me. I’m be saving the rest of these for when I go camping this summer to save on lugging around multiple bottles of polish. In the event that I even need to reapply all I’ll need is some polish remover, a nail file and pack of these decals!
    I’ve previously reviewed Incoco strips in a bit more depth so if you want to hear my thoughts, you can read that post here. Everything I wrote then still holds true – easy application, great results and a good range of designs.
    Incoco Tribal Beats: Desert Sunset
    Incoco Tribal Beats: Desert Sunset
    Incoco Tribal Beats: Desert Sunset

    Where to Buy Incoco Nail Wraps

    You can buy these wraps at incoco.com. RRP $8.99.
    Share:
    Uncategorised

    OPI Neons with Nailed Kit Totally Tribal Decals

    OPI Neons with Tribal Nail Art | The Nailasaurus | UK Nail Art Blog

    After what has felt like a nail art dry spell, I finally have a steady trickle of ideas coming in. I think it’s thanks to all the new summer releases that we’re seeing at the moment. I’ll start today with a few from OPI’s Neon collection and a preview of some upcoming Nailed Kit decals.

    I was lucky enough to find the Neon shades in my goody bag from Coty’s summer nail preview on Thursday. I made my way to London to meet up with Alice and Allie and we headed to the event together. I’m a bit of a country bumpkin so I normally avoid London at all costs but since it was solely a nails event and some of my favourite brands (can you say Sally Hansen and NYC) to boot, I thought it would be worth the adventure and it totally was! I had a great day talking to the ladies at Coty and met the bloggers behind Dahlia Nails too, so there was more than enough nail talk to go round.

    The Neon shades I used here are Life Gave me Lemons (Yellow, 2 coats), Juice Bar Hopping (Orange, 2 coats) and Hotter Than You Pink (Pink, 2 coats) with one coat of the Put a Coat On! white base coat underneath. I had a little bit of streaking with the neons on the first coat but that smoothed out with the second as long as I left plenty of drying time between layers.

    This is my first time trying Nailed Kit’s decals so I wasn’t sure how it was going to go, but it turned out to be a successful attempt. The instructions said to use them like temporary tattoos – place them where you want them on the nail and apply a wet piece of cotton/tissue to the back – but this way didn’t work for me. The decal came away from the backing perfectly but I just couldn’t get the decal right where I wanted it. I tried the traditional way of dipping them in to water and dislodging the decal from the paper, then placing them on to the nail which also worked and I much preferred doing it that way.

    This set is Totally Tribal and will be available on their website in June.

    OPI Neons with Tribal Nail Art | The Nailasaurus | UK Nail Art Blog

    OPI Neons with Tribal Nail Art | The Nailasaurus | UK Nail Art Blog
    OPI Neons with Tribal Nail Art | The Nailasaurus | UK Nail Art Blog

    OPI Neons with Tribal Nail Art | The Nailasaurus | UK Nail Art Blog

    OPI Neons with Tribal Nail Art | The Nailasaurus | UK Nail Art Blog

    Where to buy OPI Neon

    RRP £11.95. Available in department stores and salons.
    Currently £6.93 each at Beauty Bay with free delivery
    Share:
    31 Day Challenge, Freehand, Glitter, Uncategorised

    31DC2013 Day 16: Tribal Print

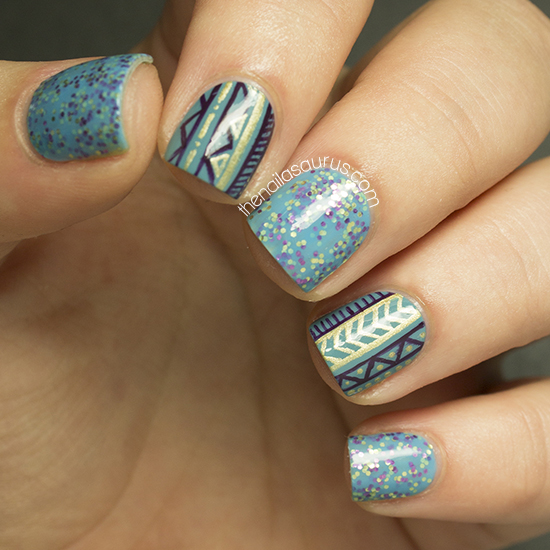
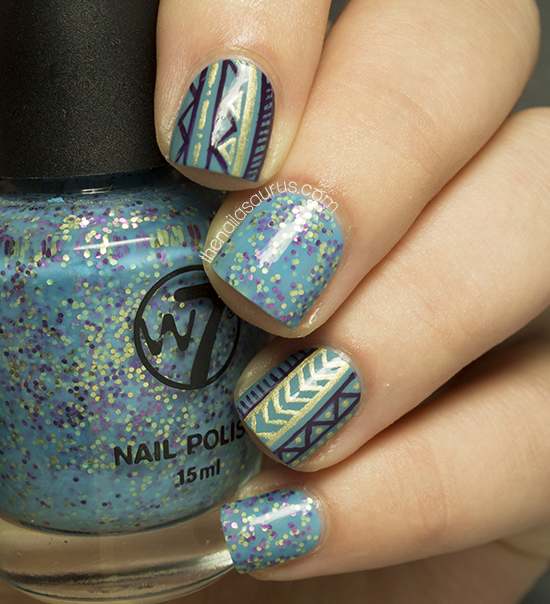
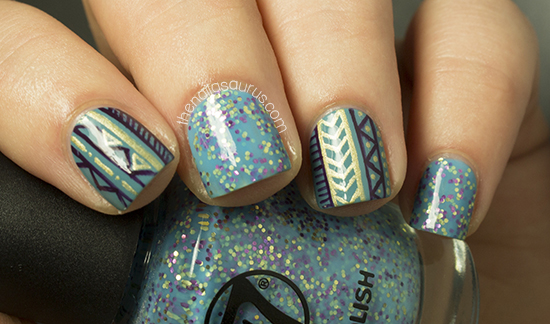
    I love tribal nail art. As far as freehanded nail art goes, I personally find tribal fairly easy although I could do with expanding my repertoire a little. I always stick to zigzags and dots but there is such an abundance of tribal patterns out there that I’ve never tried! I struggled over the colour combination for a while until my eyes stumbled over W7 Mosaic and the decision was made for me. Luckily, I found a creme in my collection that matched Mosaic’s jelly base and set about doing some mixy-matchy tribal nail art. I was a bit shorter on time today so I cheated and just did two fingers. 
    31DC2013 Day 16 Tribal

    31DC2013 Day 16 Tribal


    I used W7 Mosaic for the glittery fingers. I had to use 3 coats for opacity as the base is a jelly.

    The creme I found to match was A-England Galahad so after two coats of that on the remaining fingers, I freehanded on some tribal nail art using Sally Hansen Plum LuckBarry M Gold Foil and a nail art brush.

    It’s all topped off with two coats of No7 Stay Perfect Top Coat.

    31DC2013 Day 16 Tribal

    31DC2013 Day 16 Tribal

    31DC2013 Day 16 Tribal


    See what’s coming next in the 31 Day Challenge 2013!

    TwitterBloglovin’Tumblr

    Share:
    Freehand, Review, Uncategorised

    Barry M Nail Art Pens Review

    Many of you will have heard the exciting news this week that Barry M are launching some new products this month and amongst them are nail art pens. I knew about these a little while back because I was asked to create some nail art using the pens for the print advert but I had to keep it a secret which wasn’t easy!
    Before these I’d never used nail art pens, always favouring brushes, but I got on with the pens just fine and the mess on my desk was much more contained than when I use brushes!

    To get the paint flowing you have to press the nib down on the desk (I put a piece of plastic down first because some of it will get on your surface) until it starts flowing. The paint comes down the edges and through the middle of the nib but sometimes a little too much makes its way down the sides and you have to wipe it off. This wasn’t a huge deal for me because I’m used to using brushes which have to be cleaned off constantly. 

    You have to make sure your base colour is completely dry before you go for it with these pens. I jumped the gun and ending up dragging away the polish underneath so I had to start over. I also noticed that the paint crackles if you paint it on to wet nail polish, you can kind of see what I mean on the square design on my ring finger.
    The nibs of the pens look a lot like like felt tips but are actually made of solid plastic which makes them very durable. I slammed these down on my desk more than a few times when I was being a little over zealous but it didn’t do any damage to the nibs, they’re super tough.
    I’m pretty sure it’s not nail polish inside. By that I mean they haven’t just poured their Black nail polish in to a nail art pen. It’s something between nail polish and paint because obviously it has to be runny enough to flow smoothly out of the pens. Whatever it is, the consistency is perfect and with a top coat it will last as long as your nail polish.
    I think I’ll get the most use out of these when I’m doing french tips. Do you ever paint on tips and find yourself with a big bump at the end of your nails? I do all the time! These won’t give you that bump, the paint is so smooth and you can go over the same area as many times as you like without it ‘building up’ and getting all lumpy.

    These nail art pens will be available in Superdrug stores from April 10th and Boots stores from April 17th. The RRP is £4.99 each.
    They’ll also be launching on BarryM.com from April 10th.
    Share:
    31 Day Challenge, Freehand, Glitter, Uncategorised

    31DC2012: Day 16 Tribal Print Nails

    Day 16 of the 31 Day Challenge calls for Tribal Nails. I love tribal nails but they take a hell of a long time to do! So I copped out and cooked up some glitter sandwiches on a few of my fingers when it was getting too close to bed time.
    I have a confession to make. Last week I cut my cuticles. I really couldn’t tell you why, I had the clippers in front of me so I just did it. It was one of those decisions I regretted almost instantly, like while I was still sat there cutting away at my fingers, and yet I still couldn’t stop doing it. I am never going to cut my cuticles again.
    There’s not really a bottom line to this story, I just thought it was something noteworthy to write down on my nail blog! I’ve always been an advocate of moisturise and push and since my bad decision last week, I feel stronger than ever about it. My favourite post about cuticle care is still this one from Lacquerized’s archive. Perhaps it’s time I finally wrote my own.

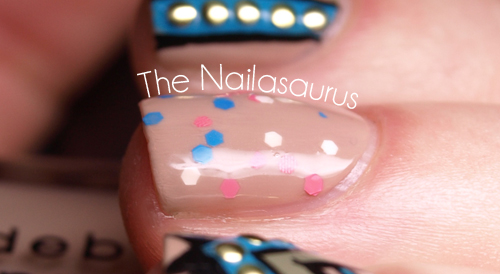
    I used three coats of Deborah Lippmann Fashion* as my base colour. The colours in the tribal patterns are NYC Water Street Blue*, MUA Shade 23 and Black Acrylic Paint. I used a small striping brush to paint the details. 
    The studs are from Born Pretty Store (SA5X31 to get 10% off).
    The glitter is JENsations Bubble Gum with a coat of OPI Samoan Sand over the top to create a sandwich.
    I finished it all off with two coats of Seche Vite.

    TwitterBloglovin’Tumblr

    Share:
    Freehand, Glitter, Uncategorised

    Sandy Skittle

    It seems I’ve dug myself in to a comfy little nail art nook this past week. There have been two manis that I fell head over heels for and have been longing to wear again – the purple skittle mani and the sandy glitter sandwich
    But I don’t want to bore you all, so I imagined what their lovechild would look like and painted that on my nails instead! The result is a Sandy Skittle! I don’t know where I keep plucking these absurd names from but they do seem to roll off the tongue and I think they are perfectly descriptive.
    I had so many pictures to choose from today, I had to put some after the jump. You’ll also find all the info about polishes there too.

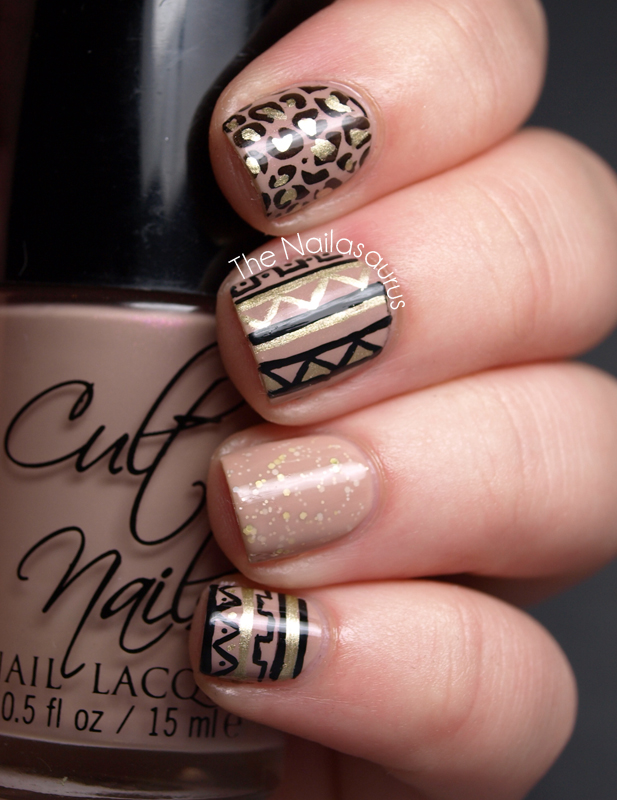
    The base colour is Cult Nails Cruisin Nude
    For the tribal patterns I used Black Acrylic Paint and Barry M Gold Foil
    The glitter on my ring finger is BYS Gold Finger and I topped that with two coats of Samoan Sand to make a glitter sandwich.
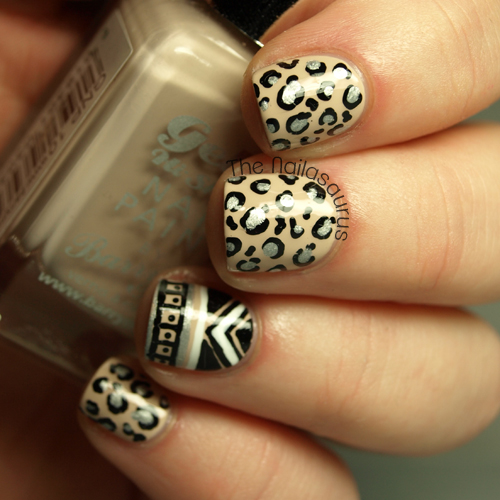
    To create the leopard print on my first finger, I used Red Angel Plate RA-107 with W7 Black and topped it with Barry M Gold Foil
    The brush I used for all the freehanded details was a small striper brush from a nail art brush set.
    Finally I finished it all off with two coats of Cult Nails Wicked Fast Top Coat.

    TwitterBloglovin’Tumblr

    Share: