Follow:
Browsing Tag:

Rimmel

    Uncategorised

    MUA Nail Constellation in Scorpio

    I took a trip to Superdrug today and was greeted at the door by a new, huge spinning MUA display that was surprisingly well stocked and up to date. They’ve recently released their Nail Constellations which are a £3 version of Ciate’s Caviar manicure. It’s really just a pot of mixed bullion with a pourer on the top and although I have tons of the stuff lying around, I couldn’t resist picking up one of these bottles. This particular set is called Scorpio.
    The bottle is quite clever as it only allows you to pour out a tiny bit at a time so you aren’t going end up spilling tiny beads everywhere. The only thing that bugs me is that I couldn’t find any way to get wastage back in to the bottle. I didn’t have to throw away too much of the product but I only did one nail* (see bottom of post). Ah well, for the price, I’m not gonna cry about it!

    My base colour is Rimmel Desire and I used Barry M Gold Foil for the ruffian accents. For my accent nail, I poured over the beads while my second coat of colour was still wet, then patted them down gently to really stick them in to the polish. I’ve got a top coat of Sally Hansen Advanced Hard as Nails on all but the accent finger.

    *I’ve since been told that the lid can be removed and even doubles as a funnel for pouring the beads back in to the bottle. See here. I did originally try to remove the lid but wasn’t rough enough. Be careful though, because if you slip in the process, your carpet will look like a constellation!

    TwitterBloglovin’Tumblr

    Share:
    Stamping, Uncategorised

    Pink Wednesday: Get Your Pink Papers!

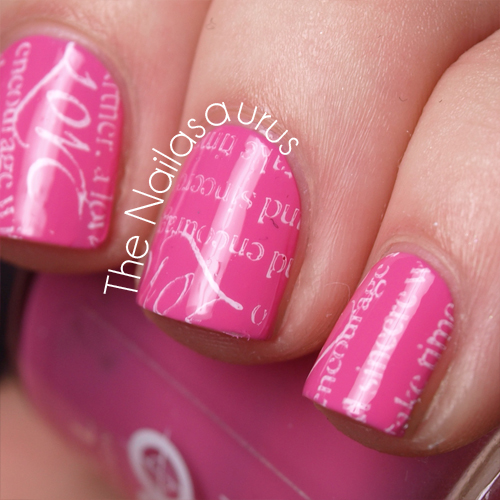
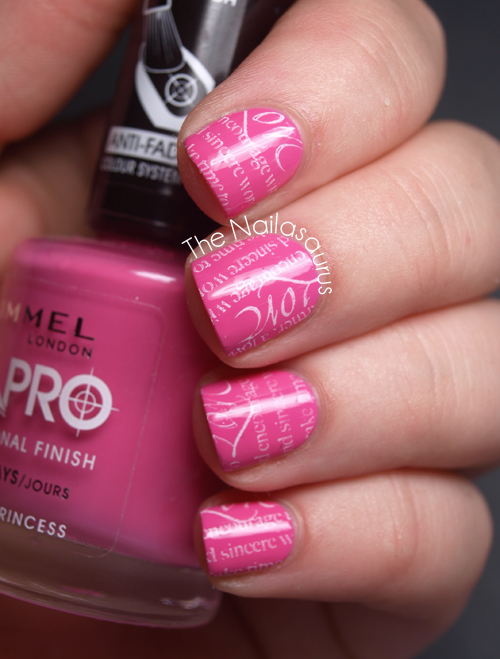
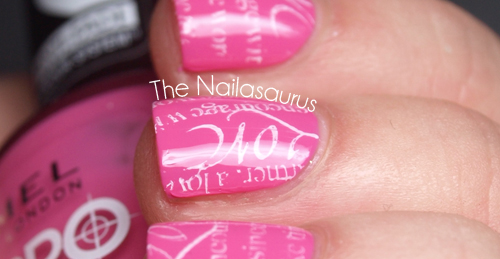
    It’s been an age since you saw any pink here and even longer since it was a Pink Wednesday so I thought I’d crack out my trusty Rimmel pink and finally try out this stamp. I’ve always loved newspaper nail art but never managed to successfully recreate it myself so this stamp has had me very excited. I think it’s a pretty good alternative to the real thing!

    The base colour is quite possibly my favourite pink – Rimmel Urban Princess – and I used Bundle Monster plate BM311 with Sally Hansen Insta Dri Whirlwind White.

    TwitterBloglovin’Tumblr

    Share:
    Freehand, Uncategorised

    Superheroes Challenge: Disney Hero… I Fight For The Users

    As I mentioned earlier in the week that I’m really not a huge Disney fan. The fairytale stuff just gets on my nerves a bit and I couldn’t decide on a hero character that I really wanted to portray on my nails. Then a light bulb went on somewhere and I remembered that the Tron films are made by Disney. BINGO! 
    I went for a very minimalist approach and if I didn’t tell you this manicure was Tron themed, you may not be able to guess! It’s based on Tron’s suit from the first movie and my ring finger is supposed to be The Grid. 

    The base colour is Rimmel Grey Matter and I used a nail art brush with Barry M Cyan Blue for all the details.

    Previously: Tron-ails and Tron Nail Art
    The other ladies also have some Disney Hero manicures for you!
    Charlotte from Charlotte’s Nails
    Debbie from The Crumpet
    Kerrie from PishPosh and Polish
    Sarah from Spellbinding Nails

    TwitterBloglovin’Tumblr

    Share:
    Gradient, Uncategorised

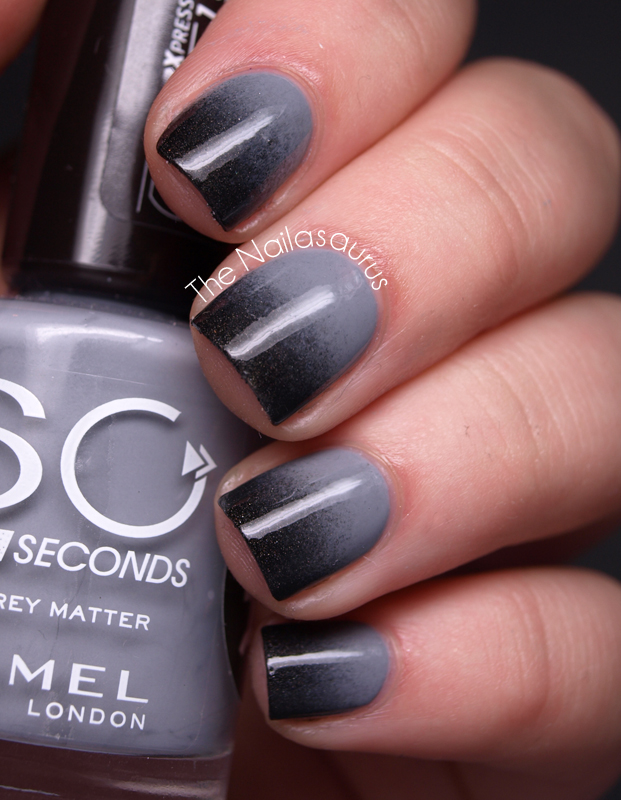
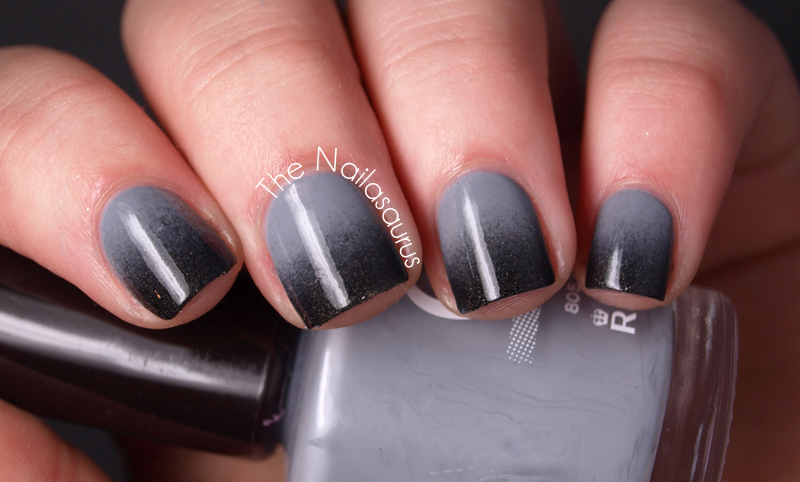
    Black and Greydient

    Sorry for my short absence. Two days doesn’t seem like much but I get really fidgety and on edge when I haven’t blogged for a few days! I ended up having one of those weekends that makes you look forward to the week! Nothing seemed to go quite right for me and tonight is the first chance I’ve had to chill out and paint my nails.
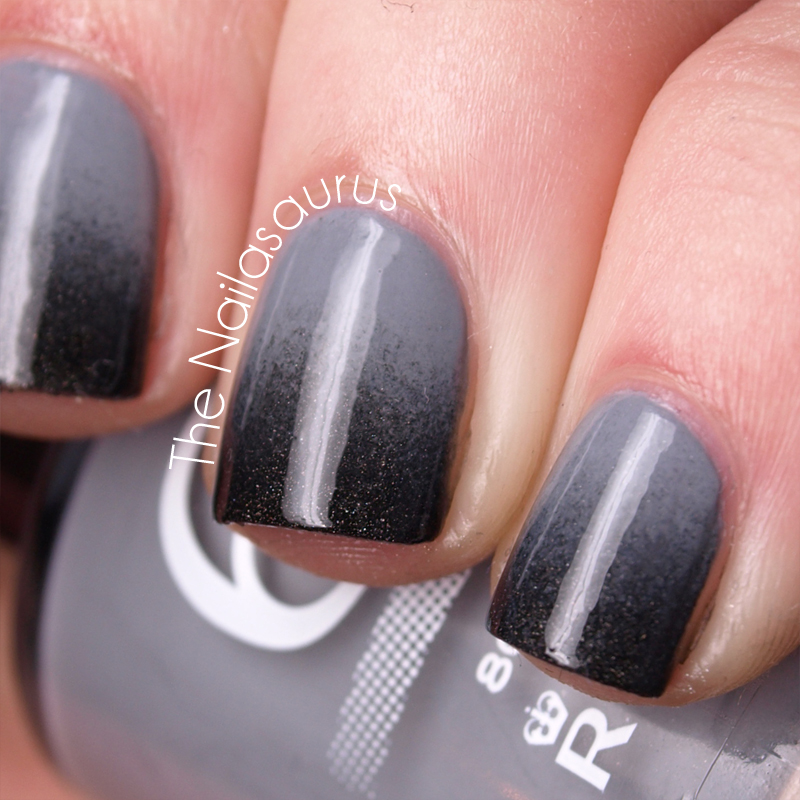
    I wasn’t sure how it would work, trying to create a gradient with a creme and a holographic polish, but I proved that it could be done with my Purple Skittle mani from a few days ago and I really love the combo. I’ve nearly exhausted every colour scheme for gradients so I abandoned colours altogether today and went monochrome!

    The base colour is Rimmel Grey Matter and I added A-England Bridal Veil to create the gradient following this gradient nail art tutorial.

    TwitterBloglovin’Tumblr

    Share:
    Glitter, Uncategorised

    Disco Nails with ‘Glequins’

    When I showed a friend [this] manicure from a few days ago and mentioned that I placed each piece of ‘glitter’ individually, he said it’s a bit big to be glitter. I never thought about it too much before but I think he’s completely right, but then again; they’re too small to be sequins! So I ended up mashing the two words together and I will now call these little hexagonal pieces of shiny plastic GLEQUINS (glee-kwins)!
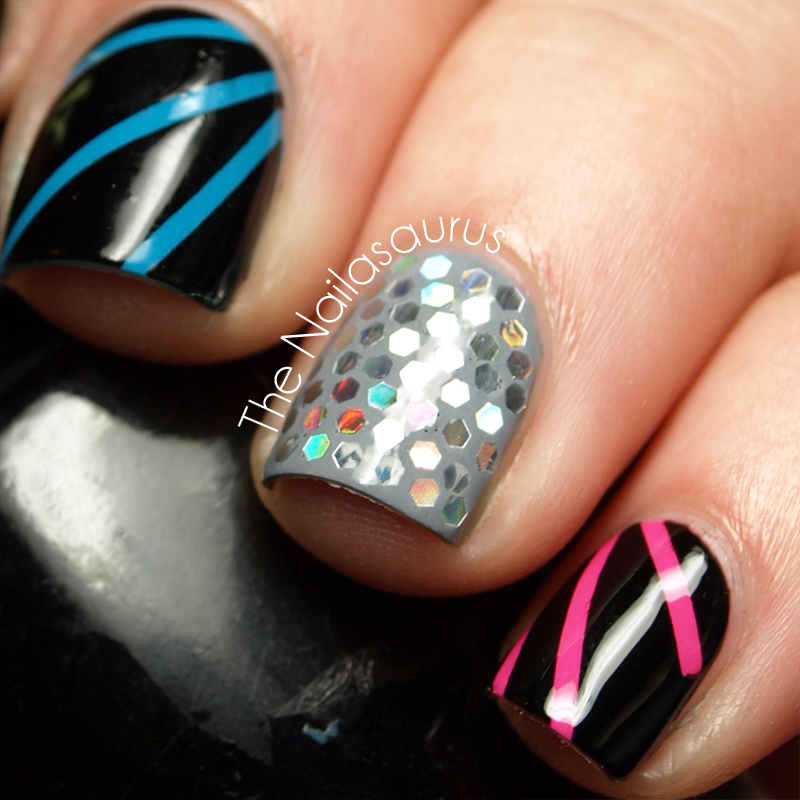
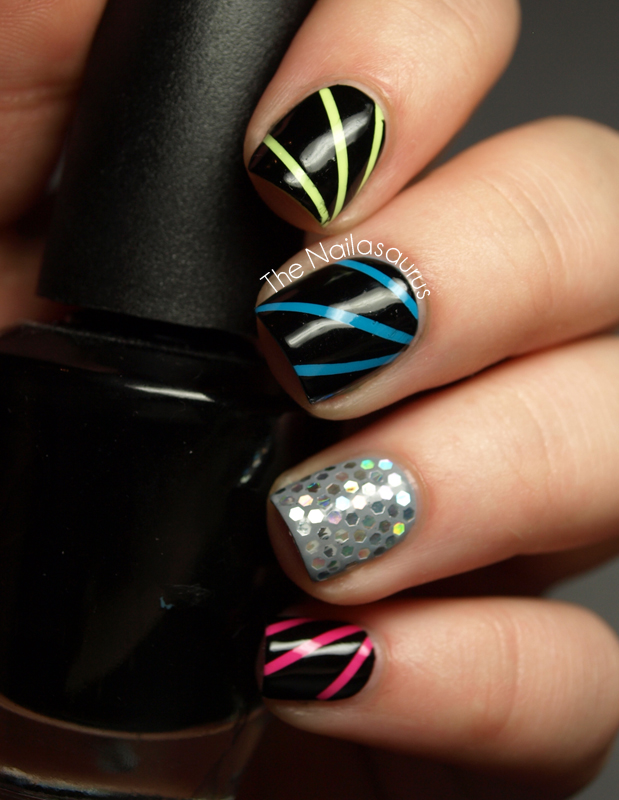
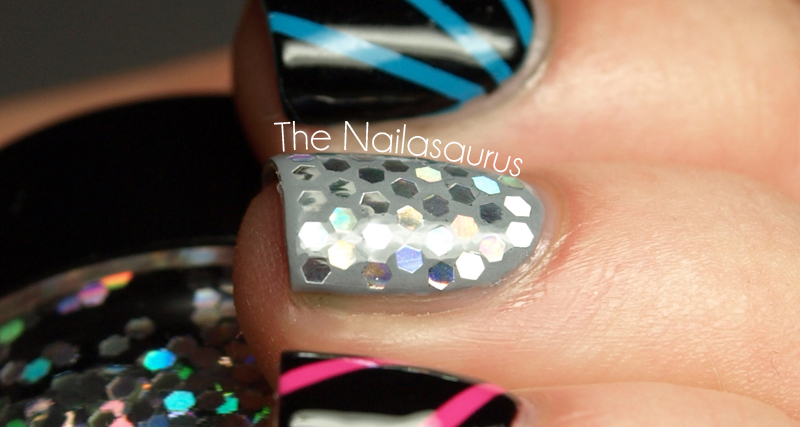
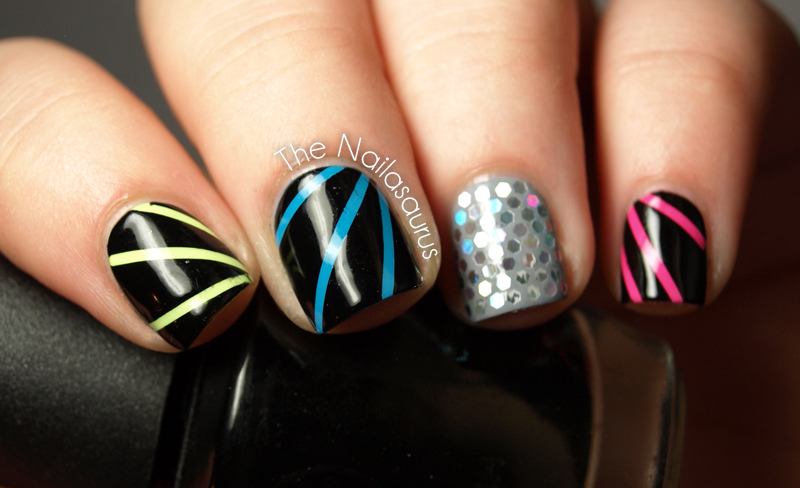
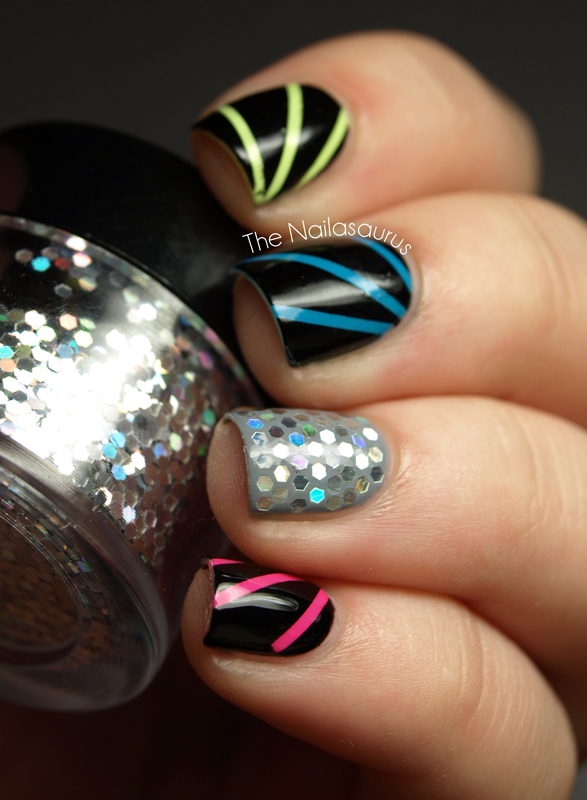
    Today’s nail art idea comes from Lucy on Facebook. She had the idea of a mirror ball accent nail and I happen to have the perfect glequins for a mirror ball look. I really can’t stop staring at that accent nail and wiggling it around in the light. I think the pictures do quite a good job of showing the holographic effect but it’s even more mesmerizing in person.
    Disco Nail Art

    Disco Nail Art

    I added some ‘strobe lights’ on the other nails by painting on the bright base colours first. Next, I marked off some lines using striping tape, painted W7 Black over the top and peeled off the tape before the black had a chance to dry.
    The base colours (top to bottom in the above picture) are Born Pretty Fluorescent #15, Sally Hansen Brisk Blue, Rimmel Grey Matter and BYS Pink Panic.
    For the accent nail, I used two coats of Rimmel Grey Matter and started attaching the glequins while the second coat was still tacky. As you can imagine, this took quite a while so when I got about half way down the nails, I had to add a coat of clear polish to make it sticky again. The holographic hexagonal glequins are from Born Pretty Store here.

    Each nail is topped with two coats of Cult Nails Wicked Fast.

    Disco Nail Art

    Disco Nail Art

    Disco Nail Art

    TwitterBloglovin’Tumblr

    Share:
    Uncategorised

    We Like to Touch

    This mani was a bit-by-bit creation. By that I mean I picked my base colour, painted it on. Picked up my scotch tape and just kept adding! This is the fastest scotch tape mani I’ve ever made thanks to Cult Nails Wicked Fast which really does dry wickedly fast. I’ve switched top coats recently after the couple bottles of my favourite NYC top coat that I picked up most recently turned out to be really runny and not very hard drying. I was waking up every morning with sheet and hair marks all over my nails! I’m really hoping it’s just a bad batch and they haven’t changed the formula.
    Scotch Tape Nail Art

    Scotch Tape Nail Art
    I used Rimmel Grey Matter as a base and Cult Nails Vicious and My Kind of Kool Aid for the patches which I marked off with scotch tape to paint. I used a coat of Cult Nails’ top coat, Wicked Fast in between each new layer to prevent the scotch tape from puling it all up and two coats on the top!

    Scotch Tape Nail Art

    TwitterBloglovin’Tumblr

    Share:
    Freehand, Uncategorised

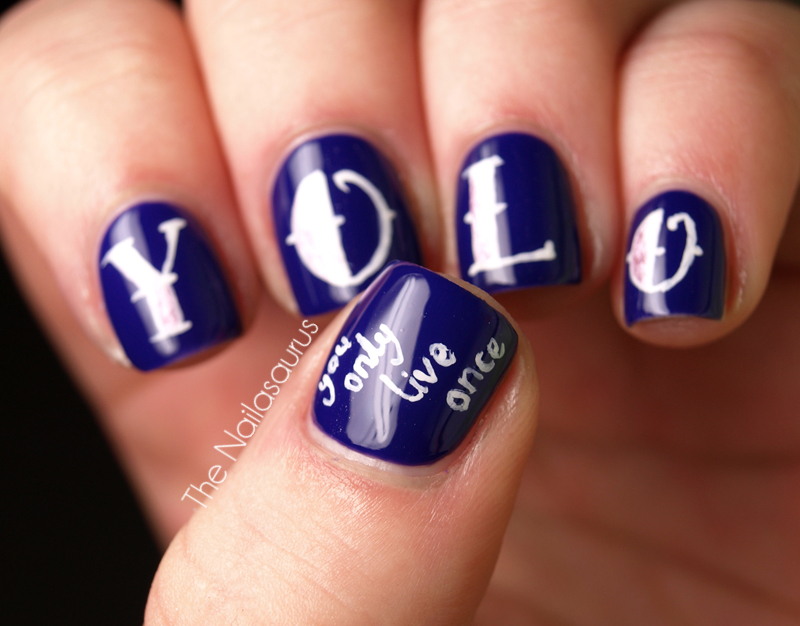
    You Only Live Once. That’s the Motto.

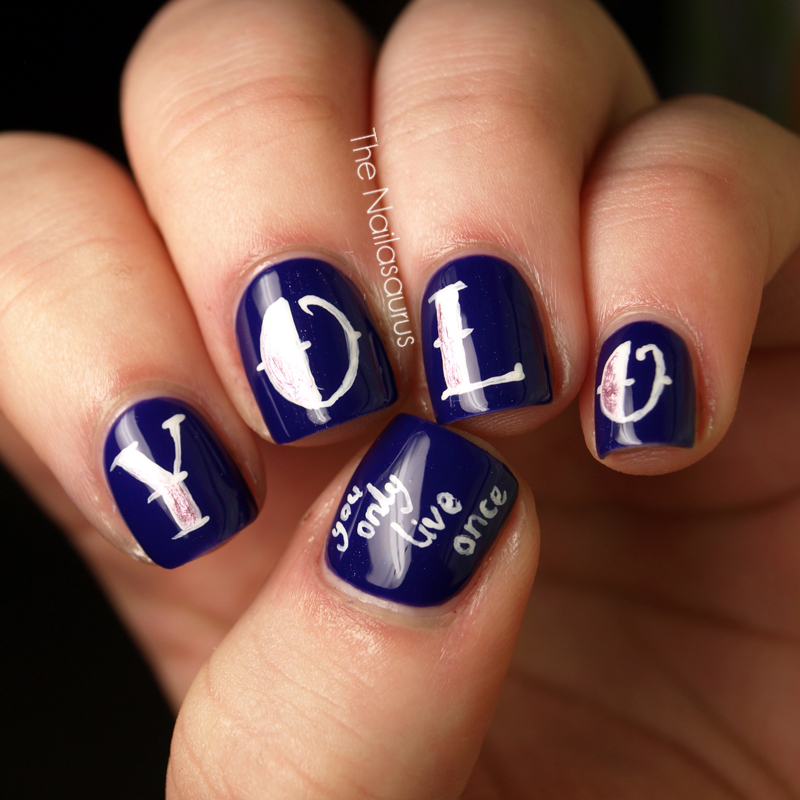
    A little while ago I kept seeing YOLO everywhere on the internet, mostly on Tumblr though! So I looked it up and found out it’s an acronym for ‘You Only Live Once’ and the phrase’s recent notoriety has spawned from Drake’s song, The Motto (YouTube).
    I’m not a huge Drake fan but I think it’s a pretty good motto to live by and something I often tell myself when I need to be convinced to take chances and opportunities I might otherwise shy away from. So I revisited the Nail Tatz idea and put it on my fingertips!
    You Only Live Once The Motto Nail Art
    You Only Live Once The Motto Nail Art
    The base colour is Rimmel Blue My Mind and I used white acrylic paint for the lettering. It’s hard to see in the pictures because of the lighting but I also added some accents to the letters in Gosh Metallic Purple.

    You Only Live Once The Motto Nail Art

    TwitterBloglovin’Tumblr

    Share: