Follow:
Browsing Tag:

Matte

    Nail Art, Uncategorised

    NYC Velvet Chic with a Glitter Pyramid


    Last weekend, I was on the hunt for NYC’s new peel off base coat which, amazingly, I found on the first try. While I was there, I spotted the 3 for 2 offer across all cosmetics and inevitably got sucked in to buying two extra bottles of polish! One of them was this new NYC shade I spotted, Velvet Chic. Although we’re a bit trained to think of dark colours as winter nail colours, this caught my eye as a perfect winter shade. It’s like a cool pastel; not too bright but not dull either, just somewhere in the middle as classy to boot.

    For the nail art here, I was inspired by this post at Chalkboard Nails although instead of dotting on the colours, I used some little round glequins from Born Pretty Store over NYC Velvet Chic. I think the iridescent effect is interesting paired with the matte top coat.

    I topped it off with one coat of Glisten and Glow HK Girl and then one of NYC Matte Me Crazy.

    Share:
    Nail Art, Stamping, Uncategorised

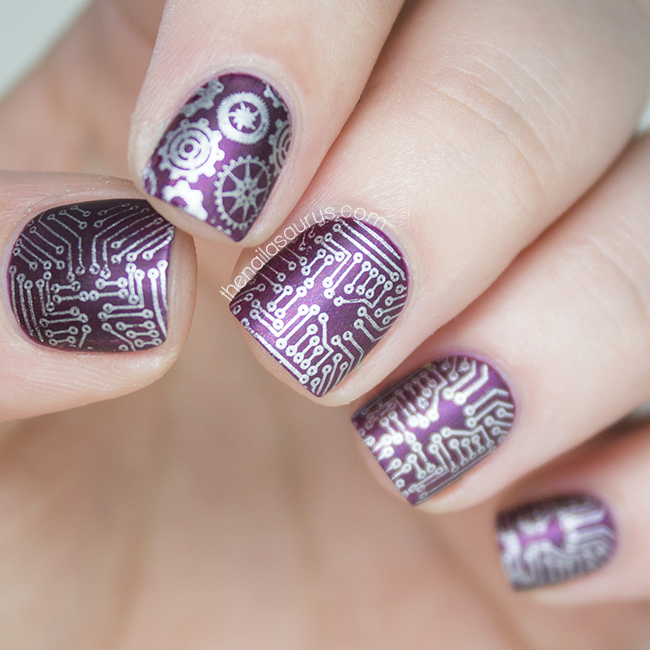
    Short Circuit

    I did these nails a little while ago when I was desperate to wear my favourite purple, China Glaze Cowgirl Up, and mattify it. To spice up the manicure a little, I added some stamping using A-England’s Excalibur Renaissance with Bundle Monster Plate BM415.

    Bit of a tangent but I feel compelled to mention that circuit is one of those words that doesn’t look like it should be a word (although I know this often comes down to opinion). A freak-of-language combination of letters that just isn’t very pleasing to the eye. I wonder how it came to be that circuit would be pronounced ser-kit? The mind boggles. Well, my mind at least!

    Share:
    31 Day Challenge, Freehand, Uncategorised

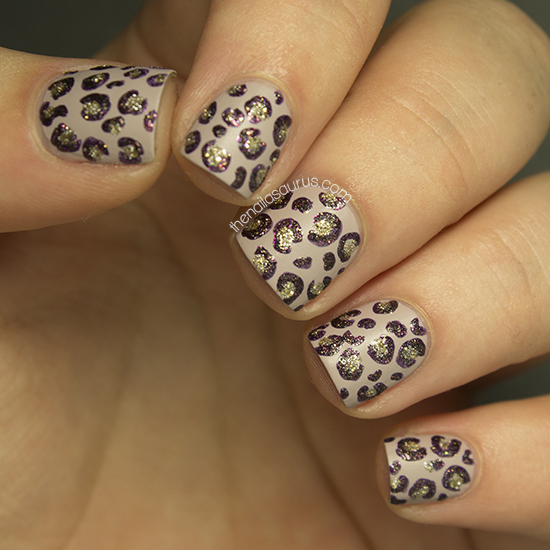
    31DC2013 Day 13: Animal Print


    Last year I got really creative for Day 13 of the challenge with some real feather nail art but this year I couldn’t come up with anything half as exciting so I’ve played it safe with some classic leopard print nails!

    All the polishes I used in this mani are from Barry M’s upcoming Autumn/Winter releases. There are 12 new polishes launching including some mattes, textured glittery polishes, a new creme and a crystal topper. I haven’t had a chance to try them all yet so I thought I’d smash a few bottles with one stone as it were, and mix them up in some nail art to get a feel for the new offerings.

    I used Barry M Matte Vanilla as my base colour and then took a nail art brush to freehand on the leopard print in Barry M Countess and Majesty which are both textured polishes. I can already tell that Countess is gonna be my favourite of the textured polishes – it’s very dark and mysterious with a plum base and hidden gold flecks. Just my type!

    Barry M’s Autumn/Winter collection is launching on September 25th in Superdrug and exactly one week later on October 2nd in Boots.

    TwitterBloglovin’Tumblr

    Share:
    Freehand, Uncategorised

    Watercolour Florals from Lucy’s Stash

    Welcome to my holiday week! First up on the list of mystery guest posters we have Lucie from Lucy’s Stash! Most of you will know Lucie already but in case you aren’t familiar with her blog, Lucy is a fellow British blogger whose nail art is always impeccable and she’s really got an eye for the little details, as you’re about to find out!

    Where to find Lucy’s Stash
    BlogFacebook – Tumblr – Instagram
    ——————————————————————————————-

    Hi everyone,
    I’m very excited to write a guest post for Sammy as she’s always been one of my favourite bloggers. It wasn’t easy to decide on what nail art I should do as sometimes it feels like everything has been done before. Lately, I fell in love with watercolours so that’s the technique I’ll be doing today.
    I’ve started with two coats of China Glaze Snap My Dragon and one coat of OPI Matte Top Coat. Then I’ve diluted white watercolour paint and started to draw four-leaf flowers.

    Then I’ve continued to paint the rest of the flowers. This is how it looked before topcoat – lovely matte finish!

    I was curious as to what the design will look like glossy so I’ve applied one coat of Seche Vite top coat

    TwitterBloglovin’Tumblr

    Share:
    Uncategorised

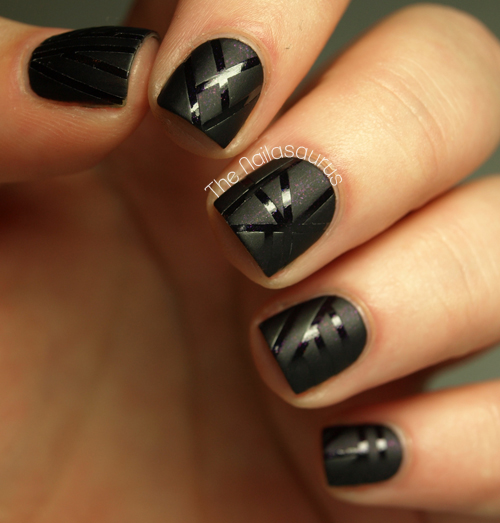
    Matte vs Glossy Stripes

    I’ve tried to cut down on my striping as it was slowly taking over my life but I couldn’t stay away from the thought of using a matte top coat over the tape instead of a completely different colour. I’m glad I gave in to the temptation though because this looks amazing! I think I’d like to try it with some different colours to give it a bit more dimension, I think it would look good with a glittery base colour.

    The base colour is A-England Ophelia and I used a coat of Sally Hansen Dries Instantly to speed things along. Click here to see a tutorial to see how I created the crisp lines using a coat of Rimmel Matte Top Coat.

    TwitterBloglovin’Tumblr

    Share:
    Uncategorised

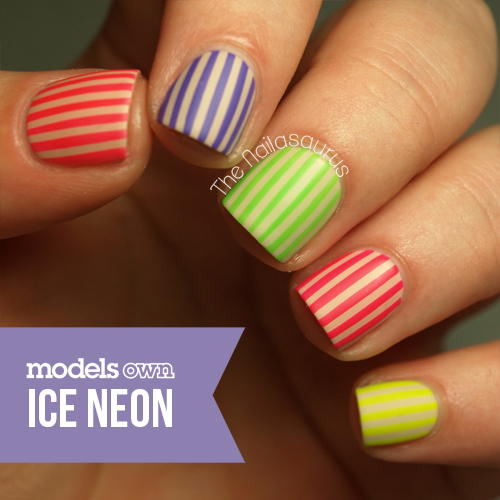
    Models Own Ice Neons

    I predicted a little while back that Neon would be a big trend this summer and it seems I was right. I’m loving all the neon nails that I see on my Tumblr and Pinterest browsing adventures. When Models Own release a nail collection of anything, you can bank on it becoming a thing!
    Models Own kindly sent me the collection to give it a test run and I’m very pleased with the polishes. Most of them have a very jelly like finish so they’re best applied over a white or light coloured polish if you prefer full opacity. The purple is the only one I’d wear without a lighter creme underneath. Applying them over white ensures they’re as bright as they can possibly be too!

    For this nail art, I applied a base of Barry M Lychee followed by a coat of Essence Better Than Gel Nails Fast Dry Top Sealer. I then applied striping tape in uniform lines to each nail before painting over it with the Models Own Neon Ice shades (click here for a tutorial). The shades, from thumb to pinky, are Pink Puch, Pukka Purple, Toxic Apple, Bubblegum and Luts Lemon. Finally I added a coat of Sally Hansen Dries Instantly followed by a coat of Rimmel’s Mattifying Top Coat.

    TwitterBloglovin’Tumblr

    Share:
    Uncategorised

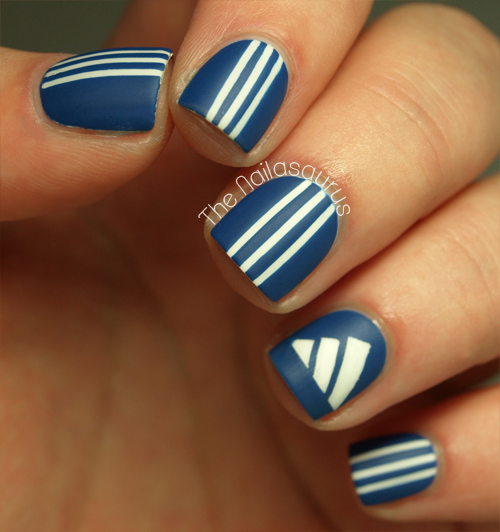
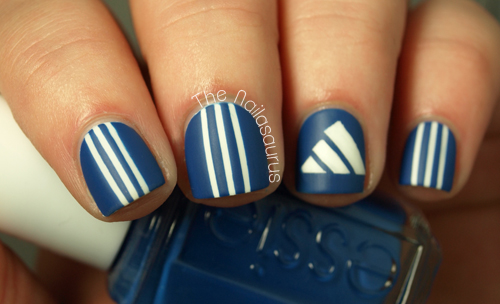
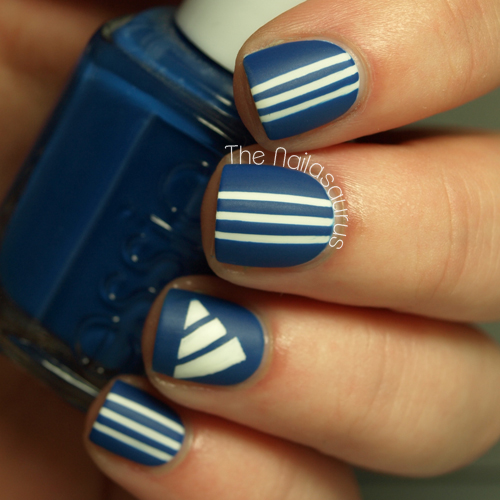
    3 Stripes on my Sneakers (Adidas Nail Art)

    When I was a kid it was all about the Adidas poppers… you know the ones I’m talking about! The tracksuit bottoms with three stripes and poppers running all up the side? Please tell me I wasn’t the only one!
    I had a grey pair which I wore to death. Man I loved those things when I was 11 but I don’t think I’ve worn a pair of tracksuit bottoms in public since. Oh 90s fashion, thank you for staying in the 90s!

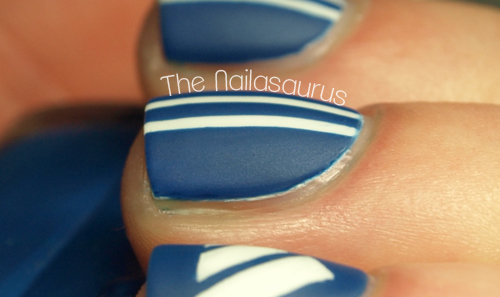
    For the stripe nails, I used 2 coats of Barry M White and then topped it with a coat of Sally Hansen Dries Instantly. Next I used striping tape to mark off three stripes and painted over it using Essie Mezmerised  before peeling off the tape (tutorial here). On my ring finger I used Mezmerised first and marked off the logo using striping tape to keep my lines nice and straight, then I filled in the gaps using BK Matt White and a nail art brush. Finally, I topped it all of with one coat of Rimmel Matte Finish.

    TwitterBloglovin’Tumblr

    Share: