Follow:
Browsing Tag:

Glequins

    Glitter, Uncategorised

    Thank You, Thank You, Thank You!

    I found out today that I made it on to the shortlist for the Cosmopolitan Blog Awards 2012! It really is all thanks to you guys. Thank you to everyone that put in a nomination for me, I love you all so much! I’m even getting a little teary eyed writing this *le cry*!
    If you would like to vote for me, you can do so on the Cosmo website and I’m in the Established Beauty Blog category. I’m not getting my hopes up for the win but I’m really overjoyed just to be on the list! I say this all the time (and I still find it hard to fully articulate my feelings on the subject) but when I started this blog I never imagined it would evolve in to the one you’re reading today but I’m so glad that it has. To be receiving such recognition for doing something that I love is just overwhelming. Once again, thank you!
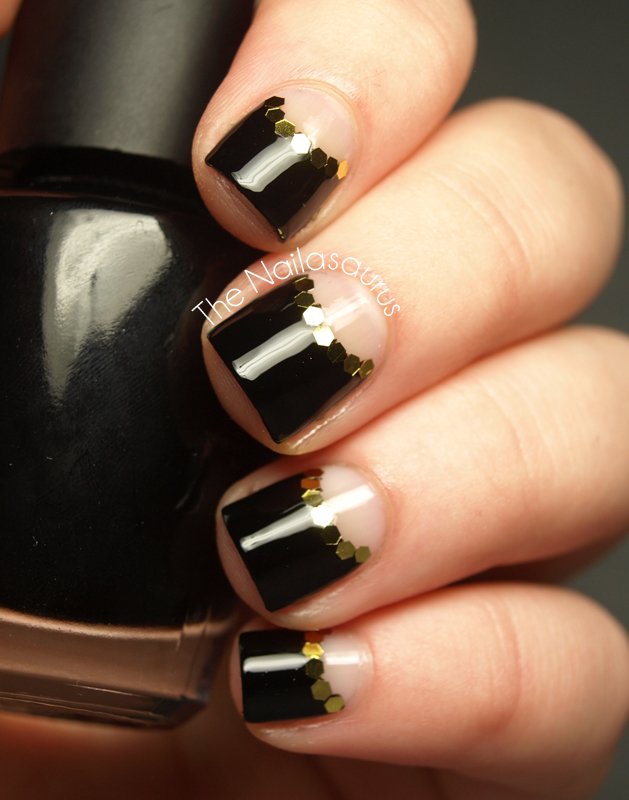
    Today’s nail art is something I’ve had in mind for a long time, well the basic premise anyway. I knew I wanted to do naked half-moons but I didn’t know how I would dress them up. As hard as I try, I can’t shake this glequin obsession so I’m just going to keep rolling with it!
    Half Moon and Glitter by The Nailasaurus

    Half Moon and Glitter by The Nailasaurus
    I did not use a ‘base colour’. I just used my base coat (Cult Nails Get It On) and waited for that to dry before using some hole reinforcers to mark of the half moons at the base of my nails. I painted a coat of W7 Black on each nail and quickly removed the hole reinforcers. I used a striping brush with W7 Black to neaten up any mistakes and let it all dry.
    To attach the glequins, I painted on a coat of Cult Nails Wicked Fast and used a sticky toothpick to place them while that was still tacky.
    Finally, I added another coat of wicked fast and that was that!
    Stuff I used:

    Half Moon and Glitter by The Nailasaurus

    Half Moon and Glitter by The Nailasaurus

    TwitterBloglovin’Tumblr

    Share:
    Glitter, Uncategorised

    Honeycomb Madness

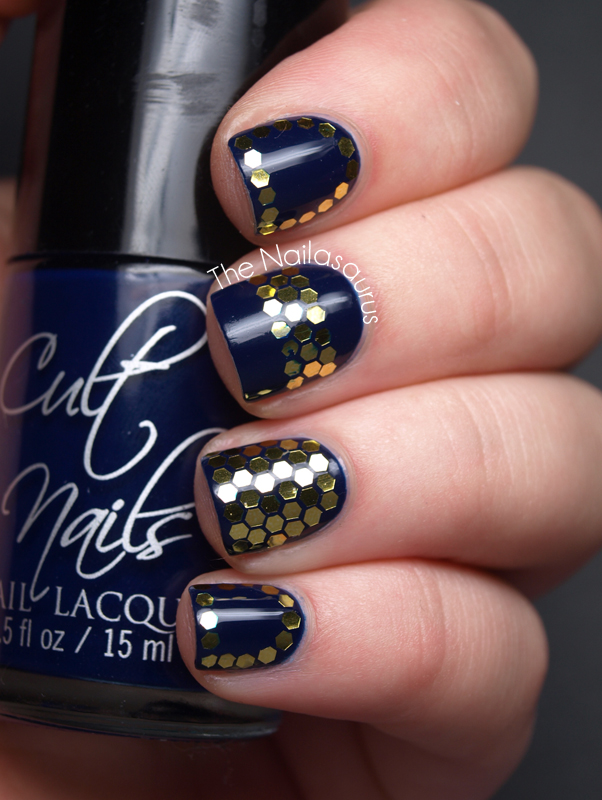
    They look like honeycomb and I must be mad to spend so much time placing glitter juuust so on my nails so that all the edges and corners match up! It didn’t actually take as long as you might think though. I need to make a tutorial for these glequins as I’m sure a lot of people are scared of using them because they look so fiddly. If you have the right tools (and by tools I mean toothpicks) and some time to concentrate, they’re actually quite fun to play with!
    I keep reaching for Cult Nails polishes recently simply because they’re all stacked next to me on my desk so it requires minimal effort to get hold of a bottle! I really need to get a little rotation system going so that I don’t just use the same polishes week after week and you get to see a bit of variation!

    More pictures and details after the jump!

    Cult Nails Time Traveller
    Gold Glitter/Glequins from Born Pretty Store

    TwitterBloglovin’Tumblr

    Share:
    Gradient, Stamping, Uncategorised

    Blue Skittle Nail Art

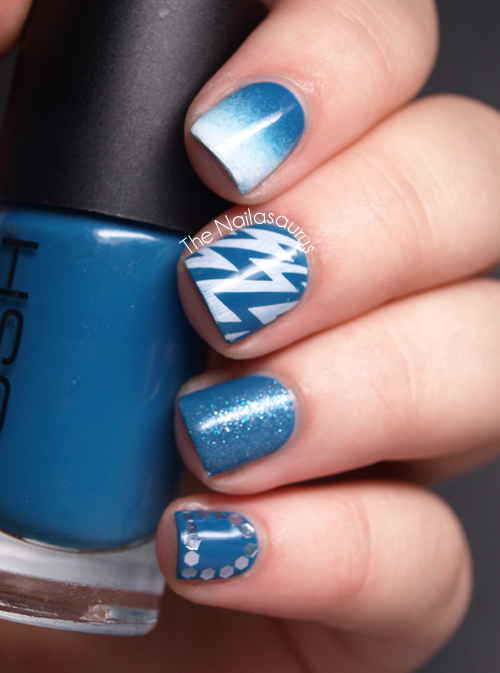
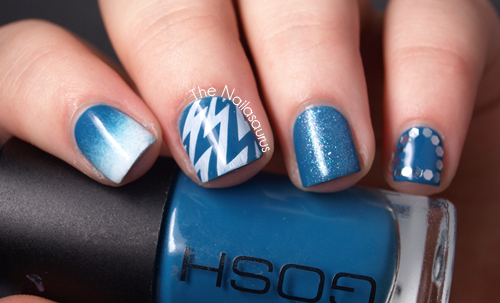
    Just another one of those ‘paint it and see’ manicures today! The base colour is GOSH Pool Party and I was originally going to do the accessorizing in black but I think the white/iridescent theme works better with the soft blue.
    Just a quick update on the Nail Art Contest. I mentioned yesterday that there are some technical issues so voting will now open on July 8th and you have until then to load your entries. As promised, I will let you guys know as soon as voting opens and there will be a few more details to come at that date!

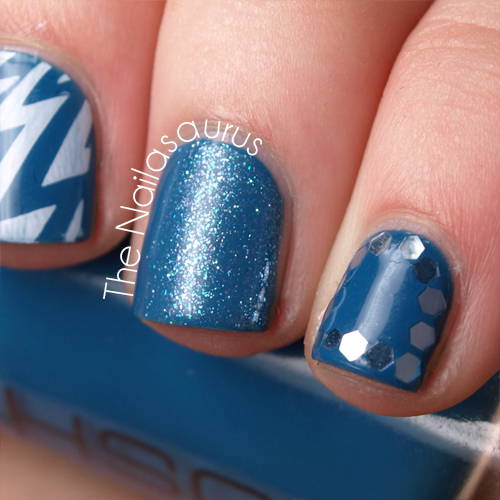
    Index to pinky (all on a base of GOSH Pool Party)
    Gradient with Sally Hansen Inst Dri Whirlwind White (gradient tutorial here)
    Stamping with Bundle Monster plate BM305 and Sally Hansen Whirlwind White
    Glequins from Born Pretty Store

    TwitterBloglovin’Tumblr

    Share:
    Swatch, Uncategorised

    Look Beauty: Nail Pop Glamrock Swatch and Nail Art

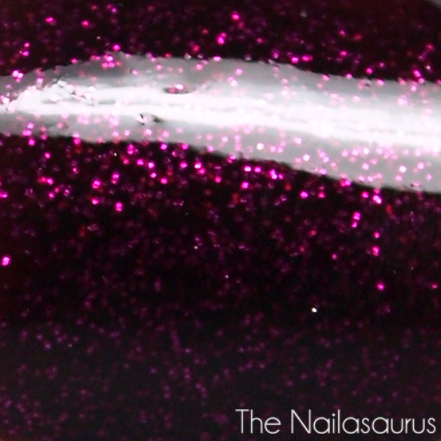
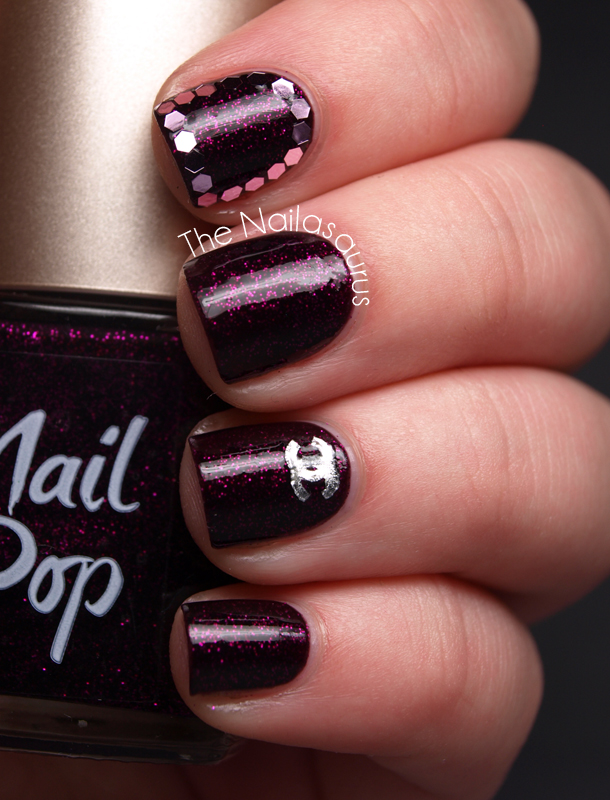
    The Nail Pops from Look Beauty have been on my wishlist for a while now but at £5 for a 10ml bottle, they’re a bit out of my every day price range. Luckily for me, they’re running money off offer across the range and the Nail Pops have £2 off. Now £3 a bottle is a price that won’t keep me awake at night, so I indulged in the shade that struck me most out of the range – Glamrock. It’s purple glitter packed in to a deep berry jelly and can I just say? It’s amazing!
    I was tempted by just about every single colour in the range but I’m trying to limit my polish purchases because I’m running out of space to store it all! I’ve decided I’m only going to purchase polishes that really stand out from the crowd and only if I don’t have something similar in my collection already. Glamrock definitely fits that criteria and I also have my eye on Catsuit from the same range – it’s a blue glitter but the pieces are a bit chunkier.
    As gorgeous as this colour is I was dreading removal, as I always do with glitters, but it came of surprisingly easily. It did need a bit more work than ‘normal’ polishes but I think it was easier than quite gritty glitters because the glitter is very fine.
    All pictures are 3 thin coats with a top coat of Cult Nails Wicked Fast. You’d be safe with two thicker coats but I wanted quite heavy coverage.
    Look Beauty Glamrock Swatch

    Look Beauty Glamrock Swatch
    Loads more pictures after the jump!

    Look Beauty Glamrock Swatch

    Look Beauty Glamrock Swatch

    Look Beauty Glamrock Swatch
    I added some Glequins and a Chanel Decal for a bit of bling!

    Look Beauty Glamrock Swatch

    Look Beauty Glamrock Swatch
    You can buy Nail Pops in most larger Superdrug stores, Superdrug online or from the Look Beauty Website.

    TwitterBloglovin’Tumblr

    Share:
    Gradient, Uncategorised

    Cult Nails Vicious Skittle Art

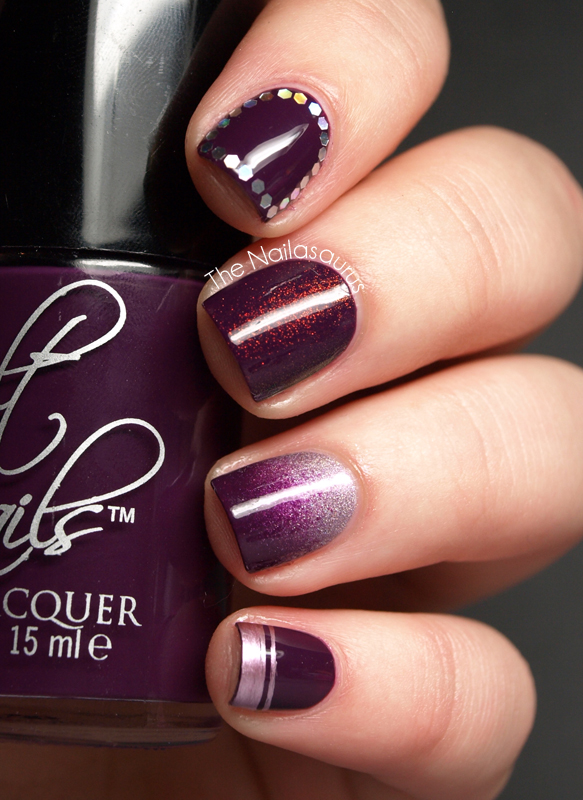
    I think I know why I’ve been completely obsessed with mix and matching my manis recently. I realised it’s just an excuse for every nail to be an accent nail! I like to just paint on a base colour and rummage through my supplies until I get ideas. Today’s center piece is Cult Nails Vicious which is one of my absolute favourite purple polishes. 
    Purple Skittle Mani by The Nailasaurus

    Purple Skittle Mani by The Nailasaurus

    Top to bottom:
    Holographic Glequins from Born Pretty Store
    Max Factor Fantasy Fire
    Gradient Nail with A-England Princess Tears (tutorial here)
    Double french tip with GOSH Metallic Purple

    Purple Skittle Mani by The Nailasaurus

    Here’s a close up of the Max Factor Fantasy Fire with the light coming from two different angles. You can see the way it flashes from gold-red to copper-green. Gooorgeous!

    Purple Skittle Mani by The Nailasaurus

    Here’s my best Chalkboard Nails pose! Can I pull it off with Sarah’s prowess or shall I stick to the bottle poses?
    Purple Skittle Mani by The Nailasaurus

    TwitterBloglovin’Tumblr

    Share:
    Freehand, Uncategorised

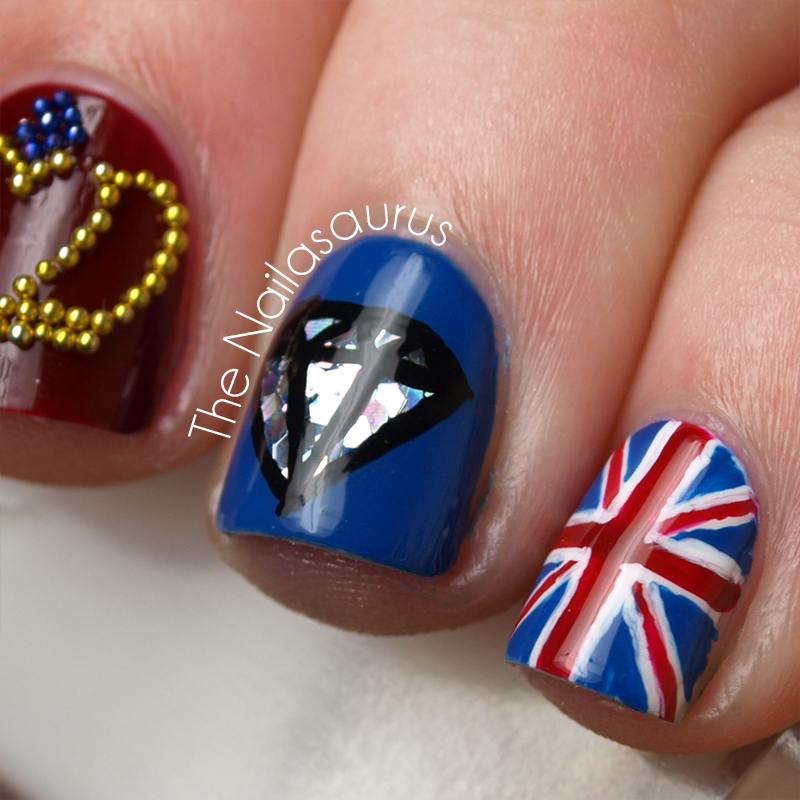
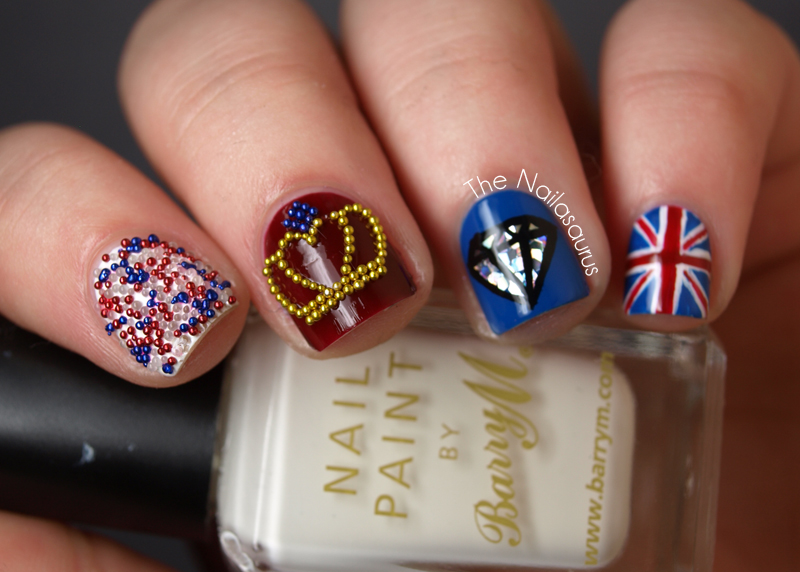
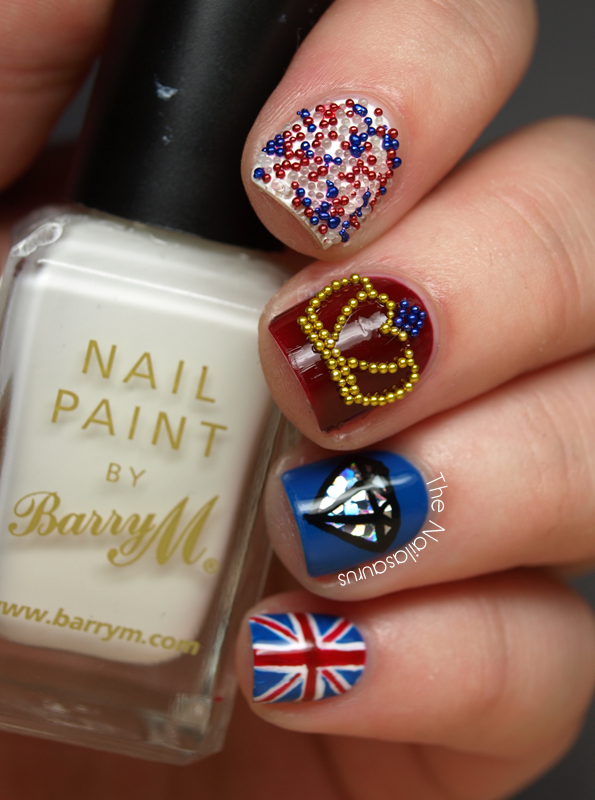
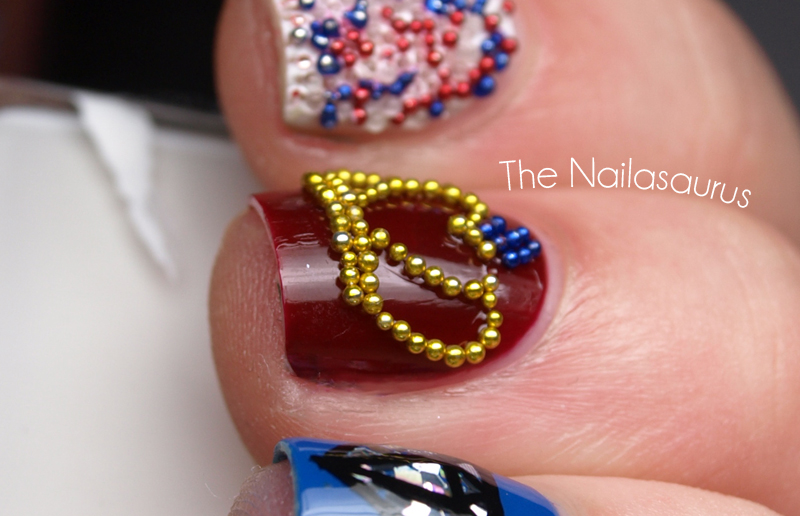
    Diamond Jubilee Nail Art!

    In the UK this weekend, we’re celebrating the Queen’s Diamond Jubilee! This is only the second Diamond Jubilee in British history so I think Elizabeth deserves a good party. Today, the 2nd of June, marks exactly 60 years since she was crowned Monarch in 1953 but the celebrations are going on right through to Tuesday with a long bank holiday weekend. This does nothing but enforce stereotype that Brits are obsessed with royalty and the Queen. But hey, it’s all good fun if you ask me! I hope everyone has a great weekend, whatever you’re up to!
    I spent way too long on this manicure. It took at least two hours because I kept making mistakes and having to restart nails so by the time I’d finished, I felt like my back had been snapped in half!
    Diamond Jubilee Nails

    Diamond Jubilee Nails
    Red, White and Blue Caviar; Crown Jewels; Glequin Diamond; Union Jack.
    If anyone wants to know what polishes I used or where I got all the bits, just ask in the comments. There’s way too much going on here for me to link it all up!

    Diamond Jubilee Nails

    Diamond Jubilee Nails

    Diamond Jubilee Nails

    TwitterBloglovin’Tumblr

    Share:
    Glitter, Uncategorised

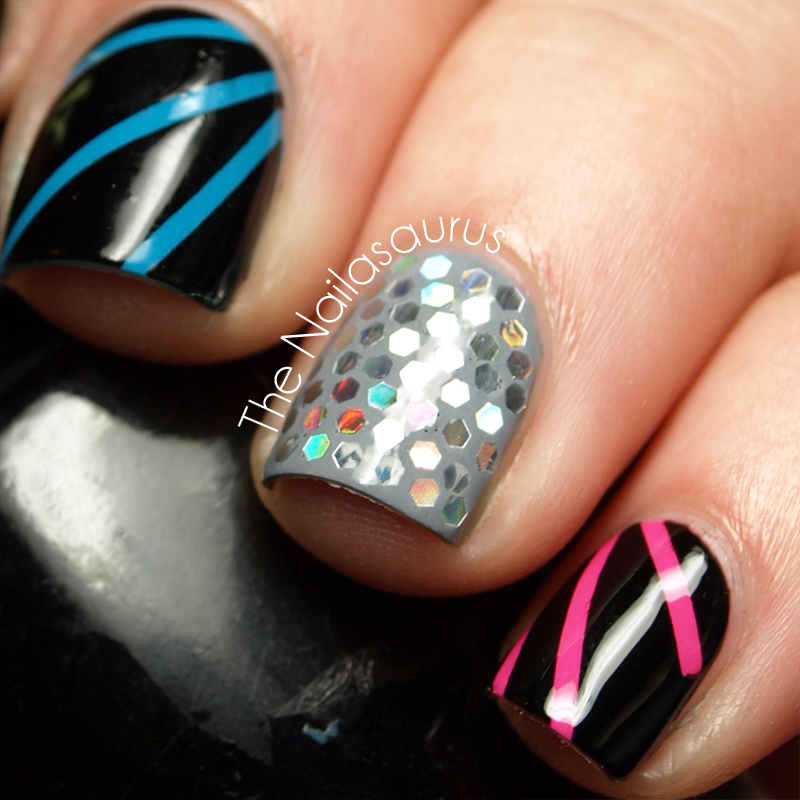
    Disco Nails with ‘Glequins’

    When I showed a friend [this] manicure from a few days ago and mentioned that I placed each piece of ‘glitter’ individually, he said it’s a bit big to be glitter. I never thought about it too much before but I think he’s completely right, but then again; they’re too small to be sequins! So I ended up mashing the two words together and I will now call these little hexagonal pieces of shiny plastic GLEQUINS (glee-kwins)!
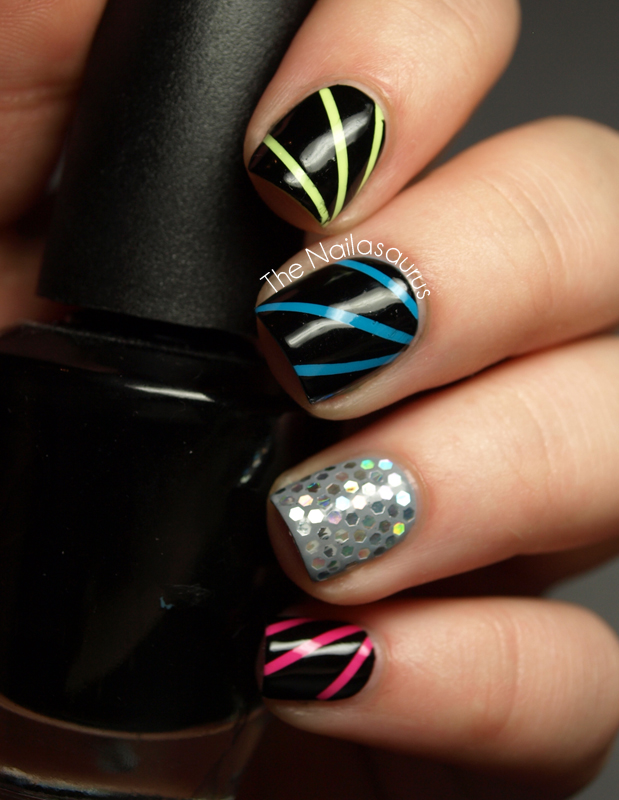
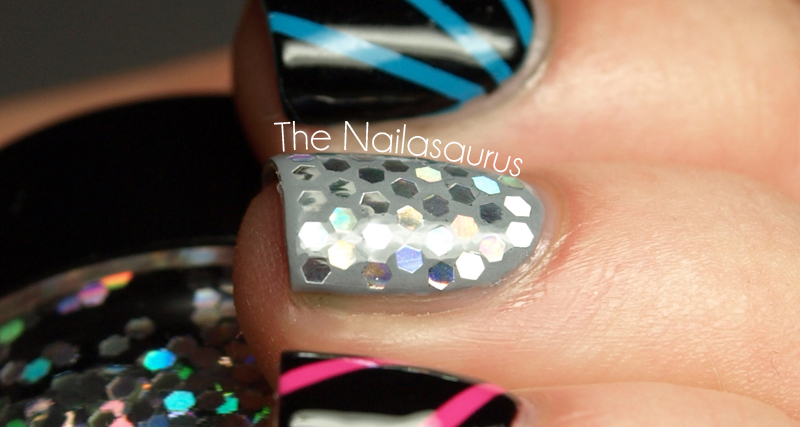
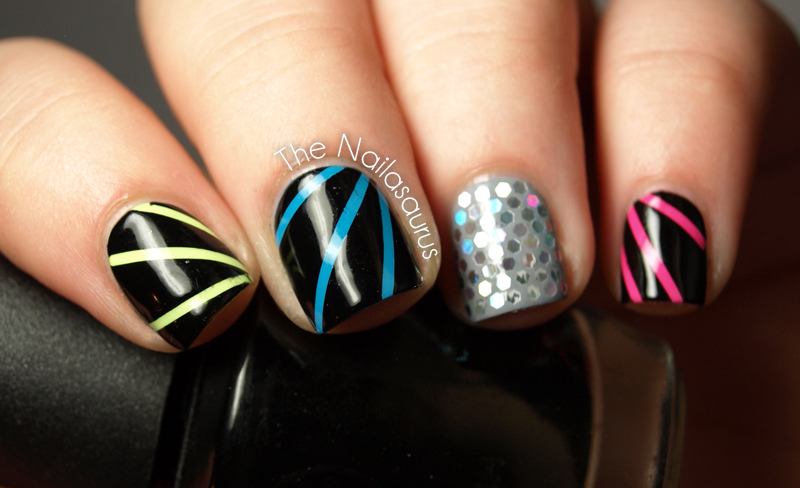
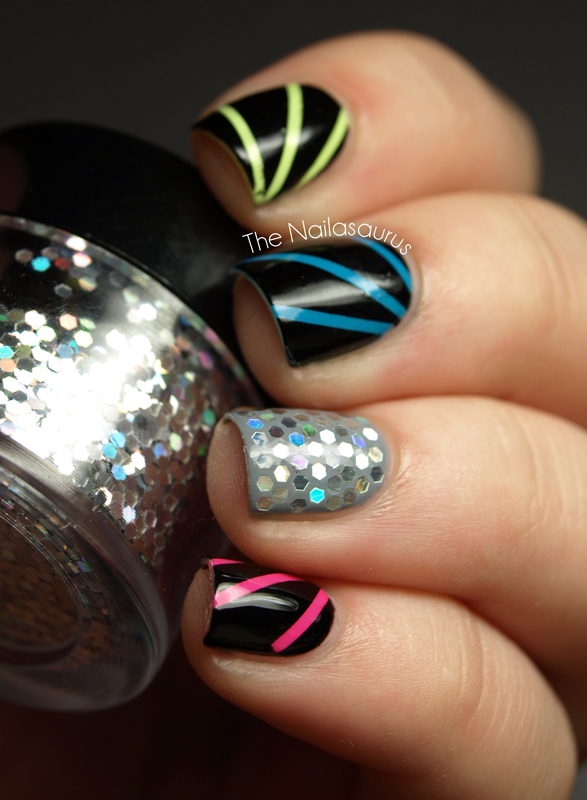
    Today’s nail art idea comes from Lucy on Facebook. She had the idea of a mirror ball accent nail and I happen to have the perfect glequins for a mirror ball look. I really can’t stop staring at that accent nail and wiggling it around in the light. I think the pictures do quite a good job of showing the holographic effect but it’s even more mesmerizing in person.
    Disco Nail Art

    Disco Nail Art

    I added some ‘strobe lights’ on the other nails by painting on the bright base colours first. Next, I marked off some lines using striping tape, painted W7 Black over the top and peeled off the tape before the black had a chance to dry.
    The base colours (top to bottom in the above picture) are Born Pretty Fluorescent #15, Sally Hansen Brisk Blue, Rimmel Grey Matter and BYS Pink Panic.
    For the accent nail, I used two coats of Rimmel Grey Matter and started attaching the glequins while the second coat was still tacky. As you can imagine, this took quite a while so when I got about half way down the nails, I had to add a coat of clear polish to make it sticky again. The holographic hexagonal glequins are from Born Pretty Store here.

    Each nail is topped with two coats of Cult Nails Wicked Fast.

    Disco Nail Art

    Disco Nail Art

    Disco Nail Art

    TwitterBloglovin’Tumblr

    Share: