Follow:
Browsing Tag:

Floral

    31 Day Challenge, Nail Art

    31DC2015: Flowers

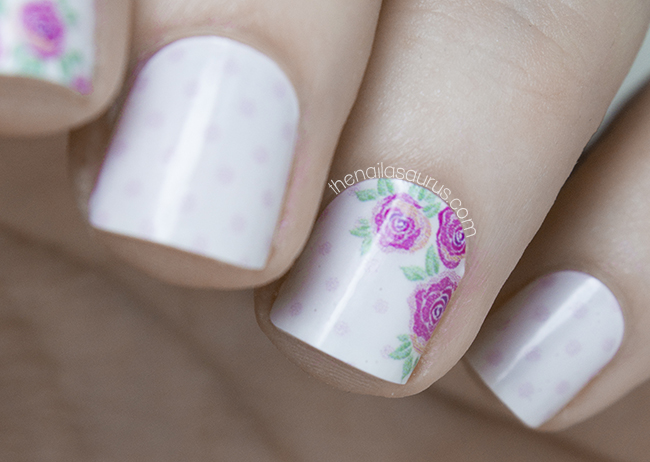
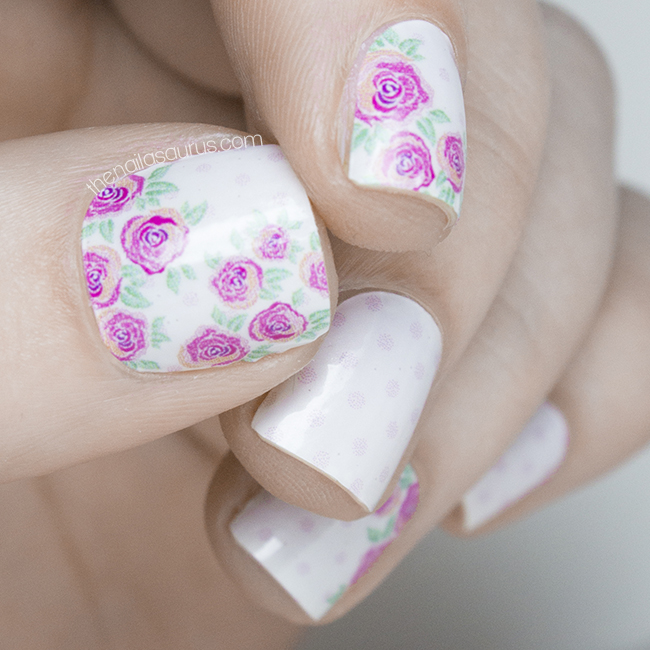
    I have a little confession to make – I’m a hoarder of water decals. Whenever I’m shopping for nail art stuff online, I can’t resist adding a few sets to my basket in anticipation of those days when I don’t have time for, or can’t be bothered with, ‘proper’ nail art but still want some decoration there. Turns out on those days, I don’t have time/am actually just too lazy to be applying water decals anyway! So there they sit, unused and unloved. Today, that changes and water decals are going to get some love from me.

    I do feel the tiniest bit guilty for using water decals today instead of creating something fresh, but funnily enough, I’ve been looking back through the water decals archive and I see that I also copped out last year and used water decals for Day 14: Flowers. Me and freehand florals just don’t get on.

    For the nails…

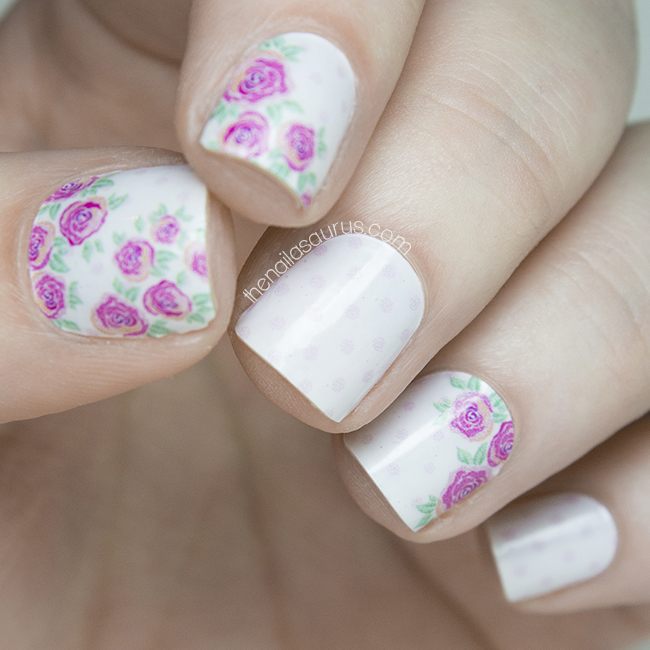
    I started out with 2 coats of Barry M Coconut and let that dry thoroughly.
    The water decals are these Full Coverage Flower Water Decals from BuyInCoins. If you’ve never heard of this website, you need it in your life. It’s a bit like an online jumble sale – you never know what you’ll find but there’s always something good. Shipping is from China so it normally takes about two weeks to get to me here in the UK.

    Share:
    31 Day Challenge, Nail Art, Uncategorised

    31 Day Challenge: Flowers

    Floral Water Decals Nail Art // The Nailasaurus

    How many cheat days do you suppose we’re allowed on the 31 Day Challenge? Since I used water decals for this mani, I’ll count today as one of mine! 
    These are from She Sells Seashells and it’s the first time I’ve ever used all-over water decals so I didn’t really know what to expect. I was really impressed by how easy it was to trim them to the right size and then how smooth they applied. There are a few creases here and there, but nothing too noticeable, and that’s mostly my fault for rushing. What I liked about these was they disintegrated with acetone so it was very easy to clean up around the edges where I didn’t cut them to quite the right size.
    For this nail art, I used Essie Go Ginza for my base colour. You definitely need a very light base with these decals.

    The water decals are from She Sells Seashells and I topped it off with Glisten & Glow HK Girl.

    31DC2014 Flowers // The Nailasaurus
    31 Day Challenge Flowers // The Nailasaurus
    She Sells Seashells Water Decals // The Nailasaurus
    She Sells Seashells Floral Water Decals // The Nailasaurus
    Share:
    Uncategorised

    Nailvengers Assemble: Florals

    Nailvengers Assemble: Florals | The Nailasaurus | UK Nail Art Blog
    In typical fashion, I prepared this mani weeks ago but I still managed to be a few hours late with my Nailvengers post! It’s just been one of those days. It took a few unexpected turns but I’ve finally made it home and I’ll be going to bed as soon as I press publish!

    For this nail art, I used Barry M Rose Hip as my base colour then painted on some really skinny pin stripes using Sweet Color White Liner Polish.
    I painted on the roses using a nail art brush with NYC Peach Popsicles and contouring with NYC Rooftop Party Berry (there’s a tutorial for the roses here). 
    Next I painted the leaves around the roses with piCture pOlish Chillax.
    My ring and pinky finger were painted with Barry M White and then I applied some nail wraps from Born Pretty Store over the top. I don’t think they match the rest of the mani at all but I couldn’t resist wearing them!
    Nailvengers Assemble: Florals | The Nailasaurus | UK Nail Art Blog
    Nailvengers Assemble: Florals | The Nailasaurus | UK Nail Art Blog
    Nailvengers Assemble: Florals | The Nailasaurus | UK Nail Art Blog
    Nailvengers Assemble: Florals | The Nailasaurus | UK Nail Art Blog

    Share:
    Freehand, Uncategorised

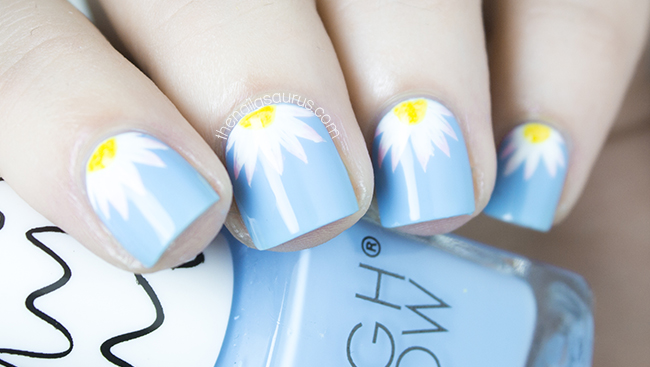
    The Lacquer Legion: Garden. Dainty Daisies.

    Daisy Nail Art | The Lacquer Legion: Garden | The Nailasaurus
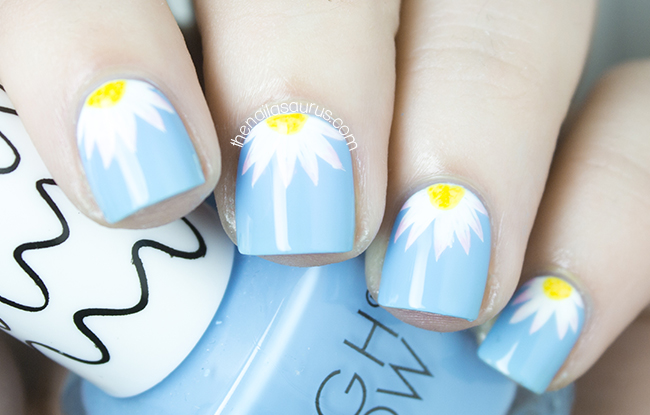
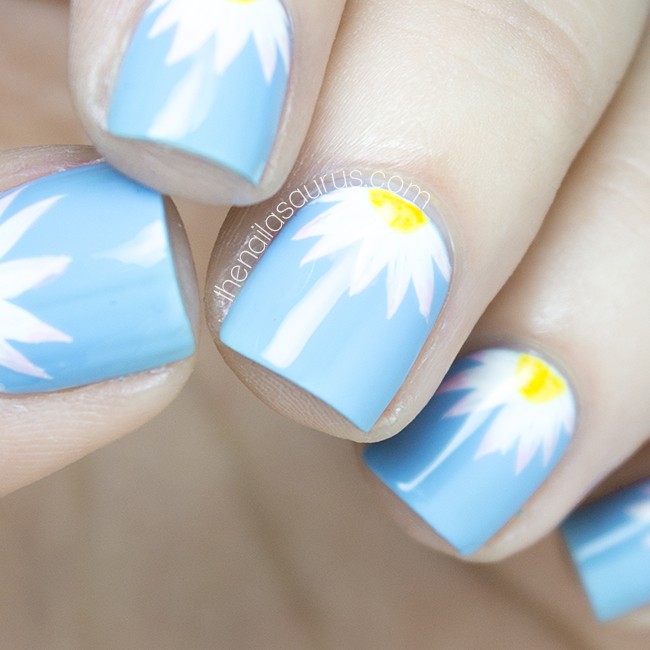
    When I found out that this month’s Lacquer Legion prompt was Garden, I did just what anyone would do – run out in to the garden and rummage for nail art supplies! I picked a few daisies and the plan was to use the petals in my manicure. After a few failed attempts, I had to abandon that little adventure but I still wanted to go with the daisy idea. I did a similar design to this as part of last year’s 31 Day Challenge so I reworked it with daisies this time around. 
    I used High Brow NP03 as my base colour and started the nail art by freehanding on the white details using Sweet Color White Liner Polish
    Using a nail art brush with NYC Lexington Yellow, I painted on the center then added in some little dots of OPI The ‘It’ Color to give it some texture.
    Finally I mixed up Barry M Rose Hip and Barry M Miami to lightly tint the edges of the petals.
    It’s all topped of with two coats of Glisten & Glow HK Girl.
    Daisy Nail Art | The Lacquer Legion: Garden | The Nailasaurus
    Daisy Nail Art | The Lacquer Legion: Garden | The Nailasaurus
    Daisy Nail Art | The Lacquer Legion: Garden | The Nailasaurus
    Daisy Nail Art | The Lacquer Legion: Garden | The Nailasaurus
    Share:
    Review, Uncategorised

    Incoco Nail Strips Review

    Doesn’t it seem like there are way too many names for nail wraps these days?! Decals, appliqués, stickers… the list goes on. Well Incoco‘s offering to the table is their Nail Strips. They have a new collection out just in time for Spring and Summer and I’ve really been blown away by the amazing designs.

    The Company

    I’ve used Incoco’s Nail Wraps in the past and ever since I first tried them, they’ve been my absolute favourite nail wraps. They apply so easily, the designs are really wearable and on trend, and the website is top notch – it’s so easy to find exactly what you’re looking for or you can just browse around until something catched your eye.

    Incoco Nail Strips are ‘made of 100% real nail polish’ with base coat and top coat included so you don’t need anything else for a full manicure. I don’t know how they do it, but I believe it. The strips are very thin and once they’re on the nail, nobody would be able to tell you didn’t paint them on yourself.

    The Nail Strips

    This particular design is Tea Party from the Garden Daydreams collection. The set comes with 16 strips in 8 sizes so there are plenty of spares if you mess up and leftovers if you don’t!
    As I mentioned, they’re crazy easy to apply. They’re thin and flexible so, provided you get the technique right, they stick to every curve of your nail without leaving any unstuck edges or unwanted ridges. However, this also means they’re very fragile so you just have to be careful when you’re handling them. If you get the sticky side stuck to itself, don’t even try to save that strip, just move on to the next one!

    After one failed attempt at applying these, I had the technique down. I started by just touching the strip in place at the base of my nail in the middle, then used my index finger to smooth it on in a strip right down the centre of my nail. From there I used my finger again with plenty of pressure to smooth it out towards the edges.
    I folded the strip right over my nail edge and left it there for about 2 minutes to really adhere to the nail, then took a file to my nail tip to get rid of the excess. A few quick sweeps and all the excess was gone!

    Unfortunately I haven’t had the chance to test these out for 14 day wear but I have worn them for 2+ days without a single chip.

    TL;DR

    I’d recommend Incoco Nail Strips to anybody, whether you’re a nail wrap aficionado or an absolute newbie. These are the best nail wraps I’ve had the honour of testing and the Spring collection is a must see!

    Incoco Nail Strips ship worldwide from incoco.com and are available from various bricks and mortar locations. RRP $8.99.

    Share:
    Freehand, Uncategorised

    Freehand Nail Art Inspired by LucyDarlingPrints

    On the spur of the moment today, I decided to go out and buy a Kobo. The older models (I got the Touch) are an absolute steal at the moment and I’ve been considering purchasing one for a while so it all worked out very well for me! I’ve spent the afternoon loading it up with books and I’m determined to get back in to the habit of bedtime reading. Before I went to University I never went to bed without a book but gradually the late nights and textbooks took over and before I knew it, I had completely given up reading for fun. This year I’m going to get back in to it starting with the Divergent trilogy and then catching up with A Song of Ice and Fire! Any good book recommendations are very appreciated!

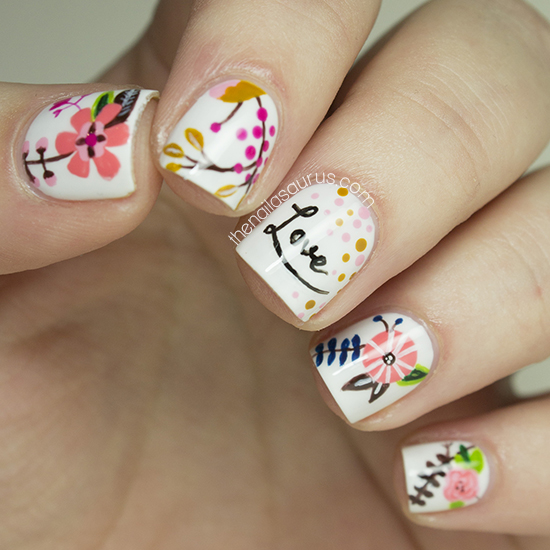
    Speaking of old habits, today’s nail art is a 100% freehand concoction – something not seen around here much recently. It was inspired by a print that I came across on Etsy by LucyDarlingPrints. You know me, I just can’t resist a pretty and simple design!

    I started with a base of Barry M White and freehanded on all of the details using a nail art brush and a selection of nail polish colours.

    To finish up, I topped it all off with two coats of KBShimmer Clearly on Top.

    Share: