Follow:
Browsing Tag:

DIY Nails

    Gradient, Nail Art

    Newness: DIY Nailcals and Models Own Spring HyperGels

    DIY Nails Foil Nailcals

    I’ve always quietly wondered if and/or when my creativity would ever dry up and I feel like perhaps now is that time. I don’t think it’s gone for good, but I’m definitely in the middle of a long drought. The feeling’s been creeping in ever since late last year but for a while, I pushed on and forced myself to create new things. Only recently did I allow myself just let go – I decided that if there was nothing I was excited to create or blog about, it wasn’t worth pressuring myself. Although I’d be lying if I said I didn’t have a little voice in the back of my mind the whole time (however quiet and distant) making me feel guilty, counting the days since I last blogged. Read more

    Share:
    Nail Art

    A Catch Up: With Cats

    Cat Nail Art

    No more ‘Happy New Year’, it really is the new year now and I can’t believe how quickly it’s passing. Admittedly I’ve been pretty awful at posting on the blog so I thought today would be a good time for a quick catch up.

    I was completely overwhelmed by the number of you that took the time to complete my End of Year Survey. Every response has been perfect and will really help to shape the future of The Nailasaurus. I’ll be taking some time out this weekend to take a thorough look at the replies and pick out the important parts but if you haven’t had a chance to fill it out, there’s still time. Now let’s find out what I’ve been up to recently…

    Doing: A huge deep clean and clear out. Goodbye old clothes and anything else that’s outlived its usefulness. Clear house; clear head, I say!

    Avoiding: Emails and carbonated drinks

    Watching: The Walking Dead – Season 3

    Listening to: Purity Ring and Fall Out Boy: American Beauty/American Psycho (Faves: Irresistible, Fourth of July and Uma Thurman)

    Playing: Assassin’s Creed: Rogue

    Crazy For: The Body Shop Camomile Cleansing Butter, piCture pOlish Holiday, buying cheap watches from China, and my new jewellery.

    The Nail Art

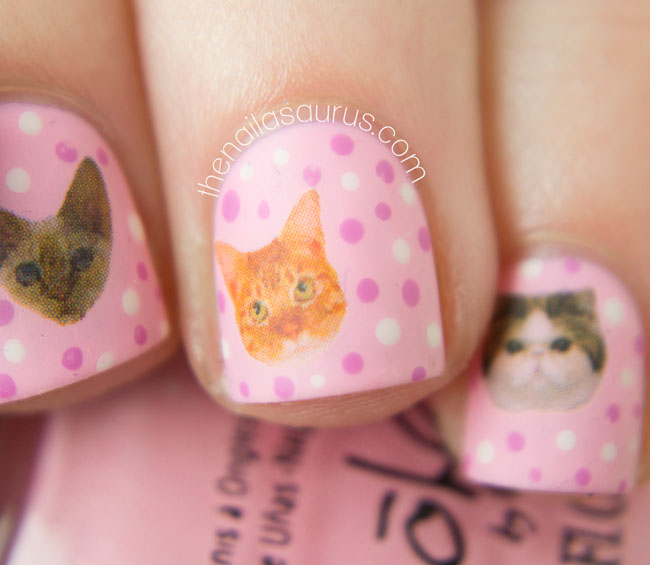
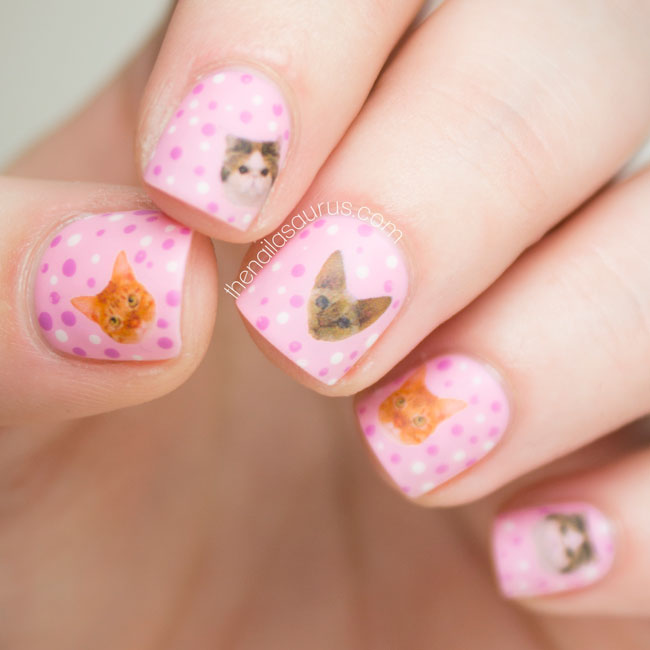
    I started with a base coat of Nicole by OPI At Least I Pink So, then applied some darn cute DIY Nails Here, Kitty water decals.

    Once they were all in place, I used a tiny dotting tool to add the random polka dots using Sally Hansen Pinch of Punch and Barry M Coconut.
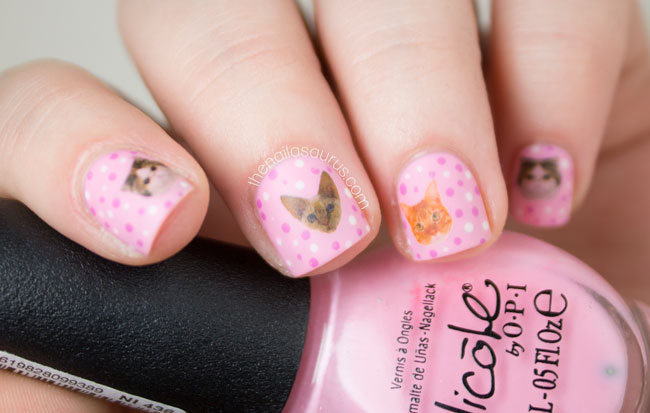
    Cat Water Decals

    DIY Nails Here, Kitty

    Cat Nail Art Macro

    Share:
    Nail Art, Uncategorised

    DIY Nails Abandon Ship Nail Art

    DIY Nails Abandon Ship Water Decals // The Nailasaurus

    So you saw my review of DIY Nails decals a few days ago and here’s some nail art with them! As soon as I saw these decals, I knew I wanted to go for a rustic look. I’ve been hooked on anything mildly piratey since I played Assassin’s Creed Black Flag! I tried to mimic the paper that you always see treasure maps on in the movies. Anyone remember in school whenever you had to do a history project – you’d stain the paper with a tea bag and burn the edges (under the close supervision of an adult, of course) to make it look old? That’s the look I was going for!
    I used a few neutral Barry M polishes with the Textured Saran Wrap technique for a very subtle mottled effect. I would have mixed a bit of darker brown in there too but I wanted to keep the canvas nice and light so the decals would stand out. How cute is the purrrrppy?! He looks like a real sweetheart but you know he’s got your back if you find yourself in a tavern brawl after too much rum!

    What I Used for this nail art

    Barry M Coconut
    Barry M Almond
    Barry M Olive
    DIY Nails Water Decals in Abandon Ship
    She Sells Seashells Gold Anchor Embellishment
    Glisten & Glow HK Girl Top Coat
    DIY Nails Abandon Ship Nail Art // The Nailasaurus
    She Sells Seashells Gold Anchor Embellishment // The Nailasaurus
    DIY Nails Abandon Ship Nails // The Nailasaurus
    Textured Saran Wrap Nail Art // The Nailasaurus

    1

    Share:
    Favourites, Uncategorised

    Nail Art Favourites: DIY Nails Water Decals

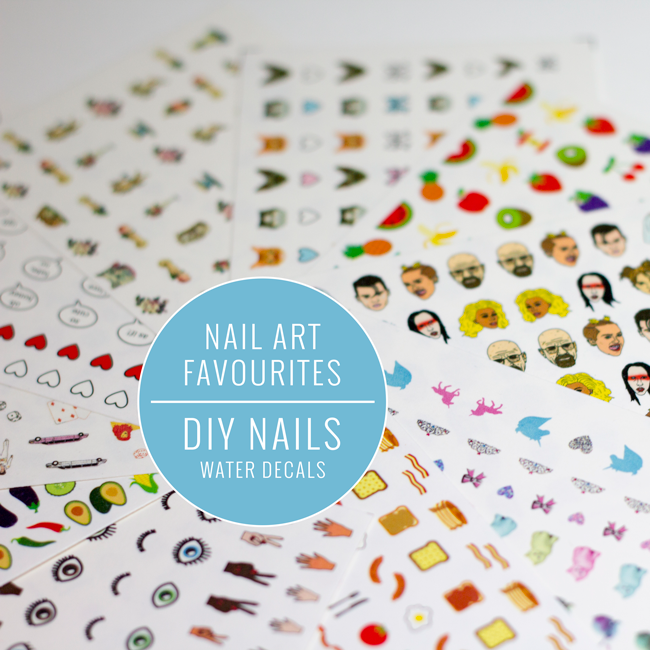
    Time and time again, I find myself reaching for my DIY Nails decals whenever I’m feeling a bit too lazy for more time consuming nail art but still want something that’s going to make people take notice of my nails! These are my favourites for more than a few reasons.
    For starters, they’re printed on to a super thin material so you’ll never get any air bubbles or visible lines around your decal when it’s on your nail. This does mean you have to take a bit more care when placing them as they’re very delicate but just remember that time and tweezers are your friends!
    There’s another very important quality I look for in water decals. It’s tricky to explain but I’m going to try anyway! With some water decals, they’re printed on to one single sheet of ‘decal plastic’ and you have to cut very closely to the actual design to get a viable decal. DIY Nails decals are all individual printed so you only have to cut out the design you want to use very roughly and the compacted little decal itself just slides right off the paper.
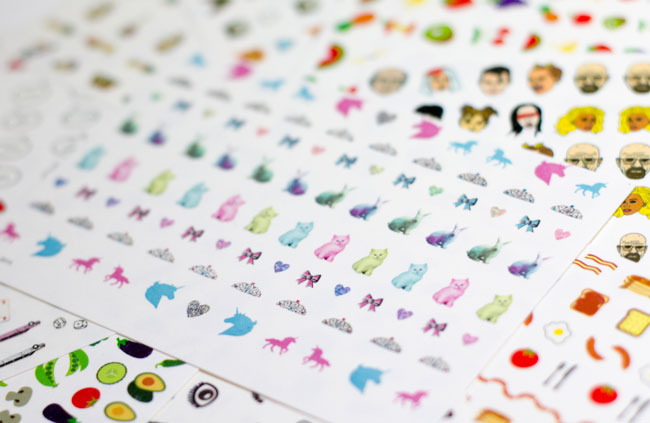
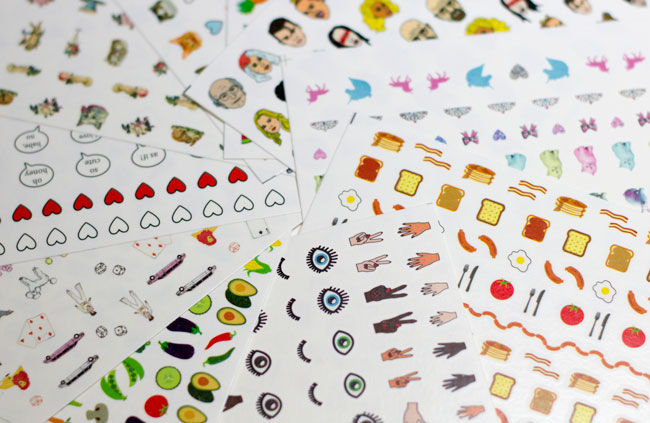
    We also need to talk about the designs – they have everything from unicorns to breakfast foods to Ziggy Stardust! They’re all completely original, many are hand drawn, and they really stand out in a crowd. You can even get your own images turned in to custom decals which I think is a great gift idea for the nail art lover in your life.
    If you like water decals, there’s no way you won’t love DIY Nails. Easy to use with a great selection of designs and not an air bubble in sight! What more could you want from your water decals?

    Where to Buy DIY Nails

    DIY Nails Water Decals are available from diynails.co.uk and select retail stores. RRP £6.00.
    It’s also worth checking the sale section to snap up any end of line stock before it’s gone for good!
    Share:
    Nail Art, Uncategorised

    Something Kinda Creepy

    DIY Nails Creepy Water Decals | The Nailasaurus
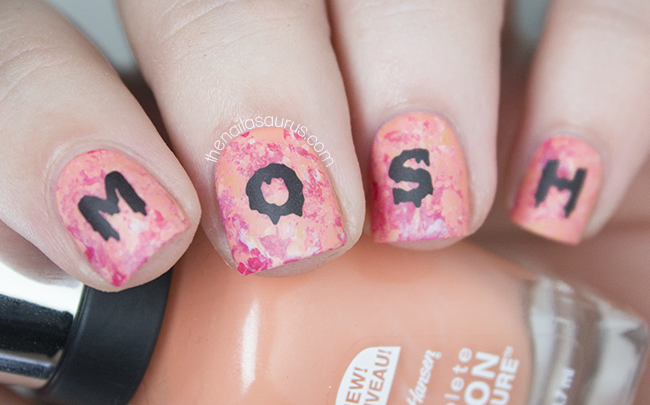
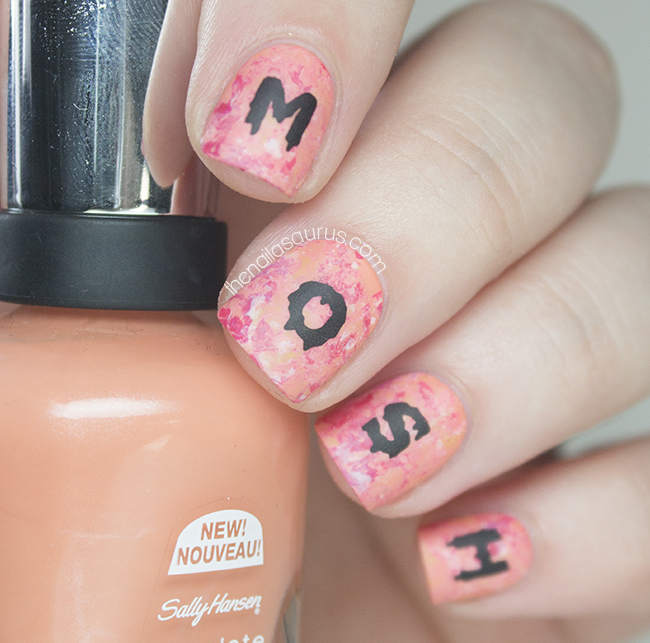
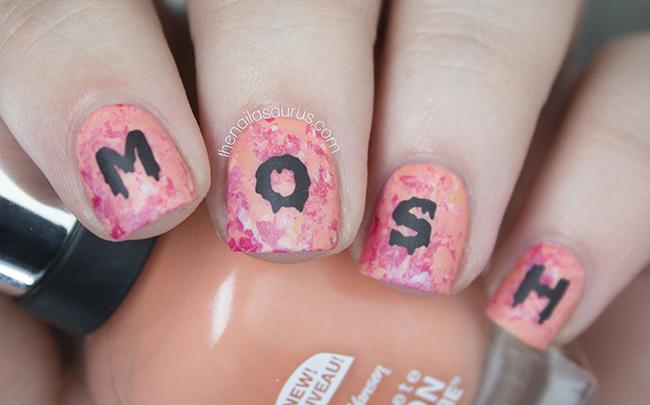
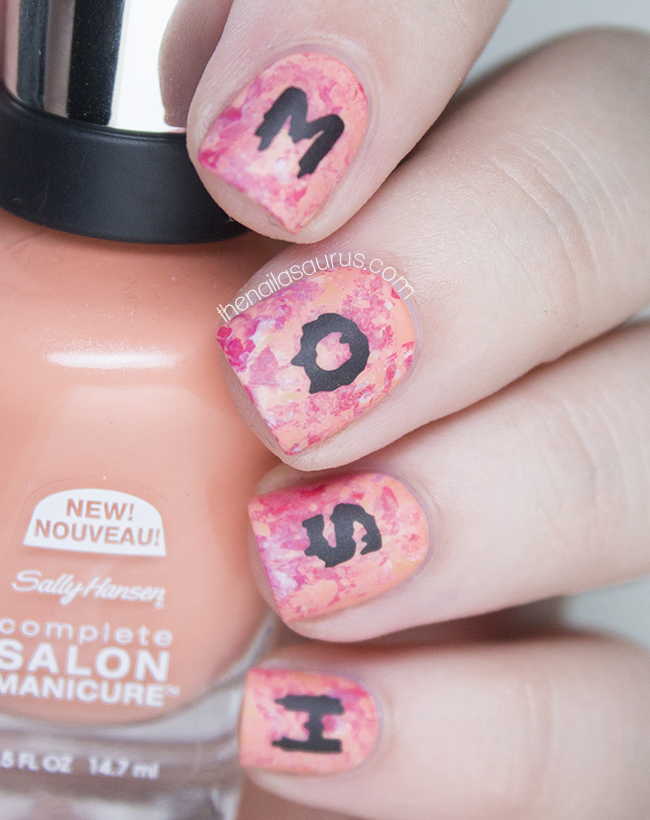
    I’ve been binging on Orange is the New Black this weekend (thank you, Netflix!) so today’s nail art had to be Orange! I did the marble effect using cling film and it’s my most successful attempt yet. In the past, my attempts have been a little too marbled but the detail is nice and clear this time around.
    The colours I used are Sally Hansen Tahitian Sunset, piCture pOlish Totes, NYC Rooftop Party Berry and Nicole by OPI Yoga-Then-Yogurt.
    The details are all DIY Nails water decals. The Drippy Letters are from Creepy and the Parental Advisory stamp is from Love/Hate.

    DIY Nails Creepy Water Decals | The Nailasaurus
    DIY Nails Creepy Water Decals | The Nailasaurus
    DIY Nails Creepy Water Decals | The Nailasaurus
    DIY Nails Creepy Water Decals | The Nailasaurus
    DIY Nails Creepy Water Decals | The Nailasaurus
    Share:
    Glitter, Uncategorised

    DIY Nails Christmas Water Decals Nail Art


    It’s beginning to feel a lot like Christmas around here. I finished most of my wrapping today but there are still a few gifts I’m waiting for in the post (can you say last minute?!) so I have my fingers crossed that they’re going to get here before Wednesday! These cute Christmas water decals are from DIY Nails and they’re a new contender for my Christmas Day mani. The Fair Isle pattern on this sheet is just too cute to ignore.

    I applied the DIY Nails Christmas water decals over the base of Barry M White.
    For the glitter nails, I applied two coats of Cirque Helios over one coat of Nails Inc Hampstead Gardens.
    It’s all topped off with two coats of Glisten and Glow HK Girl.

    Share: