Follow:
Browsing Tag:

Deborah Lippmann

    Snippet, Uncategorised

    Snippet: Prototypin’


    I used Deborah Lippmann Fashion as my base colour and once that was dry, I freehanded on the blocks of H+M Midnight Mystery on either side of each nail using a nail art brush
    I used one coat of KBShimmer Clearly On Top and while that was still wet, I carefully placed on these tiny gold strips (coming soon to The Nailasaurus Emporium).
    I added another two top coats to seal them in and once it was all dry, I filed off the excess gold that was hanging off the end of each nail.

    Share:
    Uncategorised

    Brightblocks

    I’m currently going through a top coat conundrum! I get these quite a lot when I’ve dried up my supply of whatever my favourite top coat of the moment is – this time it’s No7 Stay Perfect. Normally it happens because said top coat is no longer available or no longer on offer/sale!
    Most of the ones I have here are now a bit thick and they either leave loads of bubbles or make my mani shrink (exposing the very tips of the nails). In yesterday’s post I mentioned that I used the Color Club top coat which I got when I bought s collection of theirs from TK Maxx. At first it seemed like a great top coat: drying time was good and it was nice and glossy but when I woke up I had the dreaded sheet marks pressed in to my nails. I went to bed a whole 8 hours after I painted my nails! Now, that just won’t do.
    So I have a question for you, one that I ask a lot. What is your favourite top coat? INM Out the Door and Seche Vite always seem to top this list but I want to know if there have been any new discoveries of late. Something (very) affordable and available in the UK would be ideal!

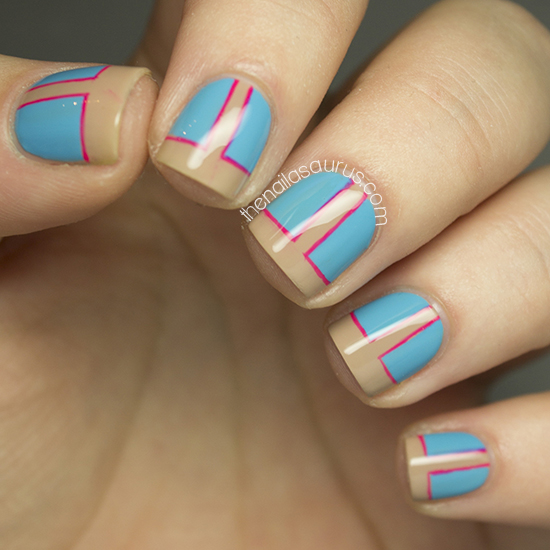
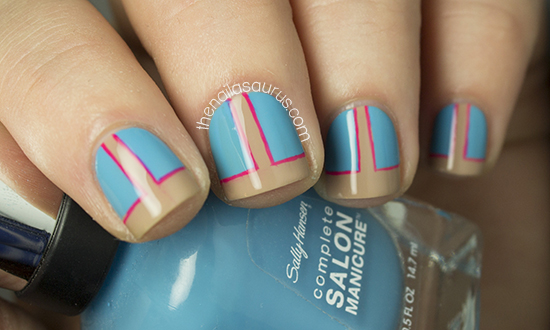
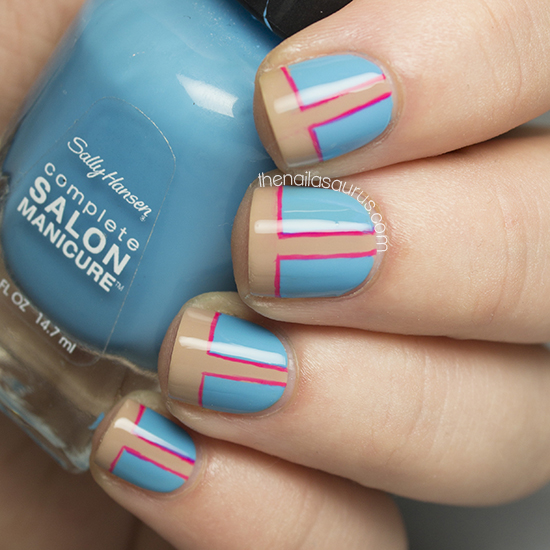
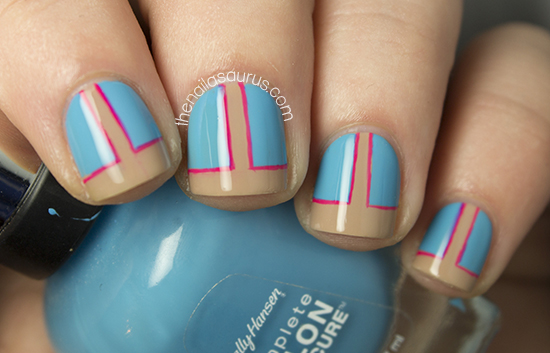
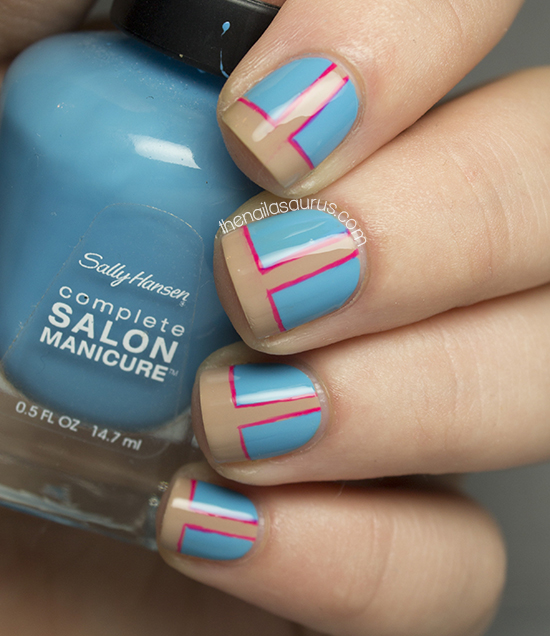
    For today’s nail art I used Deborah Lippmann Fashion as my base colour with a coat of Essence Better Than Gel Nails Fast Dry Top Sealer.
    To create the colour blocking effect, I used Scotch Tape to mark off a ‘T’ shape on my nails. First with a thin strip straight down the middle, then one across the tip.
    I painted on Sally Hansen Water Color over the top and immediately removed the tape. Once that was dry, I freehanded on the outlines using a nail art brush with Models Own Bubblegum.
    I finished it off with Color Club Top Coat (because that’s all that was available!).

    TwitterBloglovin’Tumblr

    Share:
    Uncategorised

    Can I See Your Neon Bits?

    This interesting colour combination is one I’ve had in mind for a while and oh my goly, it’s just lush! This neon-ish yellow is just the right tone to match the nude, it’s bright but still quite creamy. Any brighter and I think it would have been a big no no. 

    I used 2 coats of Neon Yellow polish from Born Pretty then followed it with a quick coat of Essence Better Than Gel Nails to make it dry quickly. I added strips of striping tape where I wanted the yellow to show through before painting on two coats of Deborah Lippmann Fashion and removing the tape. There’s a more in depth tutorial on that just here. Finally I top coated it with two coats of Sally Hansen Dries Instantly.

    TwitterBloglovin’Tumblr

    Share:
    Glitter, Gradient, Swatch, Uncategorised

    Cirque French Roast Swatch (Kind Of)

    This is a swatch post but I’ve spent WAY too much time swatching this week (although you haven’t yet seen the fruits of my efforts because I still haven’t finished!) so instead of yet another plain old swatch I wanted to mix some nail art in to this one.
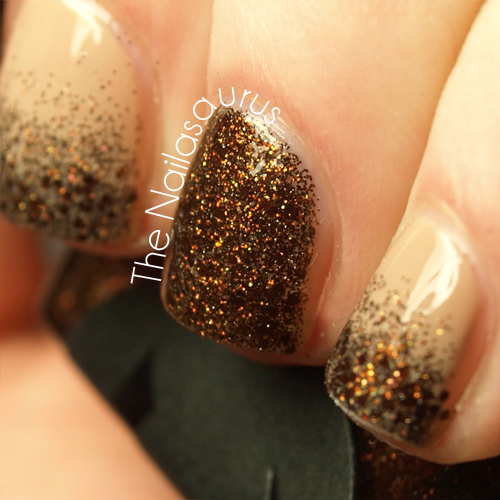
    Feast your eyes on this beauty…. Cirque‘s French Roast*. It’s a glitter polish made up of gold and bronze glitter and a few tiny bronze hexes scattered in. It’s in a clear base but I only needed 3 thin coats to get it completely opaque. Isn’t it amazing? It’s just so rich and luxe, I love it!
    If you’re in the UK, you can get your Cirque polishes from Sally Magpies. The wonderful lady behind this shop (who is Sally) has made it her mission to stock all the incredible polishes that are hard to find or otherwise completely unavailable in the UK. Go check it out, you might find something you’ve been lemming after for a while.
    US ladies can buy directly from the Cirque website and there is a list of stockists for you here if you hail from elsewhere.

    Because of all the glitter, I applied one coat of PVA glue to my nails and let that dry thoroughly before painting on any polish.
    I used 3 coats of Cirque French Roast on my thumb and ring fingers with two top coats of Seche Vite for ultimate shininess.
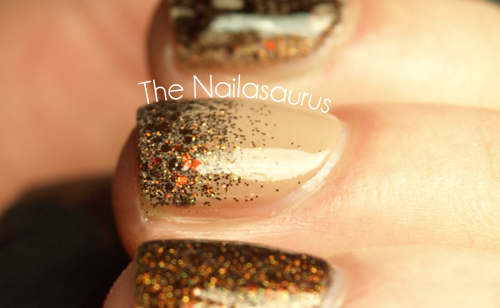
    To create the gradients on my middle and pinky fingers, I applied 2 coats of Deborah Lippmann Fashion then painted some of the French Roast on to the edge of a make-up sponge and dabbed it on starting from the tip and working down towards the cuticle. Again, two top coats of Seche Vite.
    My pointer finger has one coat of Fashion, one coat of French Roast and a real feather buried underneath a few top coats of Seche Vite. I made a tutorial for how do it here.

    TwitterBloglovin’Tumblr

    Share:
    31 Day Challenge, Stamping, Uncategorised

    31DC2012 Day 29: Inspired by the Supernatural

    This challenge has really gone belly up recently! We started out so well but unlike last year, when we were so regimented and determined, we’ve gone way off track and are all behind schedule. However, I’m determined to complete it before the end of the year if it kills me (which I’m sure it won’t, I’m just being melodramatic). I’m thinking of it as my end of year resolution! There are actually only 3 days left so I’d have to be reallllly lazy not to get it finished wouldn’t I?!
    I spent so much time stressing about this challenge but in the end I just went for the obvious again to get it over and done with. It’s actually exactly the same as last year, I even used the same polish to stamp with!
    Don’t worry, tomorrow’s challenge post is awesome!

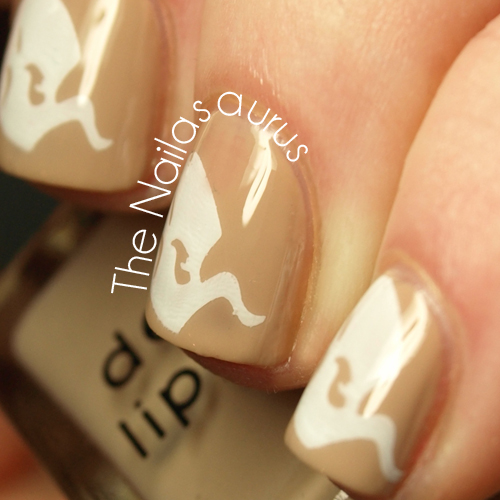
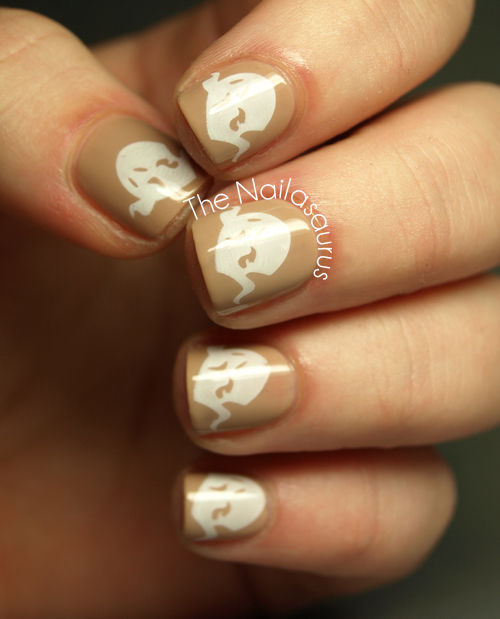
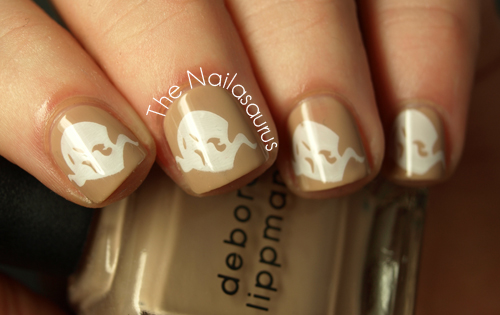
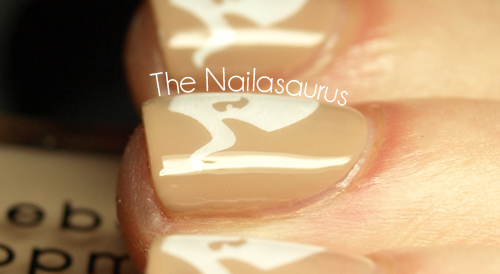
    I used 3 coats of Deborah Lippmann Fashion* as my base colour and stamped on the ghosts from Bundle Monster plate BM223 using Sally Hansen InstaDri Whirlwind White. I used two coats of NYC Top Coat for the glassy finish.

    You can follow Rie’s challenge here and Cristina’s here.

    TwitterBloglovin’Tumblr

    Share:
    31 Day Challenge, Freehand, Uncategorised

    BONUS! Inspired by a Flag Take 2!

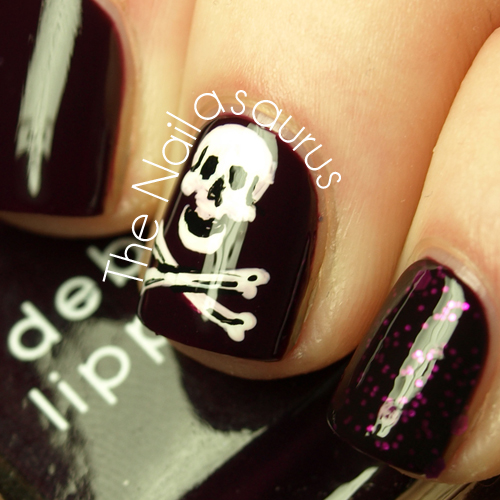
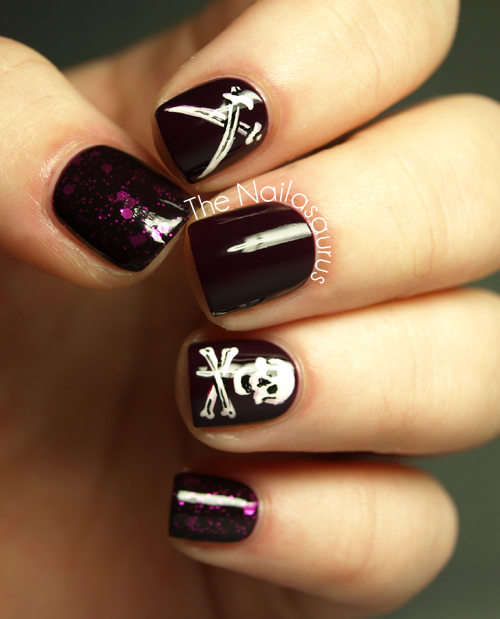
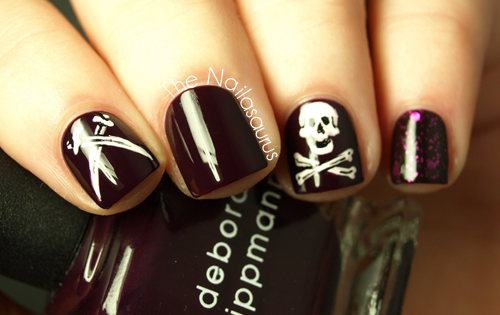
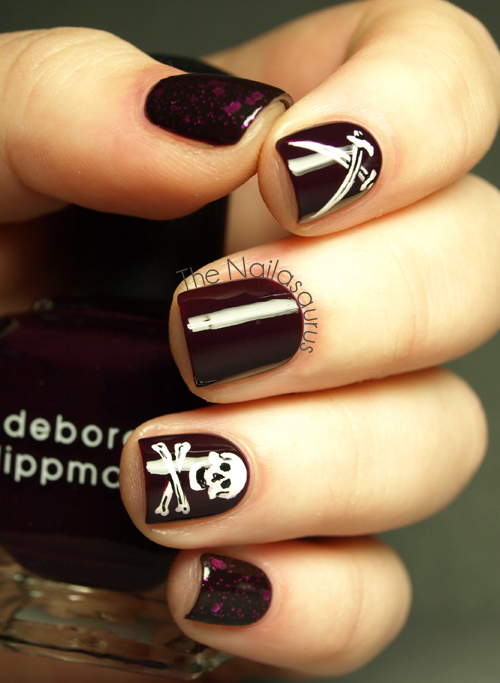
    I had a brain meltdown when I was painting my Flag inspired nails and ended up doing two manicures so you get a bonus 31 Day Challenge post today! I’d had this idea written down for ages and was really looking forward to doing it. I got so excited that I kind of forgot it was part of the challenge since the challenge has started becoming more of a chore than a pleasure at this point. So anyway, I decided on the Jamaican Flag nail art and then remembered that I actually wanted to do this so I did it anyway! By the way, it’s inspired by a pirate flag!

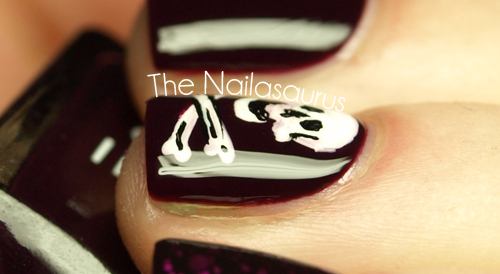
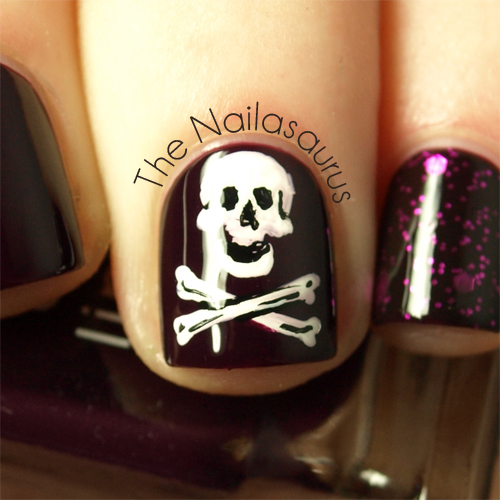
    I didn’t want to go for the traditional black background so I took out one of my many ‘near black’ shades, Deborah Lippmann Dark Side of the Moon* and used two coats as my base. I painted on the skull and crossbones and sword detail with white and black acrylic paint using a small nail art brush
    I added one coat of Revlon Facets of Fuschia to my thumb and pinky which I picked up for £1 in Discount UK and I’m pretty sure it’s exactly, EXACTLY the same polish as Scandalous which is part of the current range and is retailing for £6.49! That is scandalous! 
    Finally, I used two coats of NYC Top Coat to finish it all off.

    TwitterBloglovin’Tumblr

    Share:
    Glitter, Uncategorised

    Polish Days: BLING Nails!

    Two posts in one day? I’m on fire! But don’t get too used to it because I’m so fire that I’ve kind burnt myself out so it might be quiet for the rest of the week. Or maybe not, I can’t think straight right now. Ask me again after I’ve had a nap.
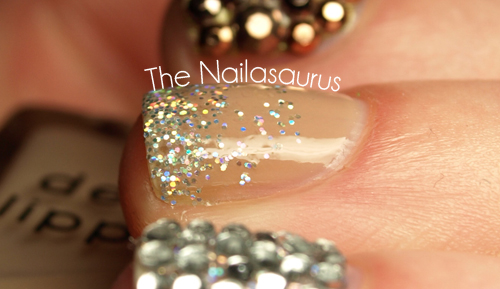
    Today is the December Polish Days event and the theme is Bling so I went straight for the rhinestones and holographic glitter. I was determined to go all out with today’s mani and really expected to hate whatever I came up with but I actually love it! I wore it for as long as I could today before the urge to pick it all off overcame me just after lunchtime.

    The holographic glitter I’ve used is H&M Jo Is In The House. I used three coats of that as the base for my ring finger before covering it in 1mm rhinestones. For the bronze finger, I used Rimmel Metal Rush in Gold Save The Queen as my base colour and then stuck on the bronze rhinestones from Cult Nails
    For the rest of the fingers with the glitter gradient, the base colour is Deborah Lippmann Fashion and I used a sponge to apply the H&M glitter from the tips downwards.I finished those fingers with two top coats of NYC.

    TwitterBloglovin’Tumblr

    Share: