Follow:
Browsing Tag:

BYS

    Freehand, Uncategorised

    20 Candles

    I turned twenty today. It’s kind of momentus but disappointing at the same time. I’m no longer a teenager, I am a fully qualified ‘adult’ which I suppose is okay, but I sure am gonna miss being a teenager and getting away with all the things you can before you reach this age. Only five years ago, I was looking up at twenty-somethings and thinking, ‘Woooooooow, look how old and responsible they are’ but now it’s me and I still feel like a 13 year old inside, but I suppose it’ll always be that way.
    So the nails are a cake and candles!
    Thumb:
    George @ Asda – Natural White
    Collection 2000 Hot Looks – Dynasty
    BYS – Astro Gold
    Nails Inc – Victoria
    Fingers:
    Rimell Lycra Wear – Black Satin
    Stargazer – White
    Sally Hansen Chrome – Amber

    I used nail art brushes to freehand the candles and a dotting tool for the flames.
    Share:
    Glitter, Uncategorised

    Simpleton

    So far I’ve been keeping up with my blogging schedule. For those of you that didn’t catch my post a little while back, I mentioned that instead of putting pressure on myself to post every day as I used to, I’m setting myself a goal of 3 posts per week. I’ve finalized the plan and the schedule is to post on Monday, Wednesday and either Saturday or Sunday. Whenever there is a special occasion, like St. Patrick’s Day for example, I might throw in a quick, freebie nail art post.
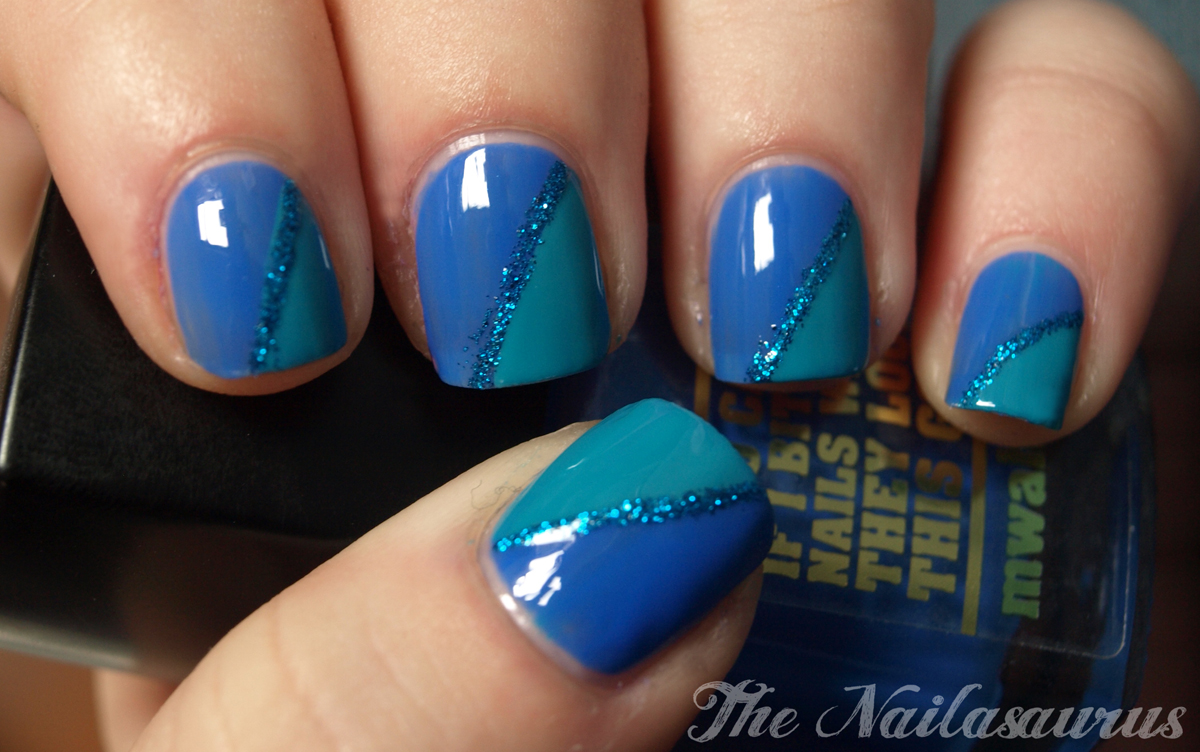
    Last night was my first attempt at a ‘Scotch Tape Mani’ made famous, I believe, by the fabulous Erika at Chloe’s Nails*. It basically involves placing strips of scotch tape on your nails which act as a stencil to give you crisp lines between multiple coats of colour. Depending how you use the tape, you can get all kinds of great results and it’s so easy to do. Make sure you check out Erika’s blog to see what amazing effects you can achieve.
    My first few attempts were a bit disastrous to say the least. I’m very impatient and wanted to get to bed so I kept putting the scotch tape on too quickly and it would rip off the base colour so after a few failures I decided to leave my base coat to dry over night before subjecting it to any tape torture.
    I used Jay Jays Thrillseeker as the base colour and applied a top coat of NYC last night. I got to the fun bit in the morning when I applied the tape diagonally across my finger and used BYS Fools Paradise for the second segment. I then applied Barry M Blue Glitter with a striping brush for the dividing line and topped it off with another top coat of NYC.

    * If I have this wrong and you know of someone else who was using the technique before Erika, please let me know as I like to give credit where credit’s due.
    Share:
    Stamping, Uncategorised

    St Patty’s Day Mani

    I know these aren’t really shamrocks because they have four leaves but hopefully no one will call me up on it today!

    Plate: Bundle Monster BM03
    Base Colour: Collection 2000 Hot Looks – Spangles
    Stamp Colour: BYS – Fern
    Top Coat of NYC
    Share:
    Stamping, Uncategorised

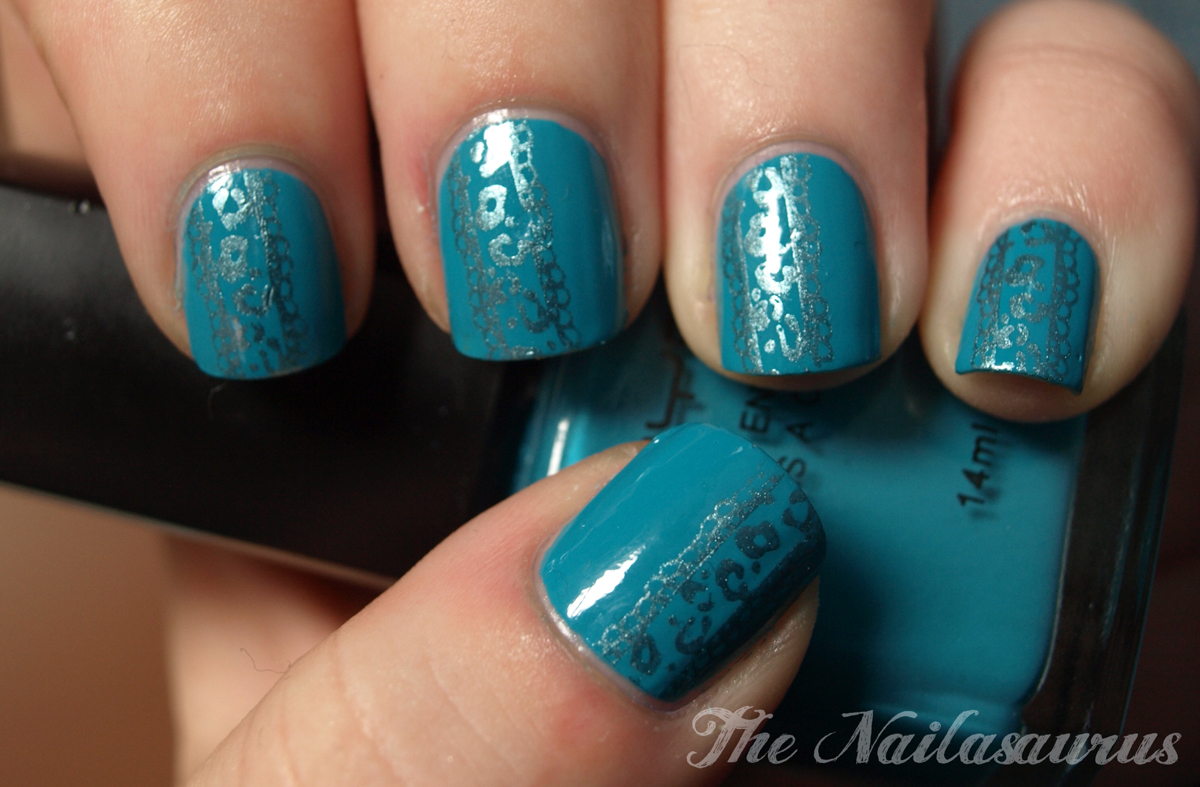
    BYS Fools Paradise

    Tonight I went to see Rango with some friends – it’s now in my top 3 animated films ever. Every frame looks so perfect and the humour is just up my alley. I was more in the mood to see Battle: LA but I’m so glad we saw Rango instead.
    It seems like when I watch films, I concentrate more on the aesthetic than what’s actually happening in the story. I think this is why I love films like Tron: Legacy, The Cell, and Legend of the Guardians which I know plenty of people don’t for one reason or another. I just love watching them for the sake of watching them. They don’t have to please my brain when I can just drink them up with my eyes.

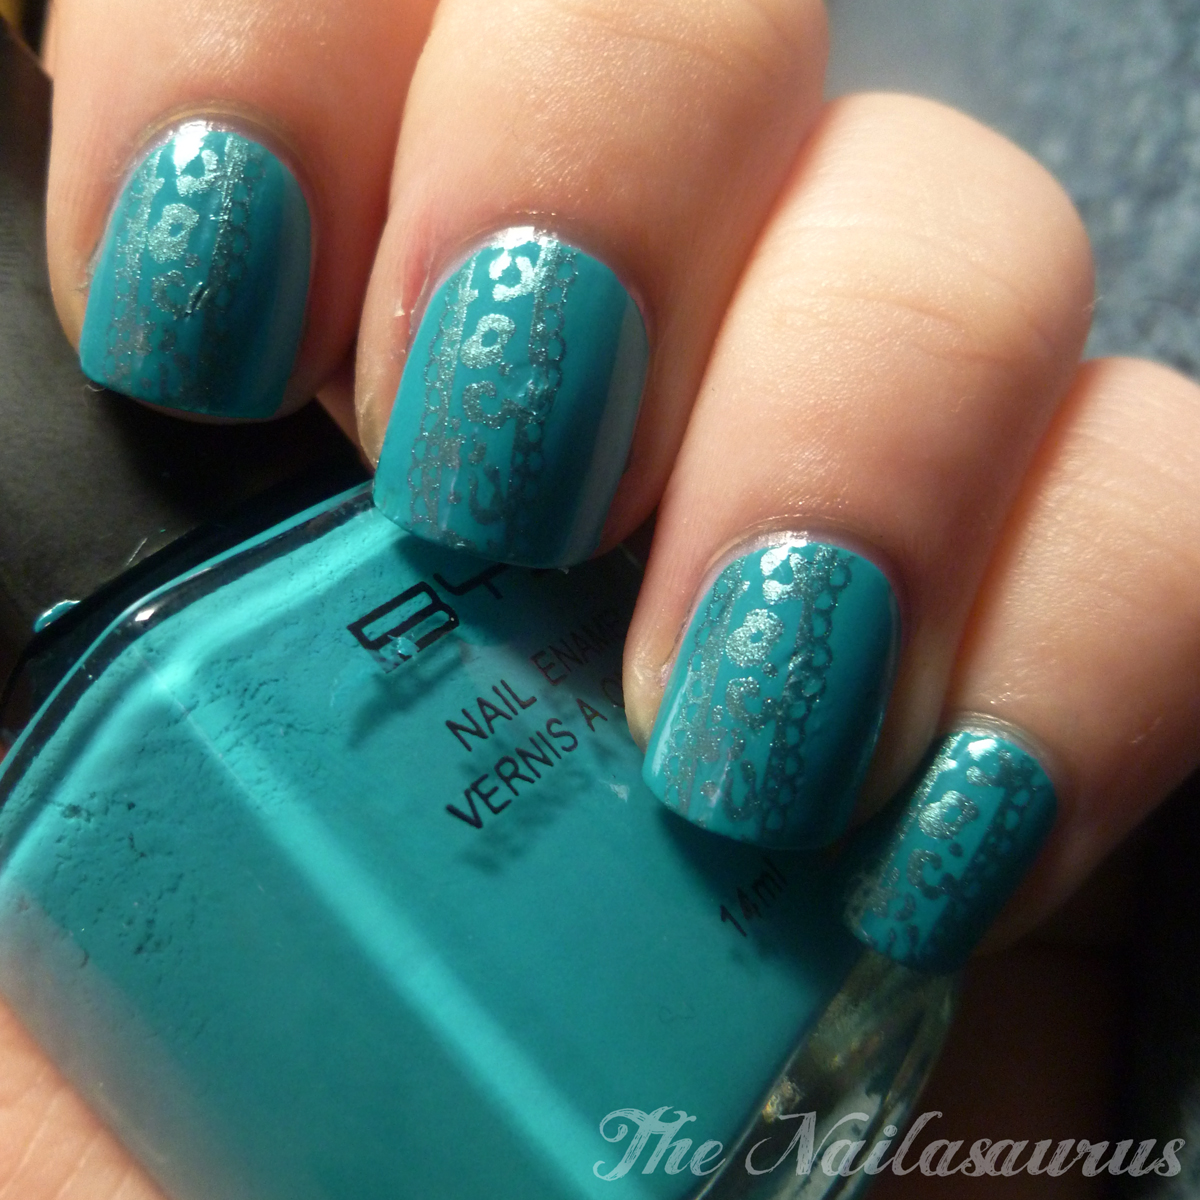
    Konad Plate: M57
    Base Colour: BYS – Fools Paradise
    Konad Colour: China Glaze – Adore
    Top Coat of NYC

    Share:
    Freehand, Uncategorised

    ♪♫ Love Is The Coal That Makes This Train Roll

    I know you’re probably getting sick of my unexplained, extended absences and I’m really sorry! So far, this year has been one crazy whirlwind of events and I’m finding it impossible to make time for blogging. I’m trying to get some structure back in the blog so I think instead of attempting a new mani every day, I’m gonna aim for three a week on set days (I’m thinking Monday, Wednesday and Saturday) so you’ll know what you can expect.
    The internet connection in my house has been down since Sunday and no-one’s called up to fix it since it’s an 08 number and we only have cell phones so it will cost upwards of 35p per minute to call the ISP (I know it doesn’t sound much, but we’re all really stingy).
      I’m blogging from home home today (my parents’ house) since I had to come back to get one of my wisdom teeth pulled. I’ve been complaining about it for months so I’m glad it’s finally gone. It wasn’t half as bad as I was expecting and I barely even felt the injections. It was actually the nicest procedure I’ve ever had done in a dentist’s office, if anything that takes place there can be called nice!
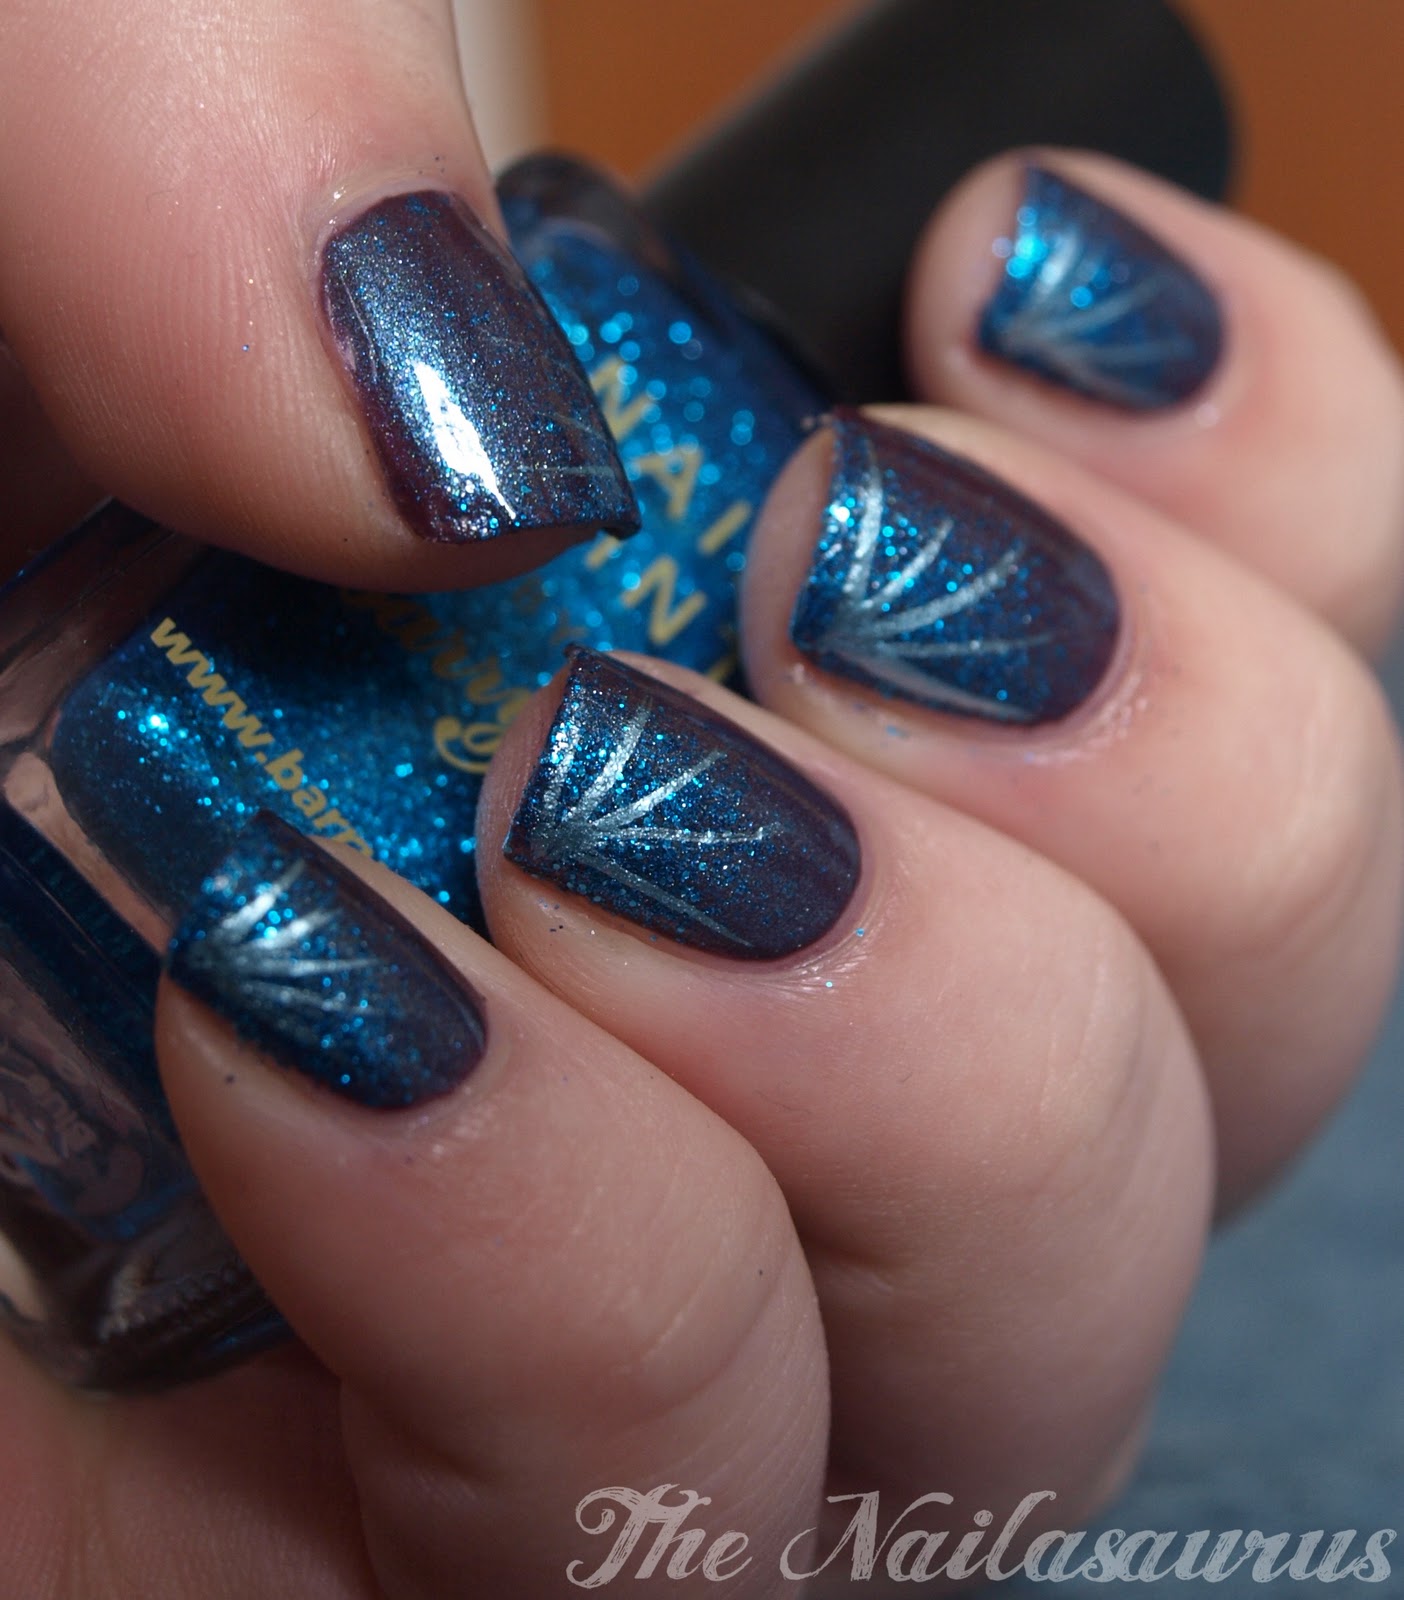
    For the mani I used:
    Carla Di Roma – Grape Wine
    A coat of BYS Tinkerbell
    Barry M Blue Glitter sponged from the corners downwards
    GOSH Metallic Blue freehanded for the lines using a striper brush (eBay)
    I’ve made a few additions to my list of regular polishes that work well for stamping. This GOSH Metallic Blue is on there! Head over to the Stamping Polishes page if you want to see all of the polishes I use for stamping.
    Share:
    Freehand, Review, Uncategorised

    Born Pretty Store and my First Freehand Nail Art

    I received a few items from Born Pretty Store a few weeks ago to review. You’ve already seen some of the Bullion put to use and I’ll cracking out the rest of the amazing nail art supplies in good time. Here are the goodies that I got….
    I’ve wanted some of these tiny brushes for ages. I did buy a pack of nail art brushes on eBay but there are very few that are suitably teeny for painting designs like this on your nails and I’m actually using one of them to apply my eyeliner!!
    This pack of 4 brushes is perfect for drawing anything you can imagine on your nails. They’re small but easy to grip and each one is a different size so you can use the smallest ones for lining and the larger ones for filling in colours.
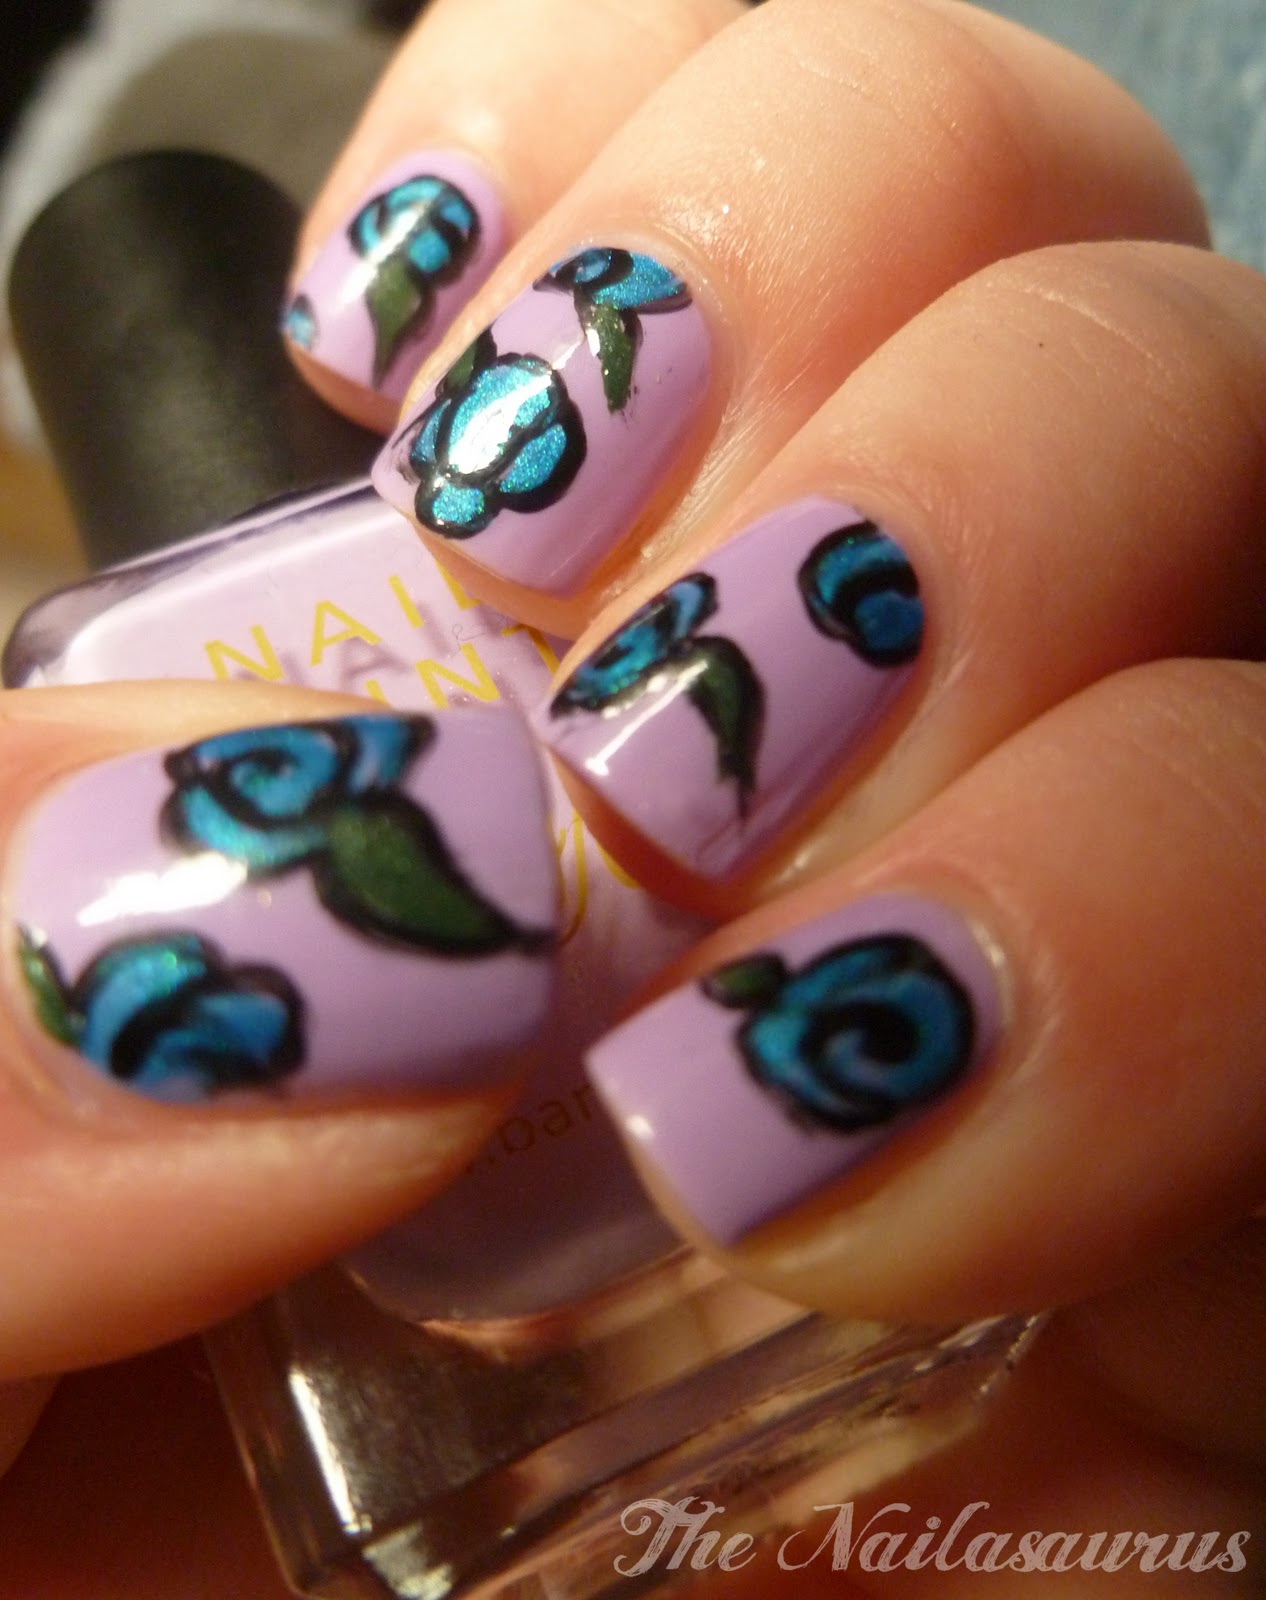
    I decided to try my hand at roses, which are heavily inspired by (read: copied from) Marina at Forever The Ugly Duckling who does some really cute and imaginative, yet simple, freehand nail art which is what actually inspired me to have a go myself.
    I started out drawing the outlines of the flowers then filling them in with the blue. Then I went over the outlines again to emphasise them since the blue kind of covered them over. Then I decided to add the leaves by doing the  same thing – outline, colour, outline again!
    I’m really pleased with how it turned out and I’ll definitely be doing more freehand nail art in the future if I can come up with any ideas! If that’s something you guys would like to see?
    I used:
    Brushes from Born Pretty Store
    Barry M Berry Ice Cream as a the base colour
    Rimmel Black Satin to outline the flowers
    Beauty UK Neon Blue to fill the flowers
    BYS Fern for the leaves
    Top coat of NYC

    Disclaimer: The nail art brushes were sent to me by Born Pretty Store for review. Everything you read here is my honest opinion.

    Share:
    Galaxy, Uncategorised

    Nebula Nails

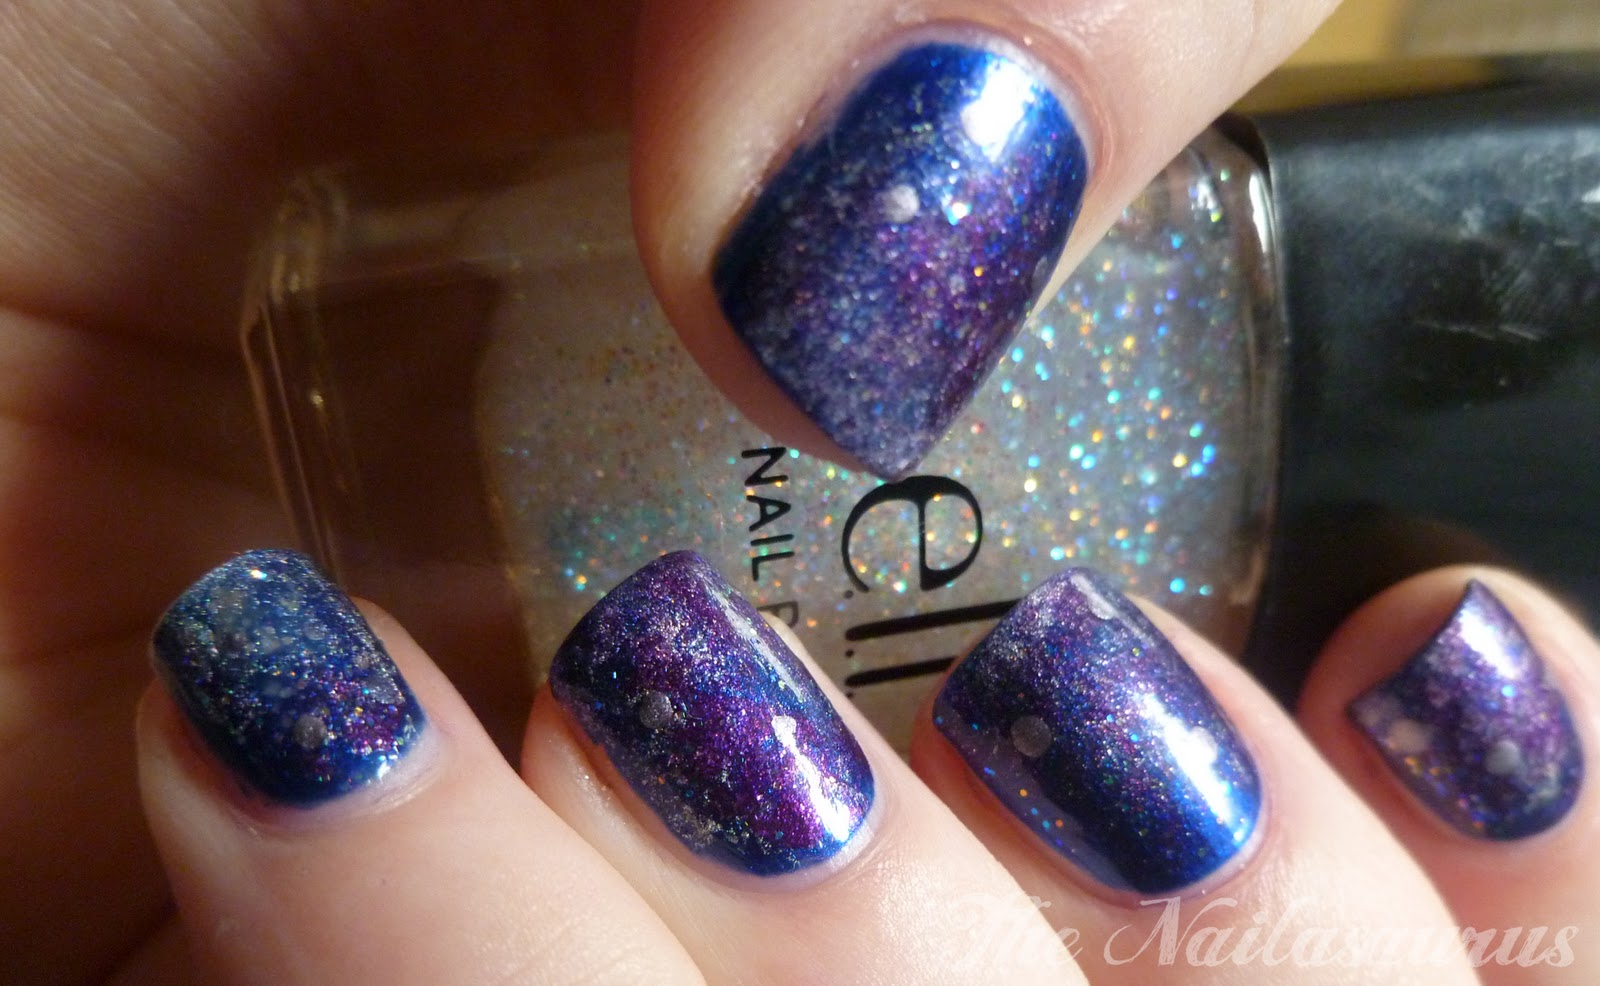
    Here is my attempt at creating some of those ‘Galaxy Nails’ that have been floating around a lot recently. I first saw one of these designs months and months ago but I thought it would be too hard so I didn’t even attempt to create it myself. Boy, was I wrong! Considering how pretty this look is, it’s some of the easiest nail art I’ve ever done and I think it’s absolutely fool proof. I was worried it wouldn’t turn out very well, but I don’t think this look could turn out badly even if you tried to mess it up! That’s the beauty of it.
    All you need is a selection of cosmic colours and some textured paper tissue (i.e. kitchen roll) and I’d recommend using at least one holographic polish in the mix. Paint on your base colour and just start dabbing the colours on in patchy, thin layers. 
    Asami has a great video tutorial of the method.
    This was the colour inspiration for my version.
    The polishes I used (in this order) are:
    NYC Glossies – 243B
    E.L.F – Party Purple
    BYS – Glittering Purple
    GOSH – Holographic
    E.L.F – Twinkle
    Collection 2000 Maxiflex – Moonlight Shine (dotted on for the stars)
    And of course, a Top Coat of NYC (not pictured)
    Has anyone done their own galaxy nails? Please leave a link to your mani in the comments, I love looking at them!
    Share: