
For the nails…
My base colours are piCture pOlish Chillax (Green) and piCture pOlish Swagger (Blue).
I stamped the design from UberChic Stamping Plate 1-03 using Born Pretty Matte White.
It’s topped off with one coat Glisten & Glow HK Girl.



My base colours are piCture pOlish Chillax (Green) and piCture pOlish Swagger (Blue).
I stamped the design from UberChic Stamping Plate 1-03 using Born Pretty Matte White.
It’s topped off with one coat Glisten & Glow HK Girl.

I have a little confession to make – I’m a hoarder of water decals. Whenever I’m shopping for nail art stuff online, I can’t resist adding a few sets to my basket in anticipation of those days when I don’t have time for, or can’t be bothered with, ‘proper’ nail art but still want some decoration there. Turns out on those days, I don’t have time/am actually just too lazy to be applying water decals anyway! So there they sit, unused and unloved. Today, that changes and water decals are going to get some love from me.
I do feel the tiniest bit guilty for using water decals today instead of creating something fresh, but funnily enough, I’ve been looking back through the water decals archive and I see that I also copped out last year and used water decals for Day 14: Flowers. Me and freehand florals just don’t get on.
I started out with 2 coats of Barry M Coconut and let that dry thoroughly.
The water decals are these Full Coverage Flower Water Decals from BuyInCoins. If you’ve never heard of this website, you need it in your life. It’s a bit like an online jumble sale – you never know what you’ll find but there’s always something good. Shipping is from China so it normally takes about two weeks to get to me here in the UK.


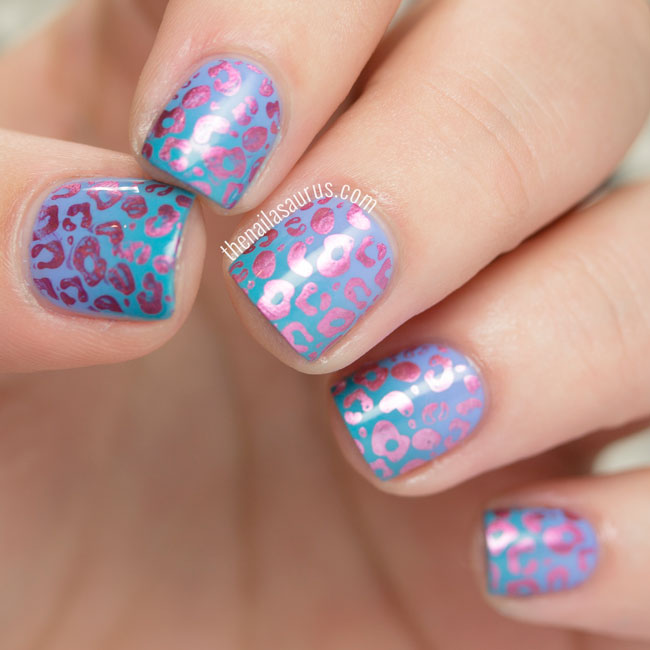
I was rifling through my stamping plates a few weeks ago (during my ‘nail art equipment’ Periscope) and I got very nostalgic when I saw my Konad plates. This M57 plate, the one with the zebra-tiger and leopard print, was the very first plate I ever lusted after and pretty much kicked off my nail art obsession. I vowed to use it again soon and I think Day 13 of the challenge, animal print, is the perfect opportunity.
I created a gradient using Barry M Blueberry and Barry M Guava. See the tutorial here.
The leopard print design is stamped from Konad M57 plate with Models Own Chrome Cerise.
It’s all topped with a coat of Glisten & Glow HK Girl.
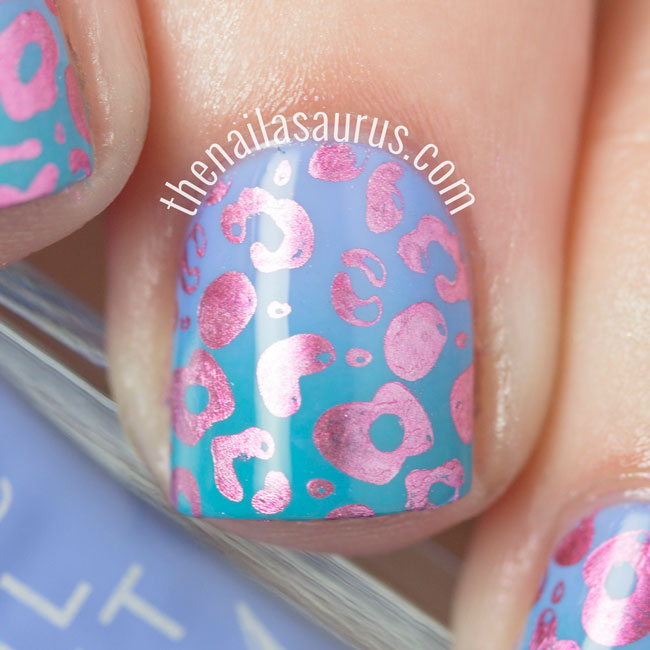
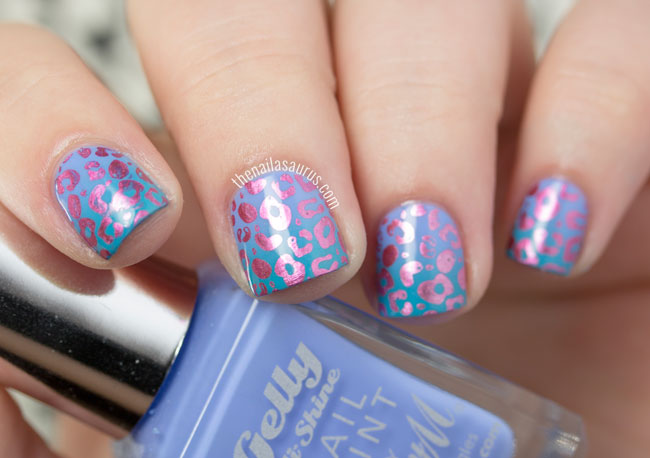
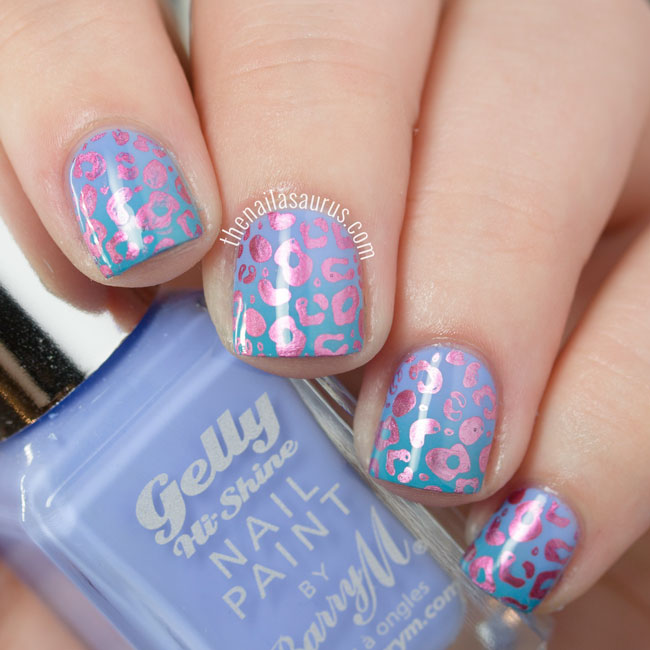

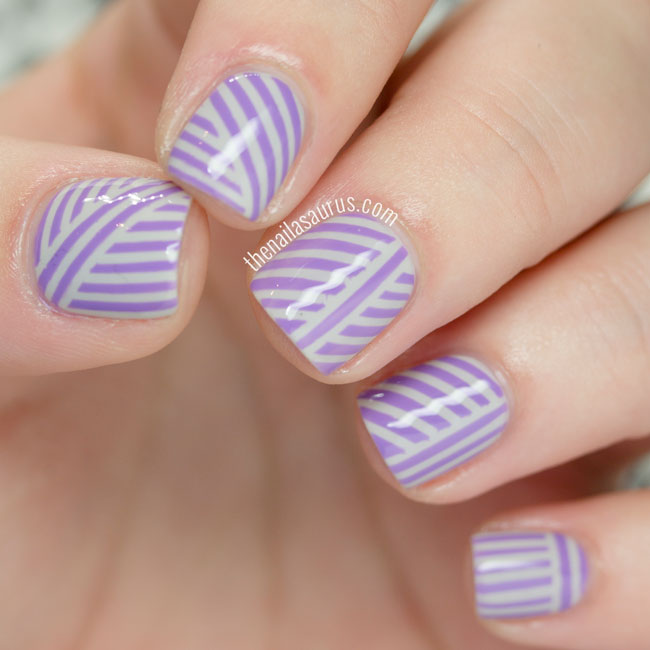
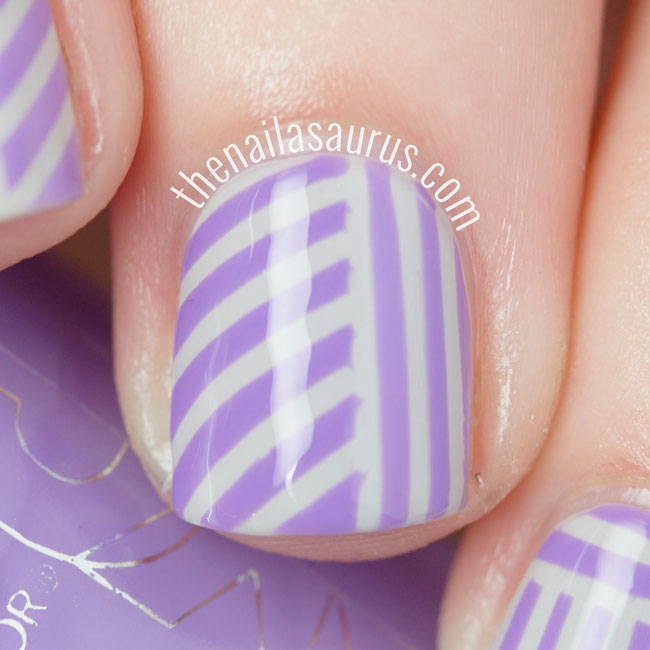
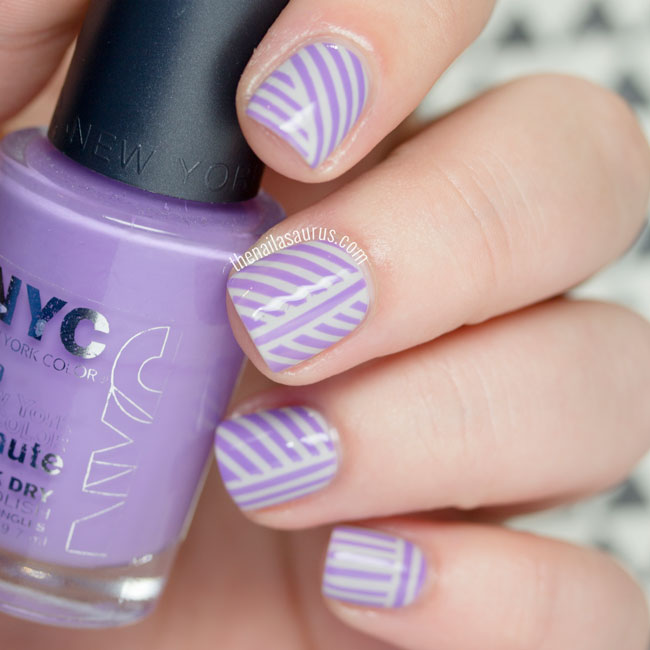
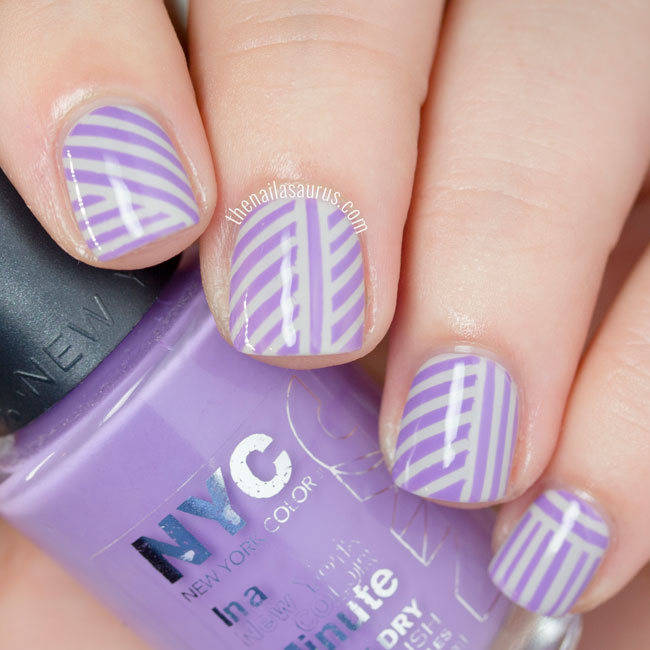
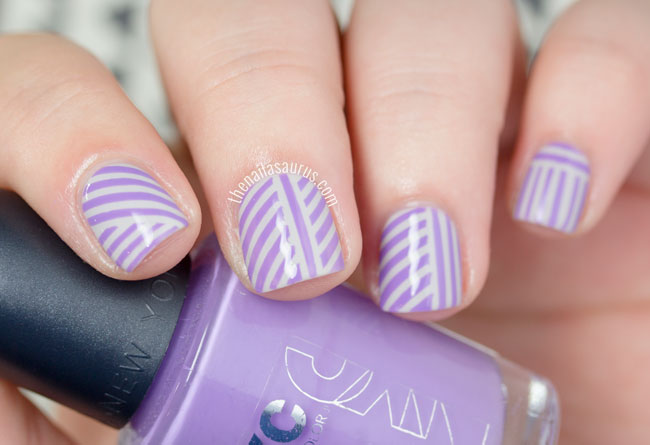
Striping tape is the oh-so-obvious choice for Day 12 of the Challenge but it’s a classic and I just couldn’t resist. This is another technique that I went through a huge ‘phase’ with a few years ago and I haven’t really revisited it properly since last year’s challenge.
I didn’t go in to this with a plan – just my striping tape and tweezers in hand. I took it one nail at a time and just went with my instincts, trying to make sure no two nails looked the same. I really love this look and especially how the colours work together. This base colour (Sally Hansen Ion) is what I would describe as a white-greige but I think it really takes on the tone of the purple in this close proximity.
My base colour is Sally Hansen Ion and I topped that with a thin coat of Glisten & Glow HK Girl to dry it fast and hard.
On top of that, I laid out my patterns using some White Striping Tape. I painted over the tape one nail at a time with NYC Lavender Blossom and removed the tape immediately.
It’s all finished with two more coats of HK Girl to smooth things over.

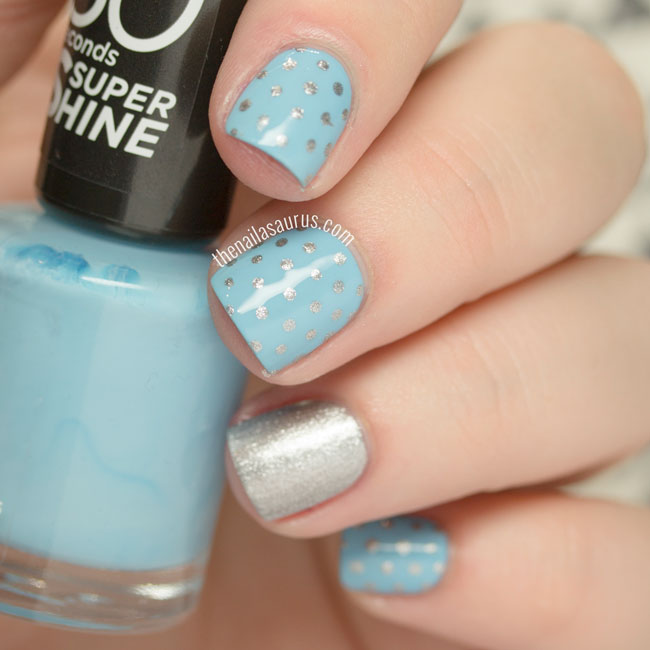
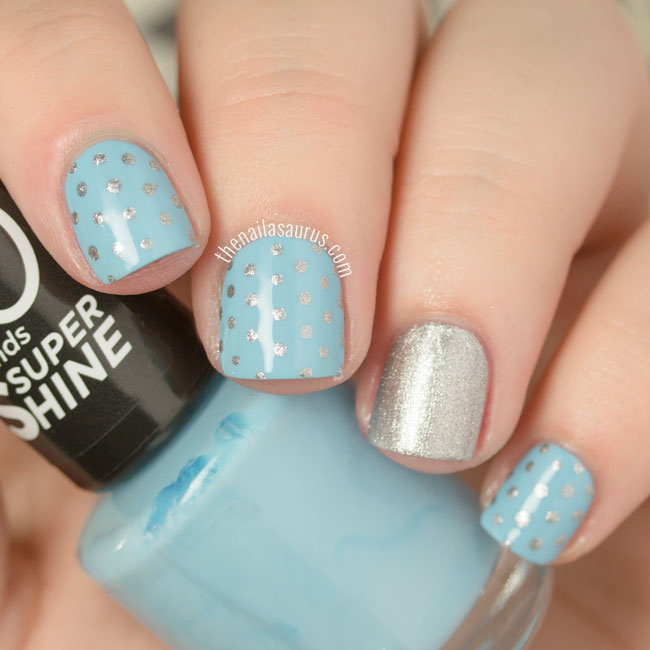
Yay for lazy Sundays! I won’t lie, I spent pretty much the whole day watching Community and painting my nails. I’m taking a quick break to post these Polka Dot nails for Day 11 of the 31 Day Challenge before I go right back to Netflix and um.. painting my nails. OH! Plus cookies… I’m baking cookies so it’s all good.
We’re in to what I like to call ‘Phase 2’ of the challenge when the technical skills start to kick in. I’m feeling pretty confident about the next 10 days but I’ll let you know how I feel about Phase 3 when we get there!
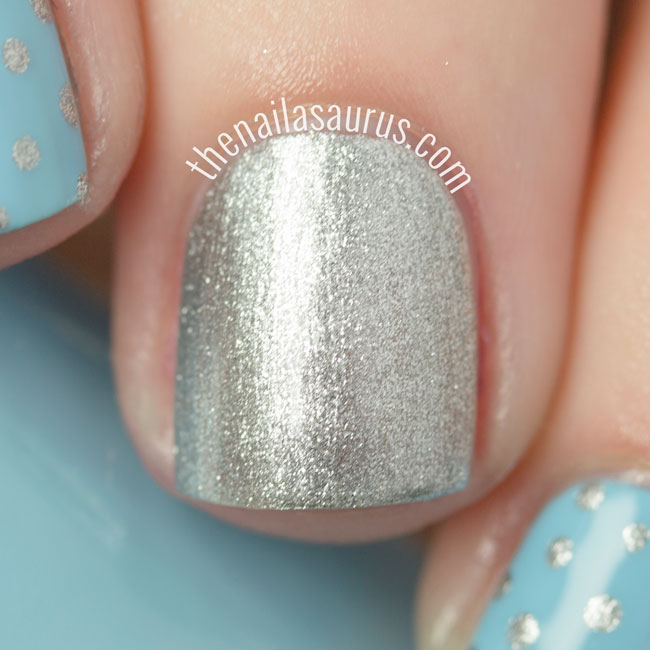
I titled this post ‘Tiffany Looking’ because even though I wasn’t initially inspired by the iconic Tiffany packaging, I noticed after the fact that I had used a Tiffany blue polish with bright sparkling silver, a wave of recognition rolled right over me and it was just too much to ignore.
I used Rimmel Too Cool to Tango as my base colour with Rimmel Your Majesty for the accent nail and polka dots
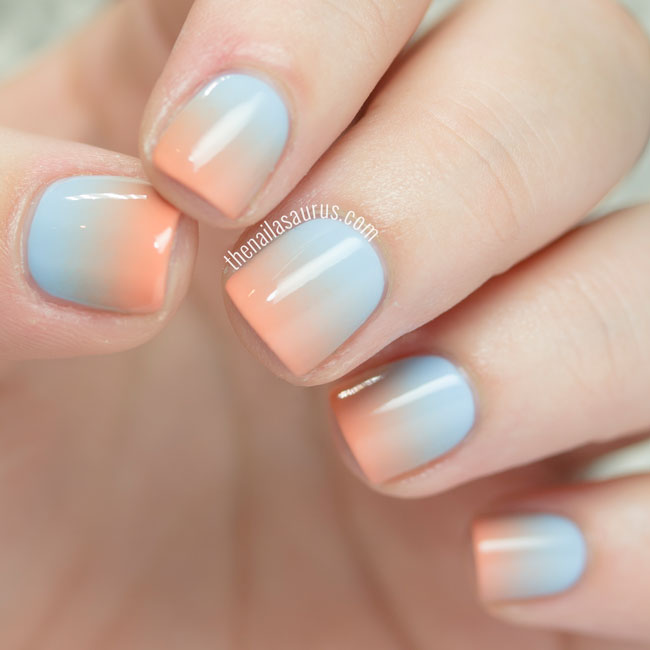
The plan for my gradient nails was to recreate the smoky black and white gradient from Day 7’s Black and White Nails but when the time came, I caught a glimpse of the sunset and changed my mind! The sky was a pale blue fading in to orange at the horizon and I knew it would look just as beautiful on my nails.
I used NYC Raindrop first, followed by China Glaze Peachy Keen to create the gradient. Scroll to the bottom of the post for the video tutorial!


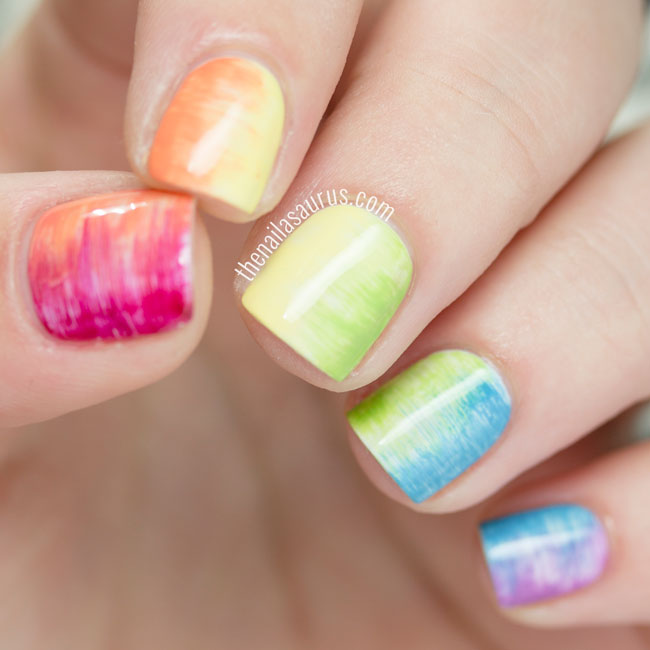
On to the rainbow nails! This one’s always a nice treat for me as typically I steer clear of multicolour combinations. This style is a play on my streaky watercolour look using a flat nail art brush (much like this one). I didn’t thin out the polish as much as shown in the video because I wanted the brush strokes to be more visible.
I used Barry M White as my base colour, let it dry thoroughly, and painted on the colours with a flat nail art brush.
Those colours are
Red: OPI Cinnamon Sweet
Orange: NYC Sunny Manhattan
Yellow: NYC Lexington Yellow mixed with Revlon Buttercup
Green: Sally Hansen Grass Slipper and Kriston 10
Blue: Kriston 52
Purple: Lacquer Lab Ultra Violet


