Follow:
Browsing Category:

Stamping

    Glitter, Gradient, Stamping, Uncategorised

    The Lacquer Legion: Adoration

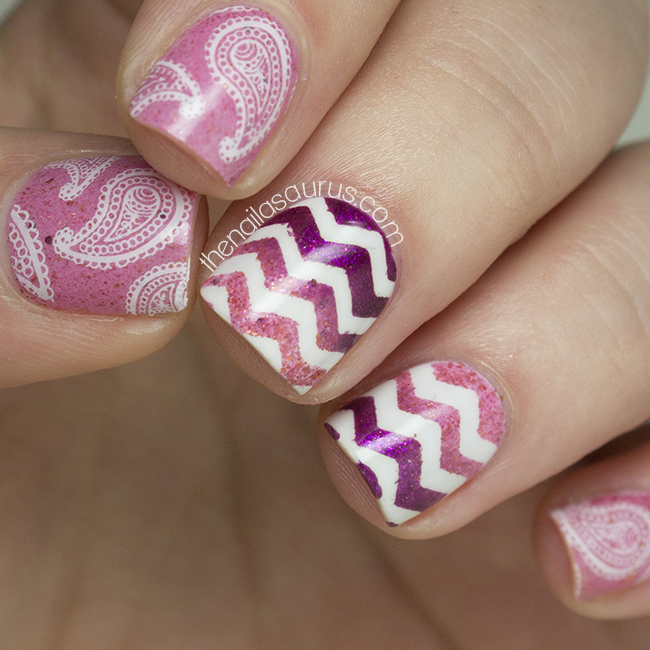
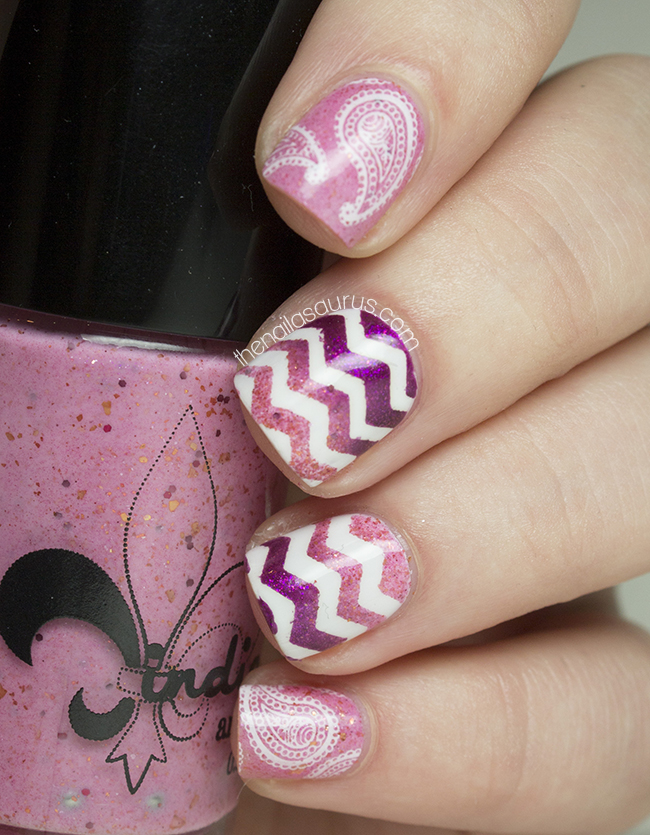
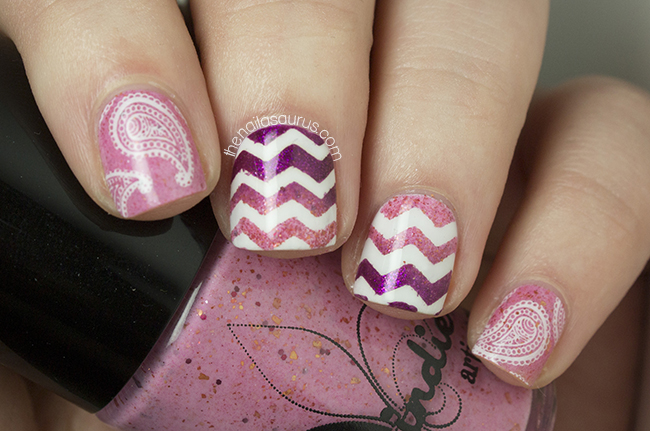
    For today’s Lacquer Legion nail art, I kept coming back to this idea of gradient with chevrons peeking through. I’ve only done this kind of nail art once before but every time I come across it on Instagram or Pinterest, I’m reminded how much I truly adore it.
    As far as I’m aware, this nail art was created by Storm and Stars and she has a great tutorial here.
    Wherever you share your Lacquer Legion mani today, don’t forget to use the hashtag #LLAdoration and get your links up on The Lacquer Legion’s Facebook page where we’ll be sharing our personal favourites throughout the day.

    For these nails, I used Jindie Nails K.I.S.S. (Keep It Simple Stupid) from the upcoming Recover-Me Collection as my base colour.
    I used Barry M White as the base for the nails where I was creating the gradient. I followed Storm and Stars’ tutorial using Jindie Nails K.I.S.S and Collection 2000 Minx to create the gradient.
    For the stamping, I used Bundle Monster Plate BM315 and BK Matte White
    It’s all topped off with a coat of Glisten and Glow HK Girl.
    Share:
    Stamping, Uncategorised

    Nailvengers Assemble: Mardi Gras Madness

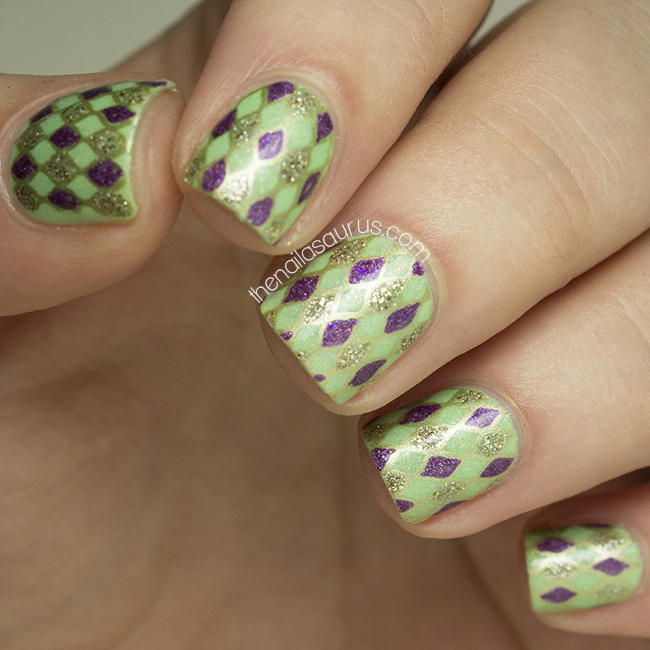
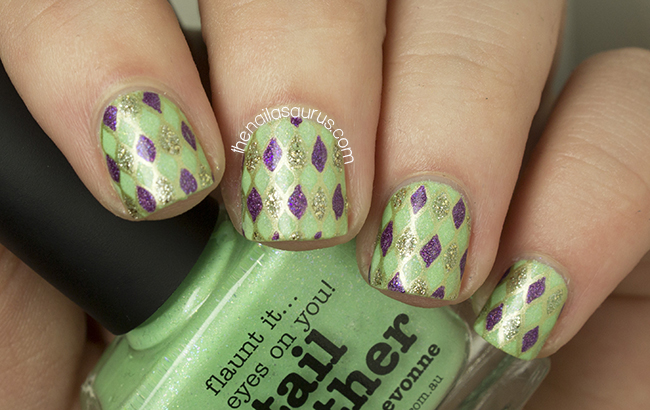
    With Mardi Gras coming up on March 4th, this month we decided to use the holiday as the inpiration for our Nailvengers Assemble challenge. After a failed attempt to create something with caviar (seriously, don’t even ask!), I decided to go for something simple using a few of the colours most often associated with Mardi Gras – purple, green and gold. 
    Don’t forget to check out my fellow Nailvengers’ Mardi Gras nail art- One Nail to Rule Them All, xAmeliax, Brit Nails and Lucy’s Stash!


    For this nail art, I used piCture pOlish Tail Feather as my base colour.

    I stamped on the fishnet design from Bundle Monster plate BM209 using Barry M Gold Foil.
    Using a nail art brush, I filled in some of the diamonds to create a harlequin look using piCture pOlish Hussy and Barry M Majesty.
    It’s all topped off with a coat of Glisten and Glow HK Girl.
    Share:
    Gradient, Holographic, Stamping, Uncategorised

    Valentine’s Day Holographic Gradient Nail Art

    You may notice that things are looking a little different around here. Over the weekend, I finalised the redesign on my blog and I really love the new look! It’s been a long time coming so it’s such a great feeling to tick it off my to-do list. I wanted to clean up all the clutter and make things a bit airier so I’m really pleased with the outcome and my favourite part is the bigger pictures! I hope you guys like it too but if you have any suggestions for functionality or features that could make it better for you to visit, look around and read, then I’d really like to hear your thoughts.
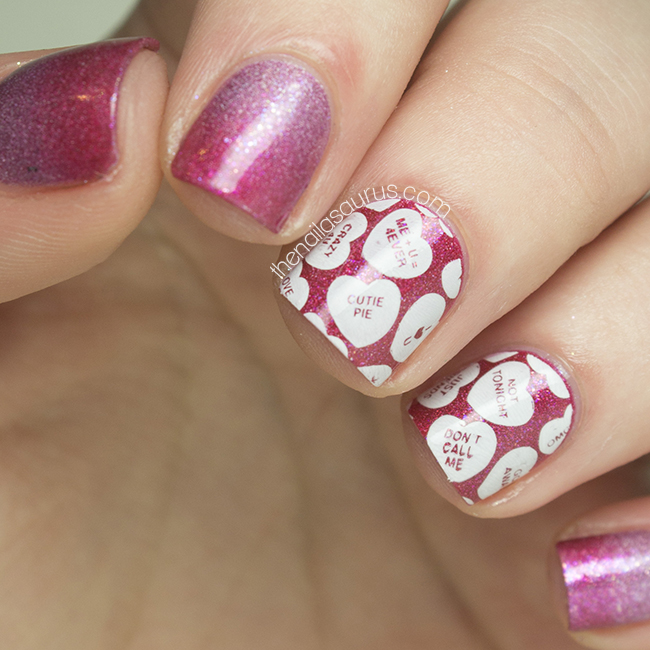
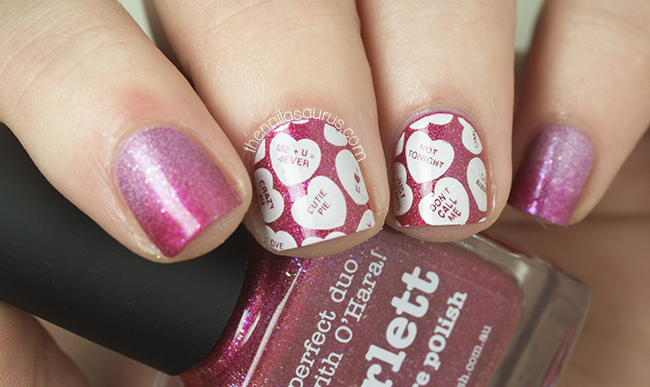
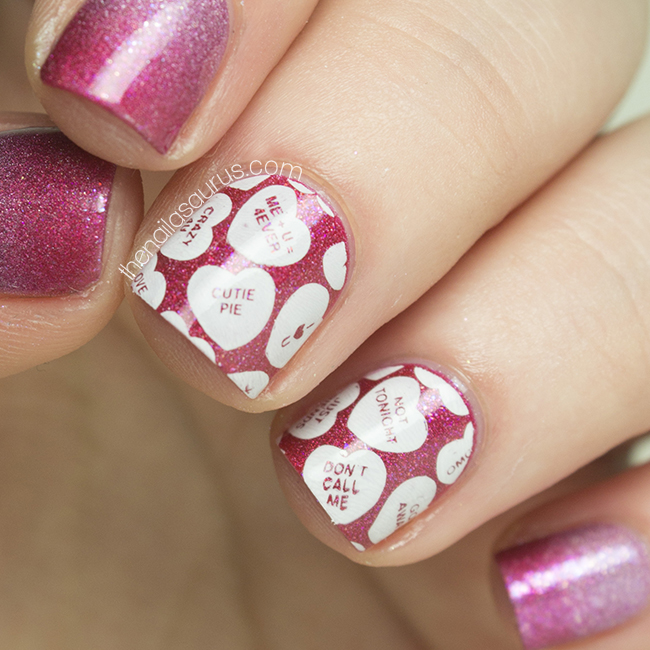
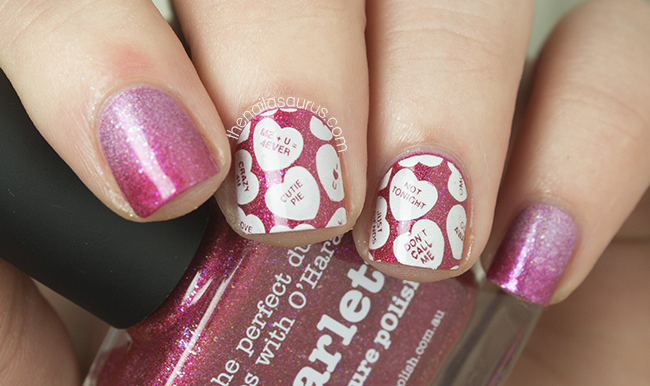
    Today’s nail art features a few from the new piCture pOlish collaboration collection – the Bijou Holos. These two shades are just so perfect for Valentine’s day so I thought I’d combine them for a sweet as sugar Valentine’s gradient.

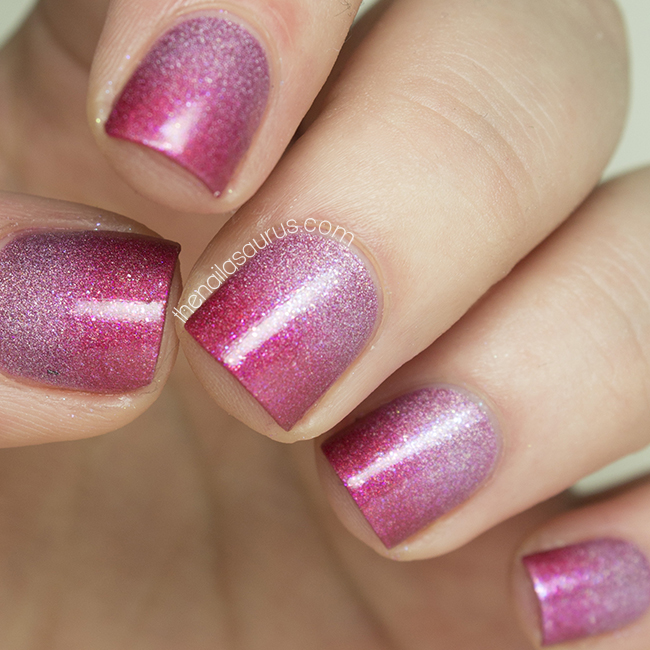
    I used piCture pOlish Pirouette for the base colour and then created a gradient using piCture pOlish Scarlett.  There’s gradient tutorial here.
    I had to remove the gradient from two of my nails after a failed stamping attempt so I painted them again with Scarlett and then stamped using Bundle Monster Plate BM421 and BK Matte White.
    It’s all topped off with a coat of Glisten and Glow HK Girl.

    Here are a few shots of the gradient before any nail art.

    Share:
    Glitter, Stamping, Uncategorised

    Nailvengers Assemble! New Year, New Technique

    Happy Friday everyone!! I don’t think I’ve ever been this happy to see the weekend. It’s been such a hectic week that I feel like I could sleep right through to Monday morning.
    I’m back today with another new project that I’m lucky enough to be a part of… Nailvengers Assemble! Myself and a few other British Nail Bloggers have gotten together to start a monthly challenge amongst ourselves and for January we’re going for New Year, New Technique which is fairly self-explanatory – pick something you’ve never tried before and do it!
    The ladies that will be joining me on this quest are the amazing bloggers behind One Nail to Rule Them All, Lucy’s Stash, xAmeliax and Brit Nails. We all met at the Cosmo Blog Awards back in October and have been in touch ever since. As inspiration and creativity was drying up for us towards the end of last year, we decided we should start setting ourselves a monthly prompt and work as a group to motivate each other and get those creative juices flowing again!
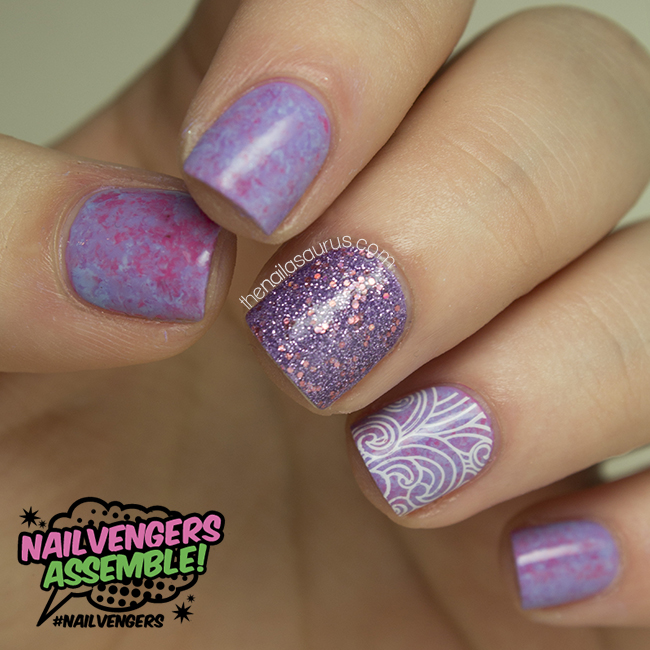
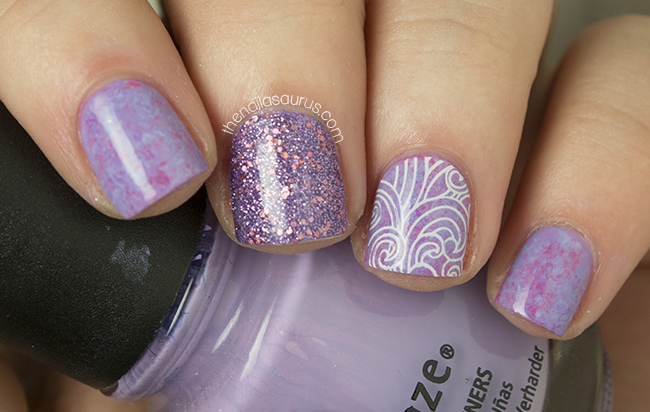
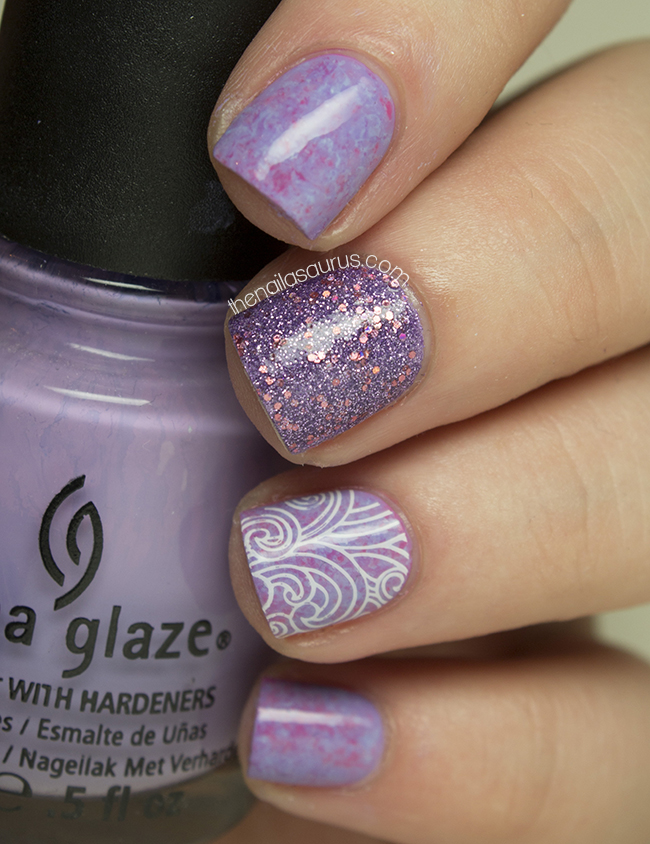
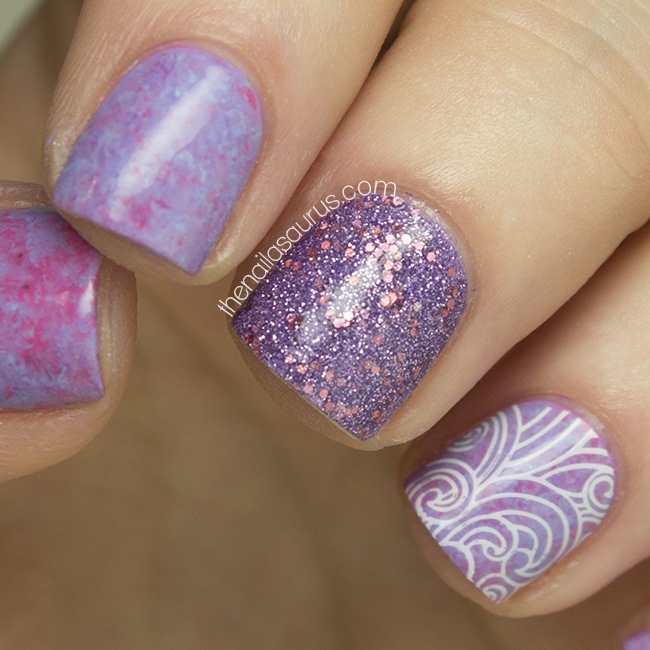
    For my New Technique, I’ve gone for Saran Wrap nails. It’s such a simple technique and you can achieve some amazing looks with it, yet I’ve never tried it before. I followed Amelia’s tutorial for this but with a pastel colour scheme and I really like the way they turned out. I couldn’t resist adding a bit of stamping over the top and a glitter accent too!

    I used China Glaze Tart-y For the Party as my base colour. Then I got down to the saran wrap-ing with Collection Think Pink and China Glaze Fade Into Hue. Check out the tutorial on xAmeliax’s YouTube Channel.
    The glitter on my middle finger is Sally Hansen Be-Jeweled and I stamped on the design from MoYou Fairytale Collection 02 plate using BK Matte White.
    It’s all topped off with two coats of Glisten and Glow HK Girl.
    Share:
    Gradient, Stamping, Uncategorised

    Purple Gradient Nail Art With Stamping

    My nails and cuticles are a bit worse for wear recently so I’ve been drowning them in cuticle oil and Nail Butter whenever I get the chance. They’re drink it up like there’s no tomorrow and I’m hoping they’ll be suitably quenched very soon. Today’s nail art is nothing you haven’t seen before but it’s a simple classic that will quite possibly always be my bread and butter!

    Purple Gradient Nail Art with MoYou Stamping

    Purple Gradient Nail Art with MoYou Stamping
    I created the gradient using Revlon Cloudy and a very old Sally Hansen Lavender Colour. There’s a gradient tutorial here.
    I topped a few fingers with China Glaze Fairy Dust.
    The stamping is from MoYou Plate Tourist 07 and a couple of designs from the Fairytale collection but those plates don’t seem to be in stock at the moment. I used BK Matte White.
    It’s all topped off with a coat of KBShimmer Clearly On Top.

    Purple Gradient Nail Art with MoYou Stamping

    Purple Gradient Nail Art with MoYou Stamping

    Purple Gradient Nail Art with MoYou Stamping

    Purple Gradient Nail Art with MoYou Stamping
    Share:
    Glitter, Gradient, Stamping, Uncategorised

    NDLacquers Aurora Swatch with Nail Art

    Today I found out that I topped The Crumpet’s Reader poll for ‘Nail Art Blog of the Year‘ and I want to thank everyone that put in a good word for me – you know who you are, you sly dogs! And of course, a big thanks to Debbie for holding the poll in the first place! To be voted top of the poll by readers is such an honour because you guys really know your stuff when it comes to nail blogs and if it weren’t for such a tight, amazingly friendly and accepting community, none of us bloggers would be here! So, thank you for a brilliant end to the year.Today’s nail art features a gradient (it’s there I promise!) and a pretty glitter from NDLacquers called Aurora. It’s one of three in Natali’s Holiday Collection but it’s an all-year-rounder in my book. I’m only wearing one coat in this swatch and the coverage is fantastic. This is one indie brand you’re going to want to keep your eye on in 2014 – I can feel it in my bones!

    I used two coats of Revlon Cloud as my base colour and created a super subtle gradient using Maybelline Ceramic Blue. Gradient tutorial here.

    The stamping is from MoYou Plate Pro 04. This plate is no longer on the site but the same design is available in XL size on the Pro 07 Plate. I stamped using BK Matt White.

    The glitter is NDLacquers Aurora and I topped it all off with two coats of Rica Glossy Glam.


    Share: