Follow:
Browsing Category:

Nail Art

    Freehand, Uncategorised

    Why Are You Copying Yourself?

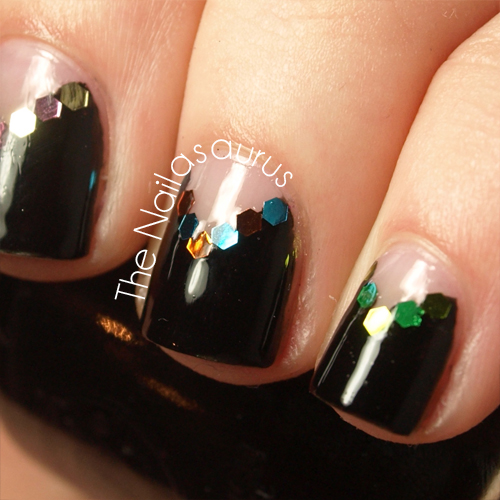
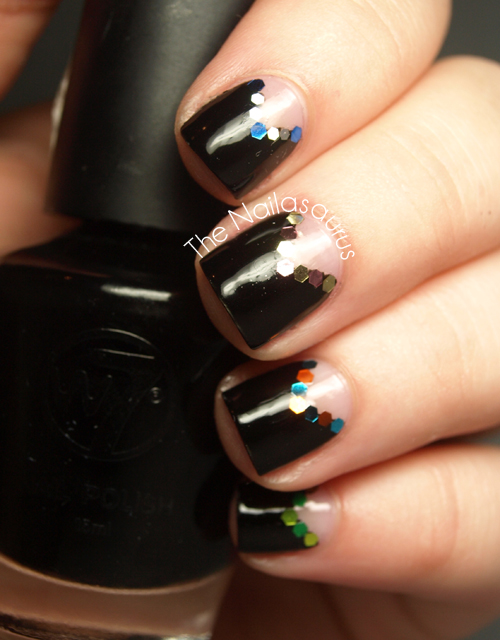
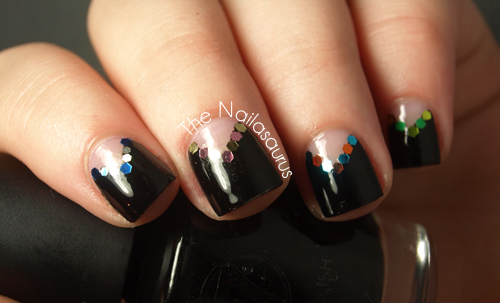
    It’s true. I’ve completely plagiarised myself. This mani is very nearly an exact copy of one that I did just 3 weeks ago. What can I say? I love black and I love glequins and I just got dayum love this style of manicure!!

    I didn’t use a base colour, just a base coat of OPI Nail Envy. I used a W7 Black and a striping brush to create the chevrons at the base of my nail, then filled in the rest of the space using the brush straight from the bottle.
    To make the glequins stick, I painted on a coat of clear polish and attached them while it was still tacky using a toothpick dipped in said clear polish to make it tacky.
    Finally, I added a few top coats and it was all good to go!

    TwitterBloglovin’Tumblr

    Share:
    Stamping, Uncategorised

    Pink Wednesday: Get Your Pink Papers!

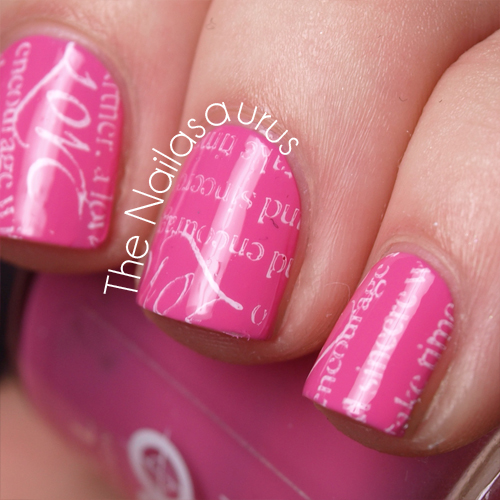
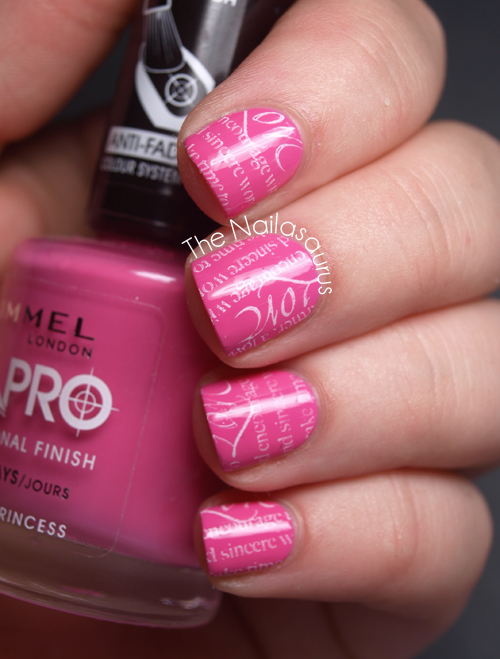
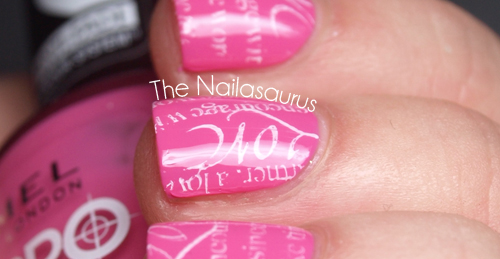
    It’s been an age since you saw any pink here and even longer since it was a Pink Wednesday so I thought I’d crack out my trusty Rimmel pink and finally try out this stamp. I’ve always loved newspaper nail art but never managed to successfully recreate it myself so this stamp has had me very excited. I think it’s a pretty good alternative to the real thing!

    The base colour is quite possibly my favourite pink – Rimmel Urban Princess – and I used Bundle Monster plate BM311 with Sally Hansen Insta Dri Whirlwind White.

    TwitterBloglovin’Tumblr

    Share:
    Freehand, Glitter, Uncategorised

    Doooo You Have The Time?

    I used this colour combo in my Union Jack frenzy on Sunday and although it was one of the duller combinations, it was actually my favourite nail. I’ve always loved Blue and brown together although it has to be the right brown and blue. This tealy, aquaish blue works well but I can’t imagine it would look so good with a navy.

    The criss cross pattern is a variation on a WAH Nails design – Basket Case. The WAH design uses three lines in each stripe but I’ve only used two because I’ve only got nubbins at the moment! The glitter was a last minute addition and I’m so glad I put it in there!

    There are a few quick announcements I want to make! I finally have an FAQs page now that I will be adding to as time goes by. It’s something I’ve been meaning to do for a while now so it’s like a huge weight off my shoulders!
    It’s been over two weeks since I asked if anyone wanted to pin for me and the response was great. I’ve been a very bad blogger and I’ve still not finished that little project. Turns out it’s way harder to organise than I thought it would be! I will finish that all up very soon so I’m very sorry if you’re still waiting to hear.

    I used Cult Nails Tulum as my base colour and painted on the lines with GOSH Pool Party and a striping brush. I added some Barry M Blue Glitter to the accent nail and finished with a two coats of Cult Nails Wicked Fast.

    TwitterBloglovin’Tumblr

    Share:
    Freehand, Tutorial, Uncategorised

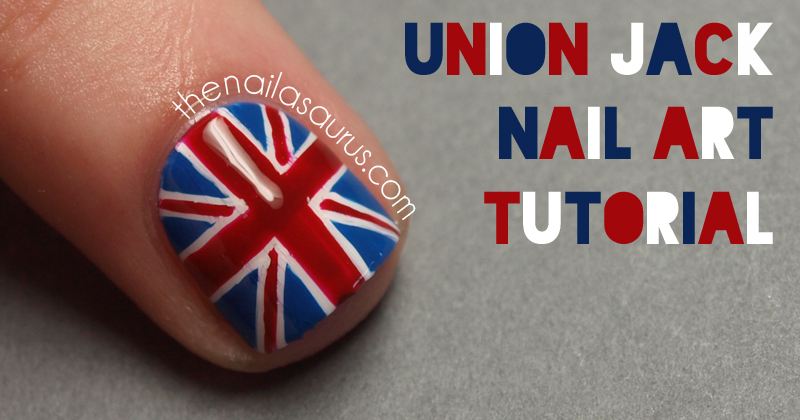
    Union Jack Nail Art Tutorial

    You’ve seen the Union Jack a.k.a. the flag of the United Kingdom here many times before. It comes in handy on patriotic occasions such as the Queen’s Jubilee and now the Olympics are finally here. I’ve been thinking about doing a tutorial for while and I figured now would be the perfect time!
    It’s actually way easier to do than it looks because it’s completely made up of straight lines. I’m sure there are lots of other ways to do this but this is the way I’ve always done it! Enjoy!
    Union Jack British Flag Nail Art Tutorial

    Union Jack British Flag Nail Art Tutorial
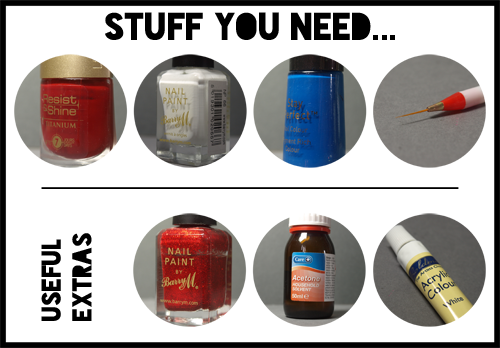
    Before you start, make sure you have everything you’re gonna need already in front of you. You’ll need:
    Red Nail Polish
    White Nail Polish
    Blue Nail Polish 
    A Nail Art Brush which you can buy here and here
    If you want to add some sparkle, you can also grab a glitter polish.
    Acetone will work much more effectively than nail polish remover for cleaning the brush and also when it comes to cleaning up at the end.
    Acrylic paint is more opaque than nail polish and some people prefer to use it in their nail art. In this tutorial, I just used a tiny bit of white paint towards the end.
    Ready? Here we go!
    Union Jack British Flag Nail Art Tutorial
    Step 1
    Paint on a base of white. Try to keep the surface as smooth as possible with steady brush strokes.
    Union Jack British Flag Nail Art Tutorial
    Step 2
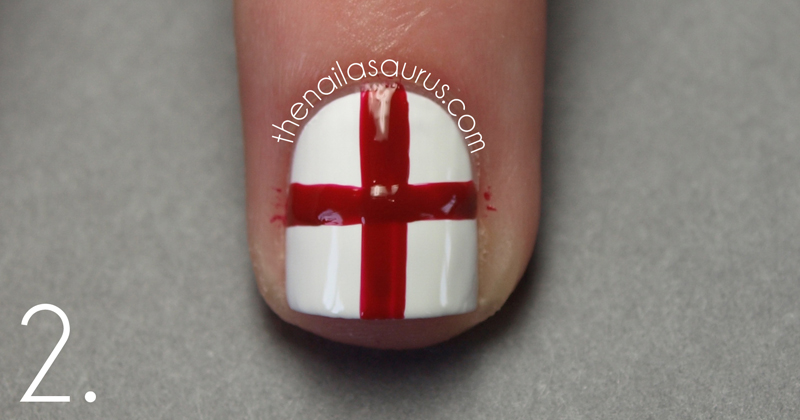
    When your base colour is completely dry, use the red nail polish and your nail art brush to paint on a thick cross. Start with a vertical line straight down the middle and then go across.
    Union Jack British Flag Nail Art Tutorial
    Step 3
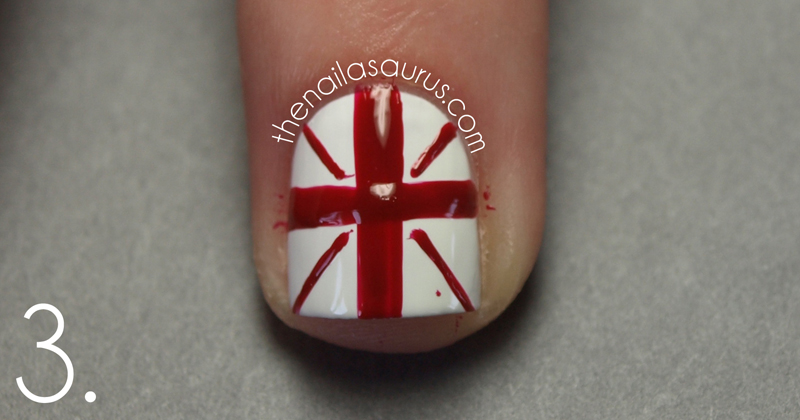
    Add some smaller line going from the centre outwards. Try not to touch the thick cross if you can avoid it.
    Union Jack British Flag Nail Art Tutorial
    Step 4
    Fill in the 8 blank triangles you are left with. Again, try not to touch any of the details that are already there but don’t worry if you do, it can be tidied up later.

    Union Jack British Flag Nail Art Tutorial
    Step 5
    There are a lot of steps rounded up in to this one. Let me give you a run down.
    If you are going to add glitter, this would be the time to do so! Just apply it carefully on top of the existing colours with the nail art brush.
    When everything is dry, take some white acrylic paint or nail polish on a nail art brush and go over the white lines to tidy up any mishaps and get crisper lines.
    Using a small paintbrush dipped in acetone, run it around your cuticles to clean up the bits of polish that have been left there and leave you with a perfectly round edge.
    Finally, add a few coats of your favourite top coat to make it shiny, make it last and smooth out the surface which will probably be a bit bumpy at this point.
    All done!

    Union Jack British Flag Nail Art Tutorial
    Share:
    Freehand, Uncategorised

    Red, White and Blue.. and also Purple, Pink, Green and Orange!

    It seems I have come down with a case of Olympic Fever to go with my busted ankle this weekend! I think a lot of Brits, including myself, were growing sick of hearing about the games during the run up, by which I mean the past 8 months or so. I just felt kinda like I was being force fed all this marketing mumbo jumbo left right and centre. But as I said yesterday, now that it’s here I love it! Although equally, I will be happy for the country to resume normal service when the excitement is passed.
    I’ve made a Union Jack Nail Art Tutorial (which will be up a little later today) and as soon as I’d finished that one nail I wanted to do more and more so I picked up some crazy colours and just committed!
    Union Jack Nails

    Union Jack Nails
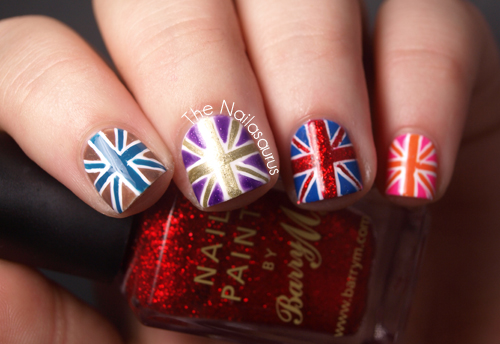
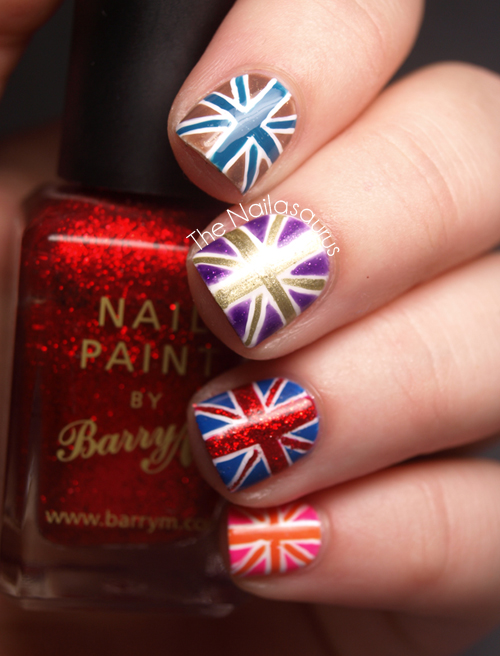
    I used Barry M White as a base on every nail. The extra colours, from thumb to pinky, are:
    Cult Nails – Manipulative and Sally Hansen Xtreme Wear – Green With Envy
    GOSH – Pool Party and Cult Nails – Tulum
    Barry M -Gold Foil and Sinful Colors – I Love You
    L’Oreal – Unnamed Red and No7 – Pool Party with Barry M – Red Glitter
    Sally Hansen Xtreme Wear – Sun Kissed and BYS – Pink Panic

    Union Jack Nails

    Union Jack Nails

    TwitterBloglovin’Tumblr

    Share:
    Freehand, Uncategorised

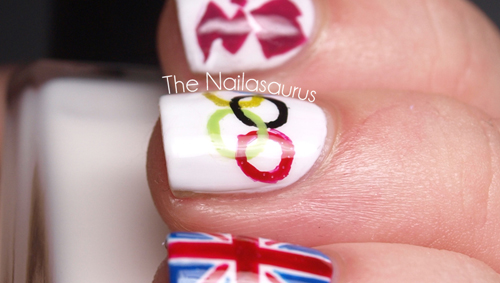
    Olympics Nails!

    Most of you will have probably seen the opening ceremony by this time and some of you may even be watching live coverage of the 2012 Olympics right now!
    I was watching the coverage of the opening ceremony live last night and I felt so patriotic. I’m sure you’ll all agree that it was a fantastical sight to behold, I really wish I could have there! I was tweeting throughout and anyone reading could tell that I was getting a bit too excited! James Bond, Mr Bean and even Her Majesty The Queen made some hilarious appearances. 
    As for the games themselves, I normally only ever watch the Gymnastics – I’ve been watching the men’s qualifiers most of the morning and was happy to see Team GB take an early lead there. I might tune in for some field events this year too though and see if anything else can peak my interest. 

    Loads more pictures under the cut!

    There are too many polishes to list them all but the white base is Barry M White and the gold is Barry M Gold Foil. I used a striping brush for all the freehand details.

    TwitterBloglovin’Tumblr

    Share:
    Stamping, Uncategorised

    Mernails

    My obsession with glequins is still going strong! But as you know by now, I have to return to stamping every now and then because that’s where this whole nail art/blog thing started. So I just picked a stamp – one of my all time favourites from the 2011 BM set – and figured out after where I could put the glequins on!

    Stamping Plate: Bundle Monster BM209
    Base Colour: Barbara Daly Purplicious
    Stamping Colour: Barry M Lilac Foil
    Holographic Glequins from Born Pretty Store
    Top Coat of Cult Nails Wicked Fast

    TwitterBloglovin’Tumblr

    Share: