Follow:
Browsing Category:

Nail Art

    31 Day Challenge, Gradient, Uncategorised

    31DC2012: Day 18 Half Moons

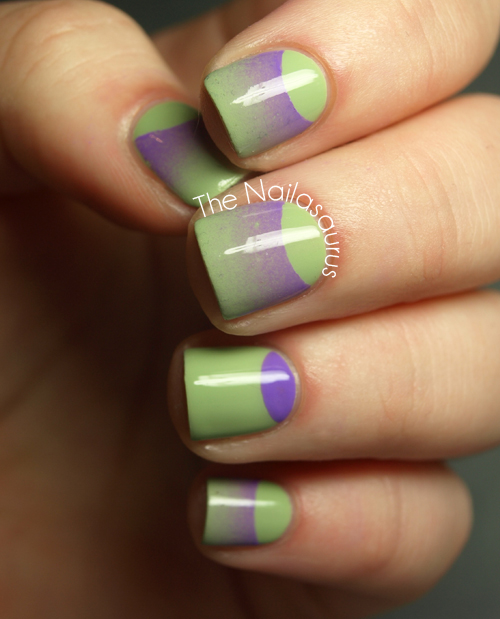
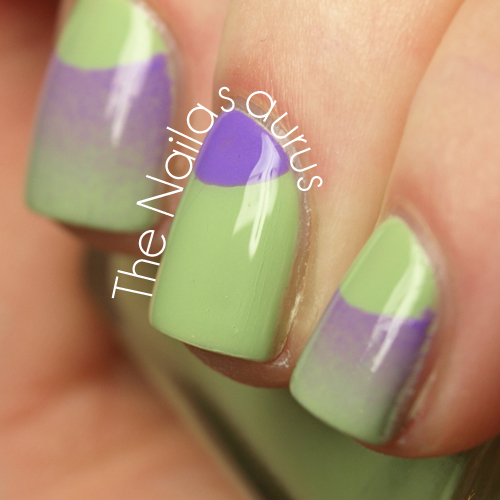
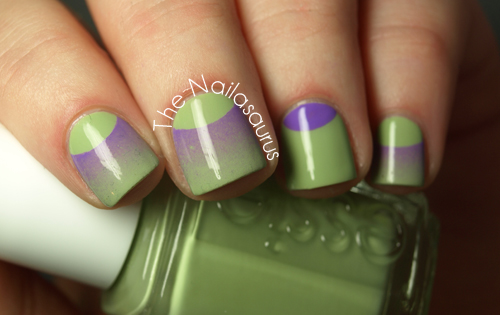
    For day 18 of the challenge, we have to create half moon manicures. This is another day that I’ve been really looking forward to since I saw this half gradient, half half moon creation at Globe and Nail. I stole the Purple and Green colour combination from last year’s Day 18 manicure! I never know what to pair with green except for more green. Then my brain always skips to ‘What’s green?’ Grass and HULK… ‘What colour does he wear?’ PURPLE!
    You can see Christina’s Half Moon Manicure here and Rie’s is here!

    I used Essie Navigate Her as my base colour and applied a coat of Seche Vite to make it dry quickly.
    Next I stuck Hole Reinforcers to my nails at the cuticle to mark off the half moon shape before creating a gradient with Julep Anne and a little more Navigate Her (gradient tutorial here).
    Finally, I used a nail art brush with a bit of Julep Anne just to fill any any gaps on the moons and topped it off with two coats of Seche Vite.
    TwitterBloglovin’Tumblr

    Share:
    31 Day Challenge, Freehand, Glitter, Uncategorised

    31DC2012: Day 16 Tribal Print Nails

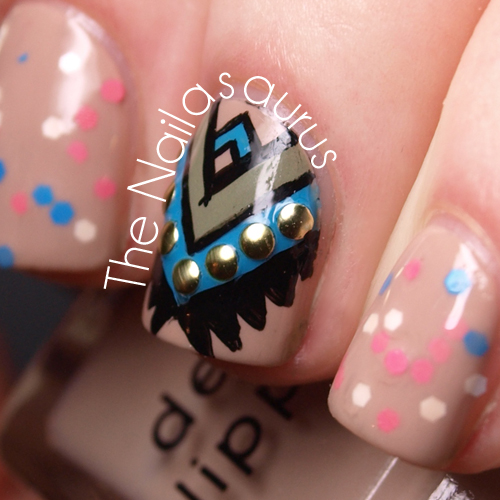
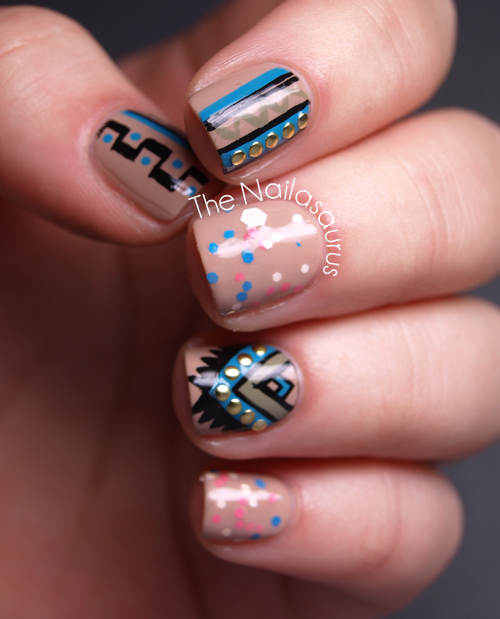
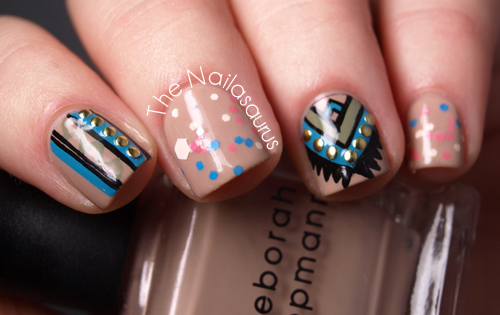
    Day 16 of the 31 Day Challenge calls for Tribal Nails. I love tribal nails but they take a hell of a long time to do! So I copped out and cooked up some glitter sandwiches on a few of my fingers when it was getting too close to bed time.
    I have a confession to make. Last week I cut my cuticles. I really couldn’t tell you why, I had the clippers in front of me so I just did it. It was one of those decisions I regretted almost instantly, like while I was still sat there cutting away at my fingers, and yet I still couldn’t stop doing it. I am never going to cut my cuticles again.
    There’s not really a bottom line to this story, I just thought it was something noteworthy to write down on my nail blog! I’ve always been an advocate of moisturise and push and since my bad decision last week, I feel stronger than ever about it. My favourite post about cuticle care is still this one from Lacquerized’s archive. Perhaps it’s time I finally wrote my own.

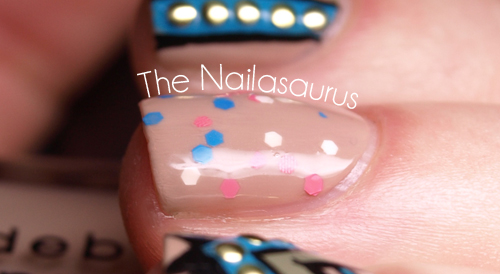
    I used three coats of Deborah Lippmann Fashion* as my base colour. The colours in the tribal patterns are NYC Water Street Blue*, MUA Shade 23 and Black Acrylic Paint. I used a small striping brush to paint the details. 
    The studs are from Born Pretty Store (SA5X31 to get 10% off).
    The glitter is JENsations Bubble Gum with a coat of OPI Samoan Sand over the top to create a sandwich.
    I finished it all off with two coats of Seche Vite.

    TwitterBloglovin’Tumblr

    Share:
    31 Day Challenge, Stamping, Uncategorised

    31DC2012: Day 15 Delicate Print

    Good news. We’re halfway through the challenge and so far, we’ve only suffered a few minor hiccups! I’m back on track now so tomorrow’s post should put me back in sync with the schedule. Hooray!
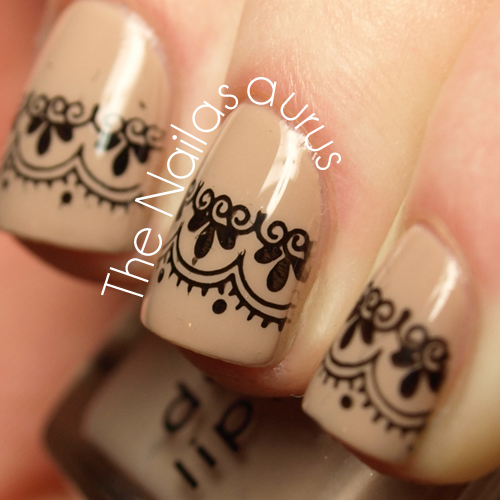
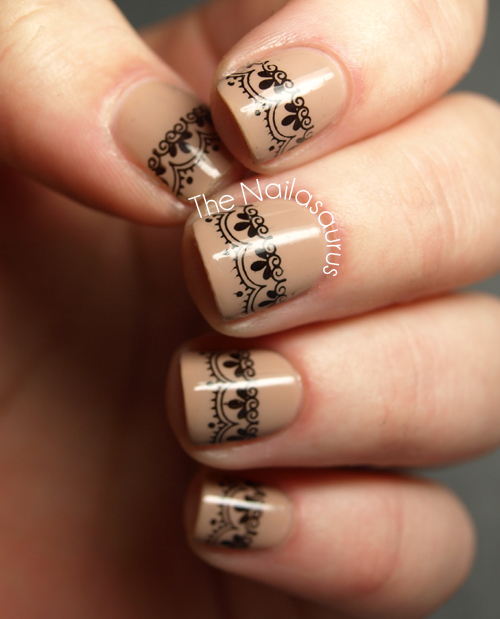
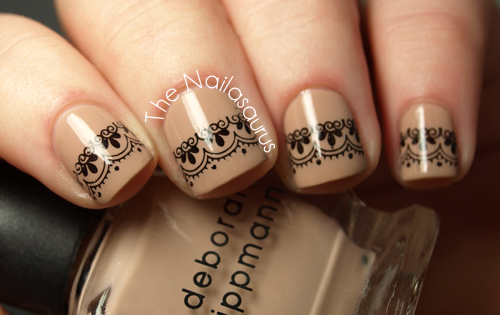
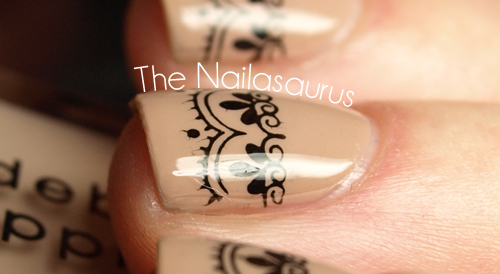
    Day 15 calls for delicate print so I reached for my favourite Konad plate, M57, to print on this lacy design. There’s something about the nude and black colour combination that I associate with, like, eternal elegance or something. Whatever, I just love it!
    Don’t forget to visit Cris and Rie for some delicate print! 

    I used Deborah Lippmann Fashion* as my base colour. I’ve worn this colour every day since it arrived on Saturday! I’ve been finding it hard to choose plain colours that I want to wear recently so I keep going back to my fail safe black (A-England Lancelot) and nudes a lot so this couldn’t have come at a better time. It needs three coats to be opaque but it’s totally worth it.
    I stamped the pattern using Konad Plate M57 with W7 Black before topping it with a coat of Seche Vite.

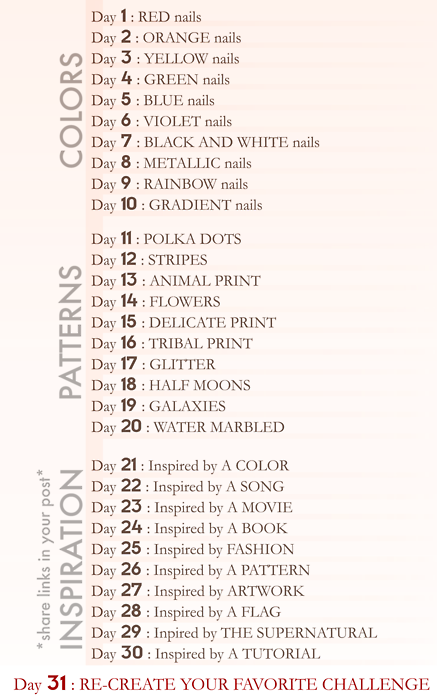
    Here’s a reminder of what the challenge has left in store…

    TwitterBloglovin’Tumblr

    Share:
    31 Day Challenge, Freehand, Uncategorised

    31DC2012: Day 14 Flowers

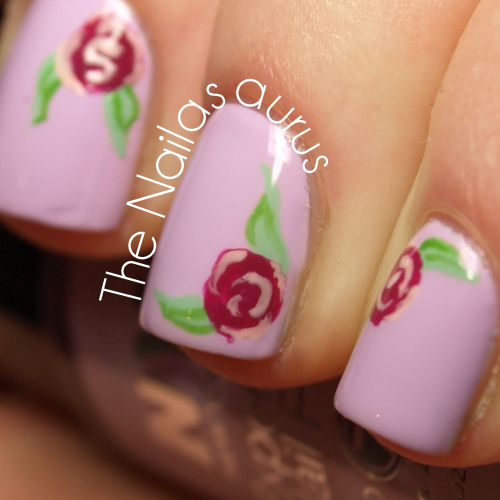
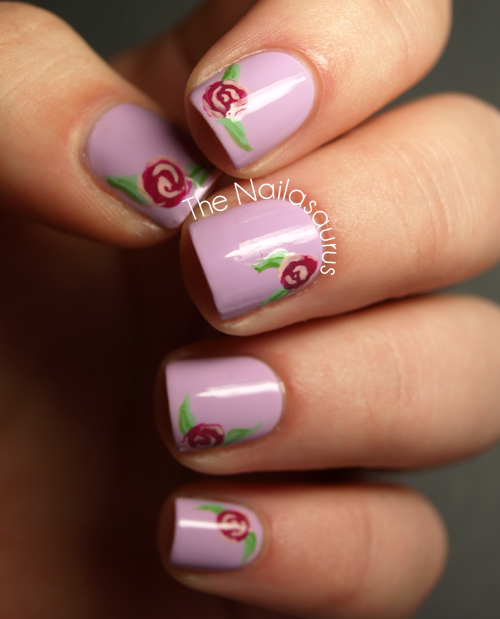
    Today I’m still catching up with my 31 Day Challenge posts. I’m only a day behind and planning to be back on track by Tuesday. Day 14 calls for flowers and I’m really not a flowery nail art kind of girl. However, I do love the Cath Kidston style nail art I’ve seen around so I thought I’d finally give that a try. It’s way easier than I always thought it would be!
    It wasn’t until I was done that I noticed it really reminds me of this water decal mani from January 2011. It’s funny that I can remember almost every manicure I’ve ever posted on this blog even though there are hundreds of them!
    Let Them Have Polish and Nails and Noms will also have some flower nail art for you!

    I used NYC Lavender Cupcake* as my base colour. Using a nail art brush, I painted on the outline of the leaves using NYC Mint Macaroon* and the circles of the flowers using BYS Purple Rain. Then I took a liner brush to draw the details with NYC High Line Green* and BYS Pretty as a Peach*.
    Finally, I topped it all with one coat of Seche Vite.

    TwitterBloglovin’Tumblr

    Share:
    Freehand, Stamping, Uncategorised

    Happy Halloween!

    I’ve been so busy recently but I managed to fit in some time for a Halloween manicure! Last night, I carved my first pumpkin and I wasn’t planning anything special tonight but a few friends and I have decided to go out. I have a red cape and some devil horns and that’s about as far as my dress up skills stretch!
    I also have some news about my lighting. Well, not news so much but here’s the story… my desk lamp which is the one I use for photographing my nails too has been on it’s death bed for a while and finally popped it’s clogs a few days ago. Finding a new lamp became priority number one and my Mum recommended I find out what Argos are selling. Turns out that lamp was in fact from Argos and they still sell it. Oh, and it’s a bargain! It’s £19.99 and comes in Black and Silver
    I never knew the source of my magical lamp before because I just found it lying around in the house. When I used to get questions about it, all I could say was it’s a fluorescent desk lamp but now you know the gory details!

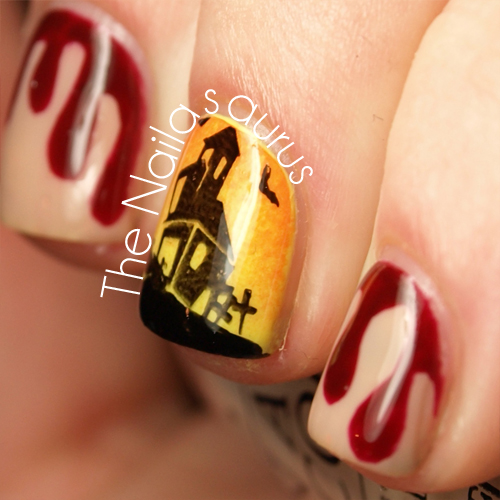
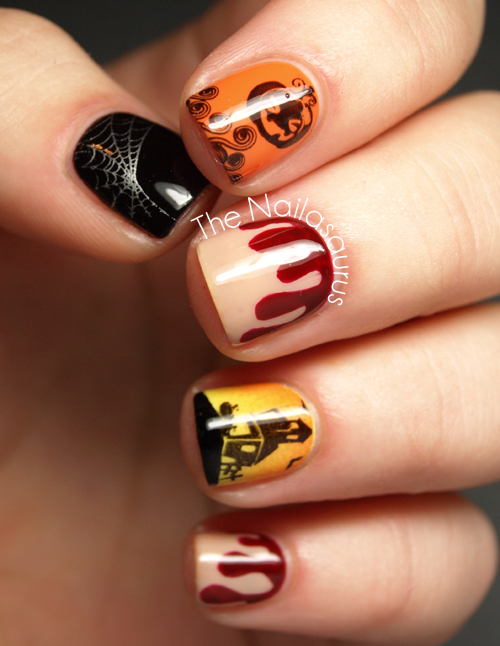
    My thumb is A-England Lancelot as a base and the cobweb from Bundle Monster plate BM13 with Barry M Silver Foil.
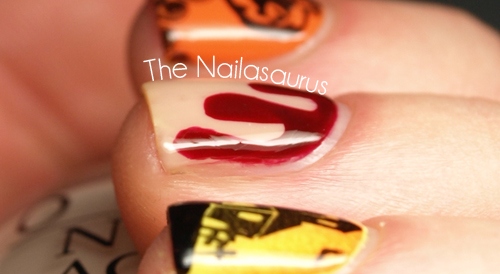
    The blood drips were created with OPI Samoan Sand as a base colour and Cult Nails Quench applied with a nail art brush to create the drips.
    The haunted house and pumpkin are from Bundle Monster plate BM305 and stamped using W7 Black. The orange is Sally Hansen Xtreme Wear Sun Kissed and the yellow is NYC Lexington Yellow*.

    TwitterBloglovin’Tumblr

    Share:
    31 Day Challenge, Freehand, Uncategorised

    31DC2012: Day 12 Stripes

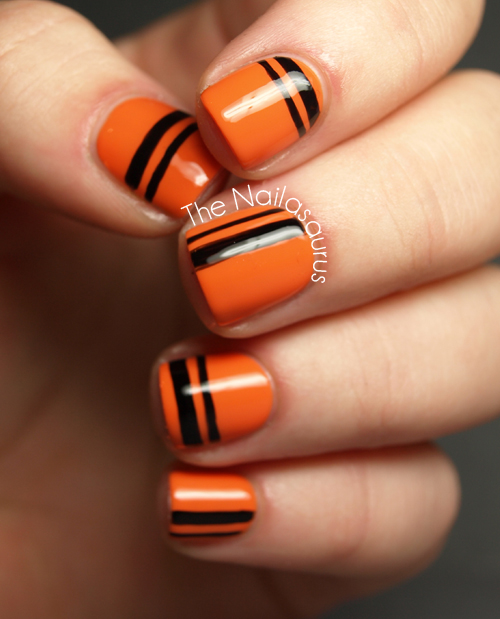
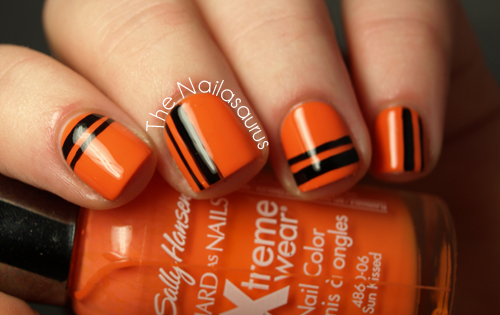
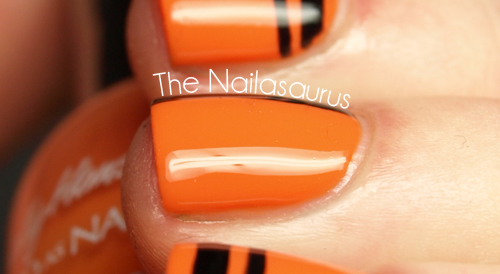
    It’s the day before Halloween and I’m only just posting my slightly Halloweeny themed manicure. Much like last year, this one was also very last minute. I needed some stripes for Day 12 of the 31 Day Challenge and I needed some colours so I went with Orange and Black, the most Halloweeny colours I could think of.
    Hopefully, I’ll have a proper Halloween manicure up tomorrow but we’ll have to see how things go!
    As always, Rie at Nails and Noms and Cris at Let Them Have Polish will have some killer manis for you today too!

    I used Sally Hansen Xtreme Wear Sun Kissed as my base colour and freehanded on the stripes with a Nail Art Brush. I topped it with two coats of Seche Vite.

    TwitterBloglovin’Tumblr

    Share:
    31 Day Challenge, Gradient, Uncategorised

    31DC2012: Day 10 Gradient Nails

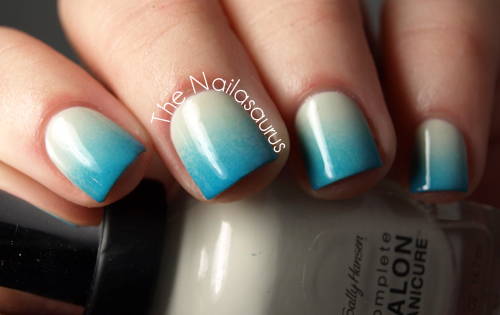
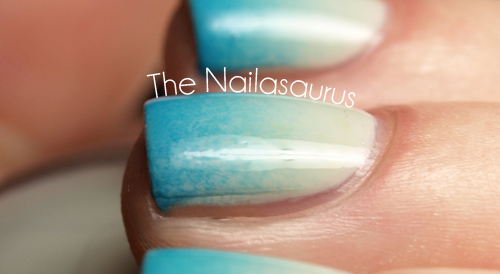
    So I don’t know if you heard, but gradients are kind of a big deal around here! Since I popped my gradient cherry, I just can’t get enough of the things. I think this might be my favourite colour combination yet. These were just the two polishes within reaching distance at the time but they work together perfectly together and this is one of my favourite combos to date.
    Don’t forget to pop over to Cris and Rie‘s blogs to see their gradients today!

    I used Sally Hansen Ion as my base colour. Before I started on the gradient I applied Liquid Pallisade* around my nails to prevent too much mess. I created the gradient using NYC Water Street Blue, following this tutorial. I finished it off with two coats of Seche Vite to smooth it over.

    TwitterBloglovin’Tumblr

    Share: