
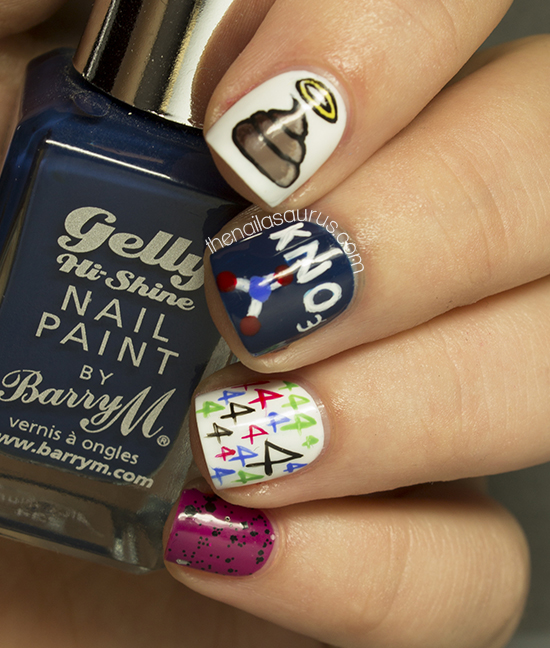
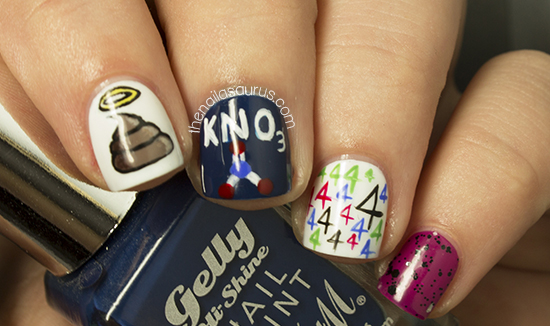
Considering how much I love movies and the amount of them I watch, I had a really hard time choosing one which inspired some nail art! I eventually decided on 21 Jump Street. It’s one of my favourite comedies from recent years and I re-watched it (for the fourth time) last week so it was fresh in my mind. There are a couple of images from the movie that stood out so those are the ones I put on my nails. And yes, that right there is a pile of dung. Perhaps quite a surprising sight if you haven’t seen the movie!
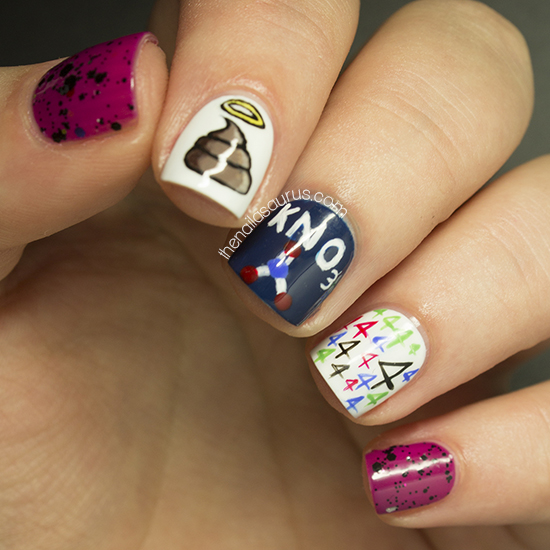
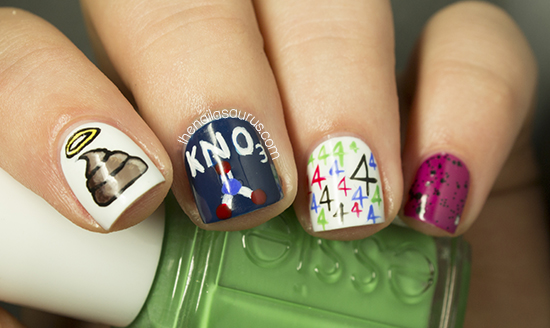
I used quite a selection of colours for the details in this mani but the bases are Barry M White, Barry M Blue Plu, and NYC Wild With Passion. The glitter on my pinkie and thumb is Nail Lacquer UK Dog Days. The glitter has nothing to do with the movie, I just felt like wearing it (and was out of ideas… sssshh!).

Day 23: Inspired by a Movie 2012
Day 23: Inspired by a Movie 2011
See what’s coming next in the 31 Day Challenge 2013!
Twitter ♥ Bloglovin’ ♥ Tumblr
.jpg)
.jpg)
.jpg)
.jpg)





.jpg)
.jpg)
.jpg)
.jpg)