Follow:
Browsing Category:

Galaxy

    Galaxy, Tutorial, Uncategorised

    Galaxy Nail Art Tutorial

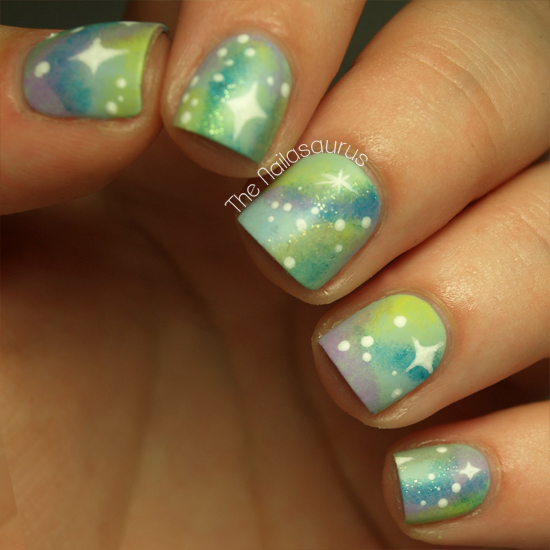
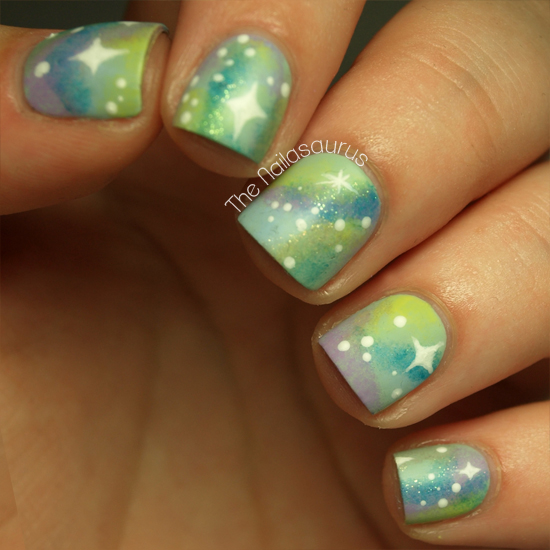
    Since you guys loved my Pastel Galaxy Nails so much I thought I’d make a tutorial to show you my process. There are a few different ways to do it but this is my method of choice!

    I’m using mostly pastel polishes for this look. From left to right, the pastel polishes I used are Sally Hansen Green Tea, NYC Raindrop, China Glaze Tart-y for the Party and NYC Lexington Yellow.

    Next up are the shimmers, Essence Choose Me and Essence Irreplaceable. I think that a bit of sparkle is really important to get the nebula look. Holographic polishes, very fine glitters and shimmery polishes all make great additions to galaxy nails.

    NYC Matte Me Crazy is my matte top coat of choice at the moment.

    You’ll also need a make-up sponge and a pair of tweezers. And the things I forgot to photograph (doh!)… white nail polish or acrylic paint, a nail art brush and a dotting tool.

    Start by painting on your base coat and letting it dry completely.

    Tear off a small piece of the sponge and grip it in the tweezers.

    I dab out my colours on to a sheet of plastic and dip the sponge in but if you prefer you can paint the polish straight from the bottle on to the sponge. You only need a small amount on the sponge, it’s best to build up the colour than to splat on too much straight away!
    Use a fresh piece of sponge for each colour.

    Start adding your colours by dabbing the sponge on to your nail in random patterns. I started with NYC Lexington Yellow.
    Next up is NYC Raindrop.
    And the last creme, China Glaze Tart-y for the Party. I sometimes go through my selection of colours twice to make sure I get a really good mix of them on the nail.

    Add just a little bit of shimmer here and there.

    I do the shiny stars by painting on a little cross, then joining up all 4 points with a curve.

    Using a dotting tool, add some smaller stars of different sizes.

    I always use a fast drying top coat to smooth everything over and make the whole thing dry. At the moment my favourite is No7 Stay Perfect Top Coat.
    I clean up the messy bits around my cuticles using a nail art brush dipped in acetone.

    Finally I added a coat of NYC Matte Me Crazy

    TwitterBloglovin’Tumblr

    Share:
    Galaxy, Uncategorised

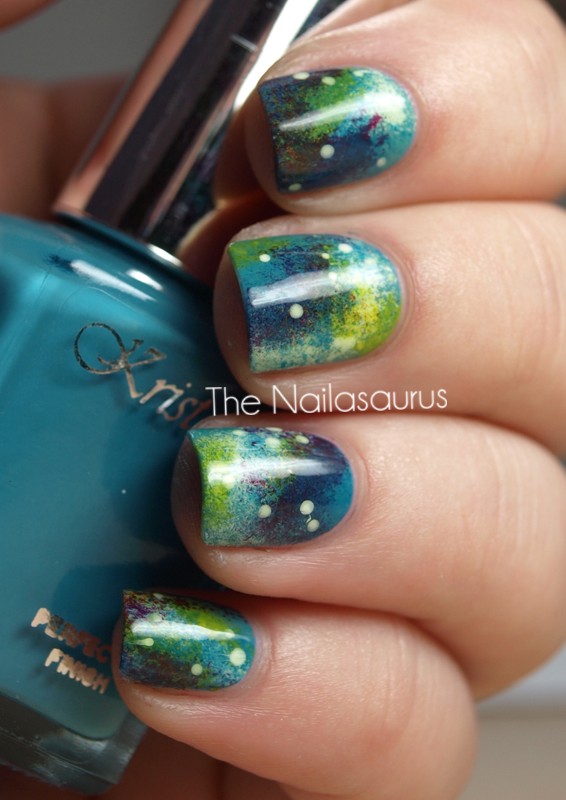
    Pastel Planets: Matte Nebula Nails!

    Pastel galaxy nails have been on my to-do list for the longest time. Why it took me so long to do them… who knows?! I think I was sceptical that it wouldn’t work without a dark polish underneath but I proved myself wrong there. I ♥ these nails so much… a new obsession has definitely been sparked here!


    1. I started with a base of Sally Hansen Green Tea.
    2. Using small pieces of sponge, I dabbed on China Glaze Tart-y For The Party (pastel purple), NYC Raindrop (pastel blue), Essence Choose Me (blue shimmer) and Essence Irreplaceable (nude shimmer) to create the nebula effect.
    3. I used White Acrylic Paint with a dotting tool and nail art brush to create the stars.
    4. I used a coat of No7 Stay Perfect Top Coat to dry it all through and then topped it with NYC Matte Me Crazy for the matte finish.

    Here’s the look before the matte top coat. I definitely prefer the matte version, what do you guys think?

    TwitterBloglovin’Tumblr
    Share:
    31 Day Challenge, Freehand, Galaxy, Uncategorised

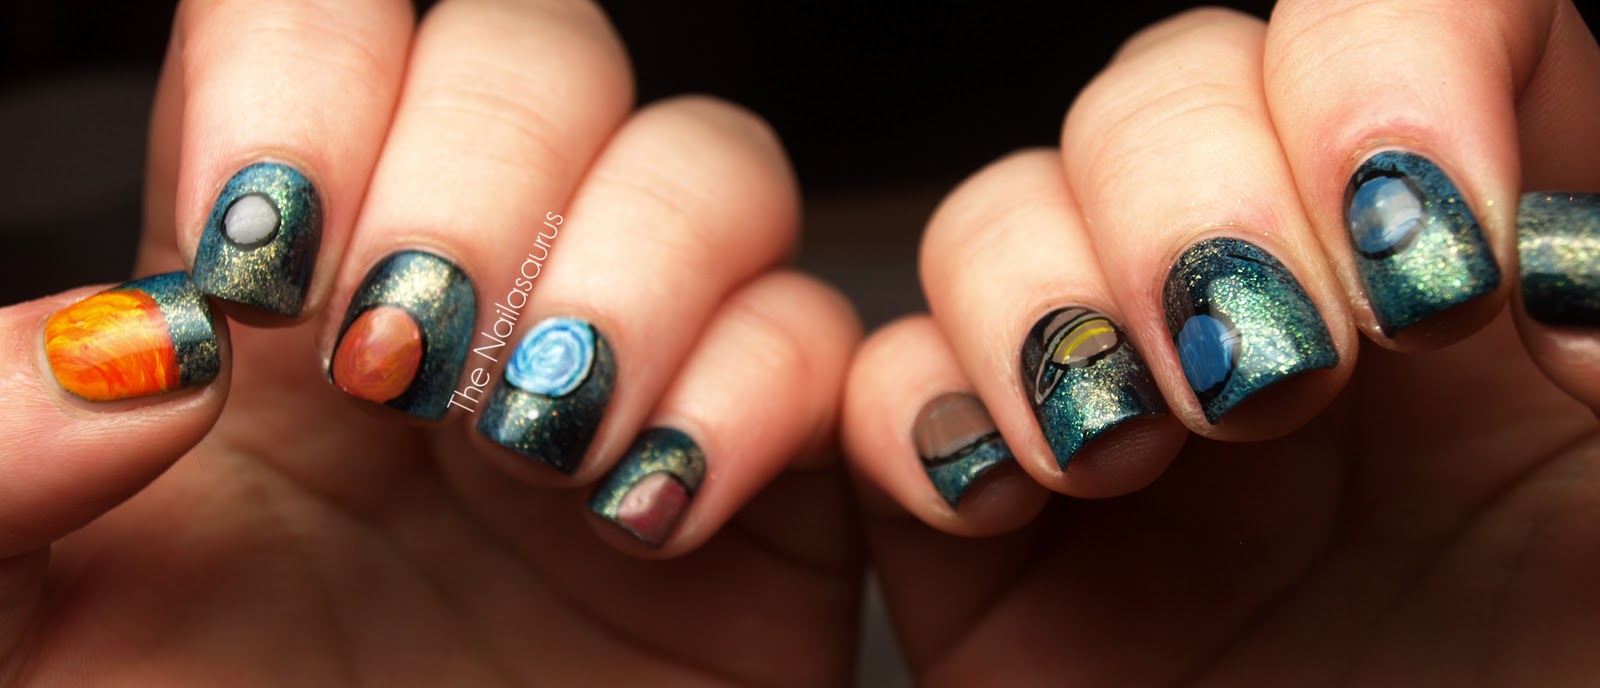
    31DC2012: Day 19 Galaxy Nails

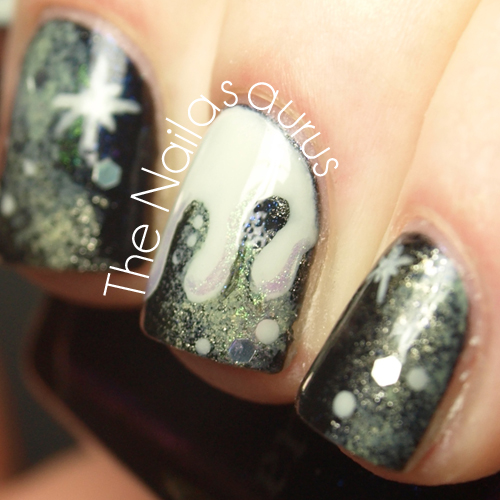
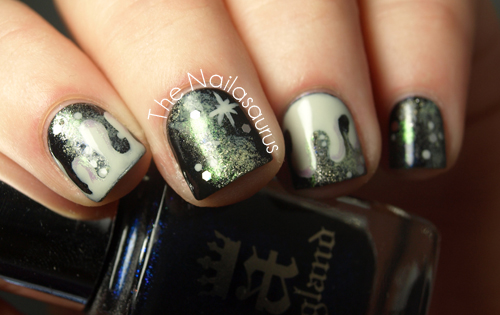
    Day 19 of the challenge calls for some galaxy nails! I saw this drippy galaxy design on Very Emily and traced  it back to Starlett Approved. I heart galaxy nails pretty hard and wish I could muster the effort to create them more often. Saying that, they’re so easy. You literally just need a sponge and some sparkly colours! There’s a great tutorial and an amazing galaxy look to be found here at Coewless Polish.
    Cristina and Rie also have cosmic claws for you today!

    I used A-England Lady Of Shalott* as my base colour and then used a sponge to create the galaxy effect with…
    NYC Full Metal Jacket*
    A-England Dorian Gray*
    Rimmel Metal Rush Pearly Queen*
    Essie Navigate Her
    With Sally Hansen Ion*, I used a nail art brush to draw on the drips and stars. Then I added a highlight to the drips with Rimmel Pearly Queen and placed on a few holographic glequins before topping it all off with 2 coats of Seche Vite.

    TwitterBloglovin’Tumblr

    Share:
    Galaxy, Glitter, Uncategorised

    Galaxy Nails!

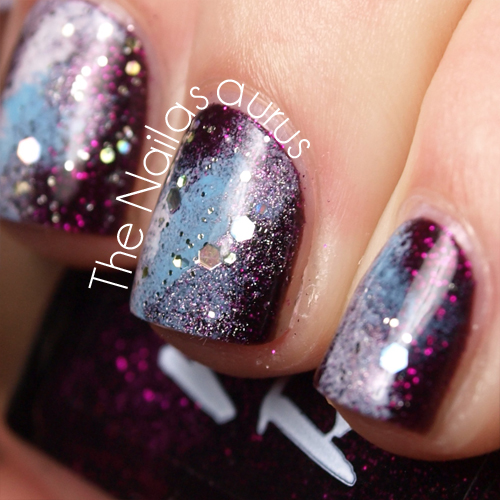
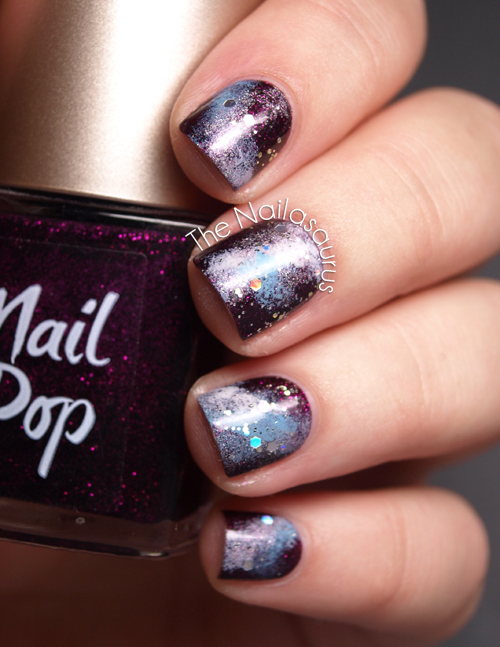
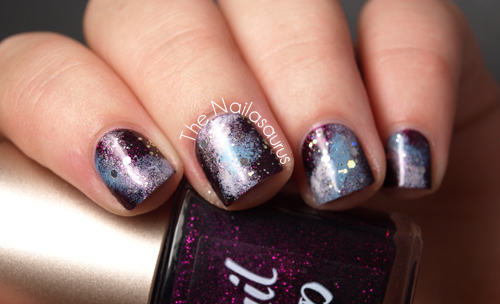
    I’ve been meaning to do some galaxy nails for aaaaages! Whenever I’m in the process of doing this nail art, I’m always super disappointed with the way it looks so sometimes I give up before I’ve even finished. I have to remember that it never looks good until that final layer of glitter goes on and you take a proper look at them from further away.

    The base colour is Look Beauty’s Nail Pop in Glamrock and the colours I used for sponging are Barry M White, Barry M Blueberry Ice Cream and A-England Princess Tears.
    I used NYC Starry Silver Glitter for some extra cosmicness and finally added some Holographic Glequins before applying my Cult Nails Wicked Fast top c

    TwitterBloglovin’Tumblr
    Share:
    Galaxy, Uncategorised

    From The Vault: Galaxy Nails

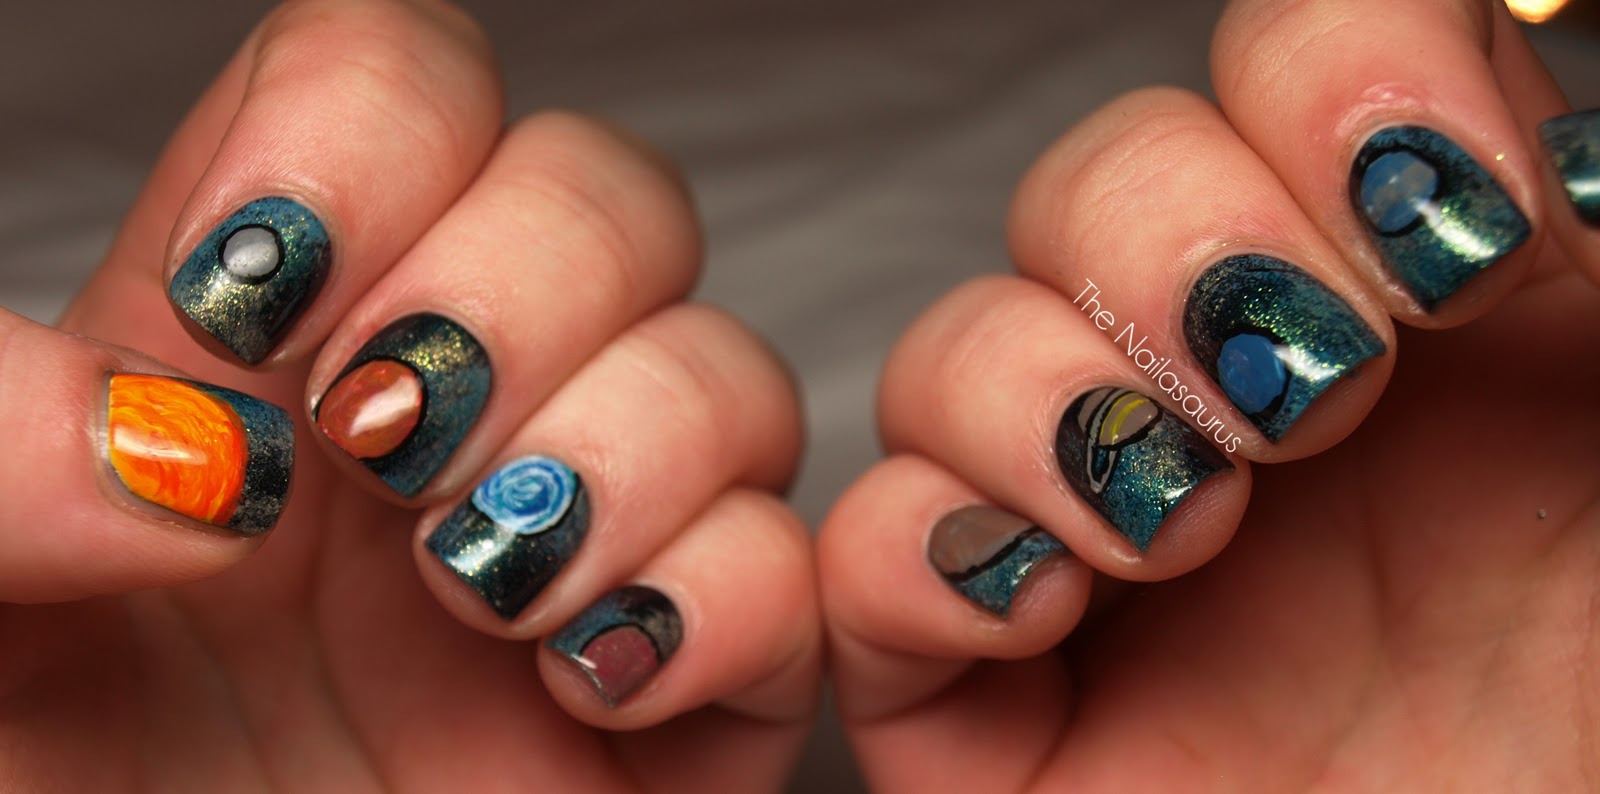
    I just found these pictures in my drafts list! I’m pretty sure they’re rejects from Day 19 of the 31 Day Challenge. You can see the ones I decided to post here. I like them and I recall liking them at the time but deciding the colour scheme was too similar to the ones I posted way back in February 2011 – my first ever attempt at Galaxy Nails.

    I can’t remember exactly what polishes I used but I’m pretty sure I can see BYS Glittering Purple, E.L.F. Twinkle and GOSH Holographic must be in the mix because I’m holding the bottle!

    Galaxy Nails

    Galaxy Nails

    Galaxy Nails

    TwitterBloglovin’Tumblr

    Share:
    Freehand, Galaxy, Uncategorised

    Galaxy Nails… Literally

    Today’s nails design was suggested by a friend and I really can’t believe I haven’t thought to do this before! You may have heard of galaxy nails, well I’ve taken them to a new level and literally painted our little part of the Milky Way on to my digits! Today, I’d like to introduce you to my elusive right hand. I’m pretty certain it’s only ever been spotted here once before.
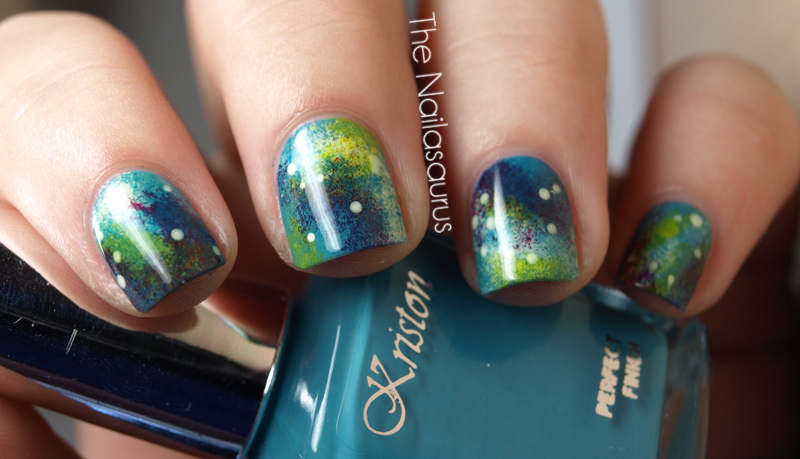
    Since Pluto was a planet when I was taught ‘The Solar System’ in school, I added him in too but it was so awkward taking these photos and trying to get it all in!
    I used (the aptly named) W7 Metallic Neptune as a base and then sponged on Essence Choose Me and another polish (but I’ve completely forgotten what it was) to get the galaxy look. The sun and all the planets are completely freehanded using nail art brushes. The black outlines are acrylic paint.
    Share:
    31 Day Challenge, Galaxy, Uncategorised

    Day 19: Galaxy Nails

    For the 19th day of our challenge, we all had to create some Galaxy Nails. I’ve done some of these in the past (see here and here) and I love the look. You really can’t get them wrong! Rie and Cris both agree with me today – they’re so much easier than they look. 
    So if you’re looking at these pictures and thinking you want your nails to look like this but doubting your ability, DON’T! Just grab a sponge, some nail polishes and have a party on your nails. I promise it’ll look great.
    Rie and Cristina have created some gorgeous galaxy nails today.

    Here are the polishes I used in order, left to right.

    When you look at these mismatched colours lined up, you wouldn’t think they could combine to make such a pretty manicure.

    TwitterBloglovin’Tumblr

    Share: